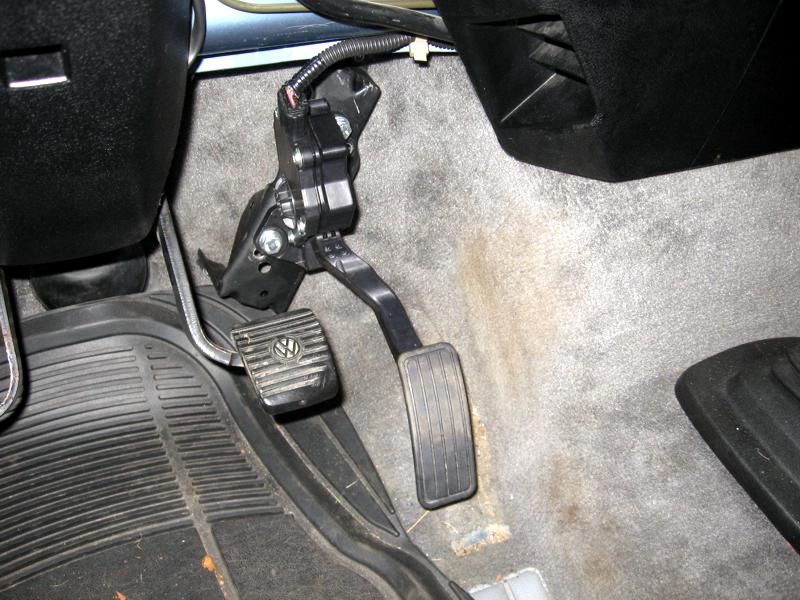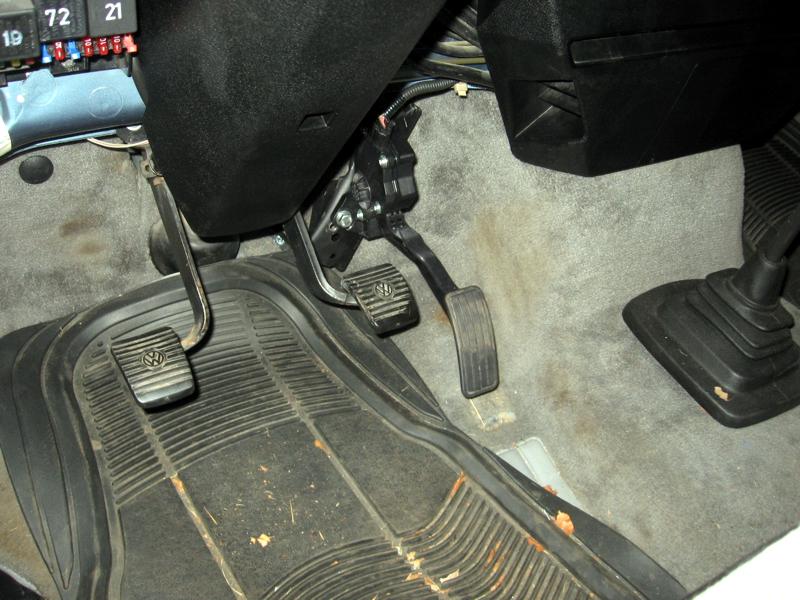
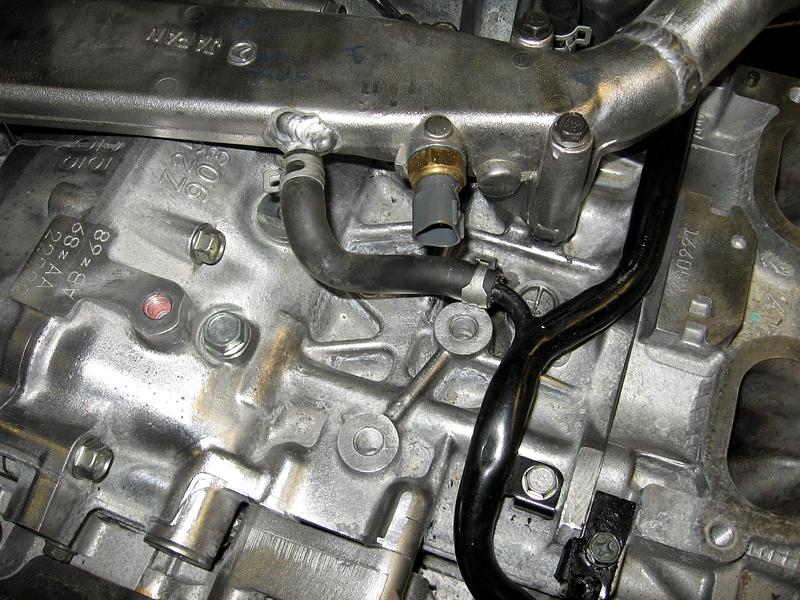
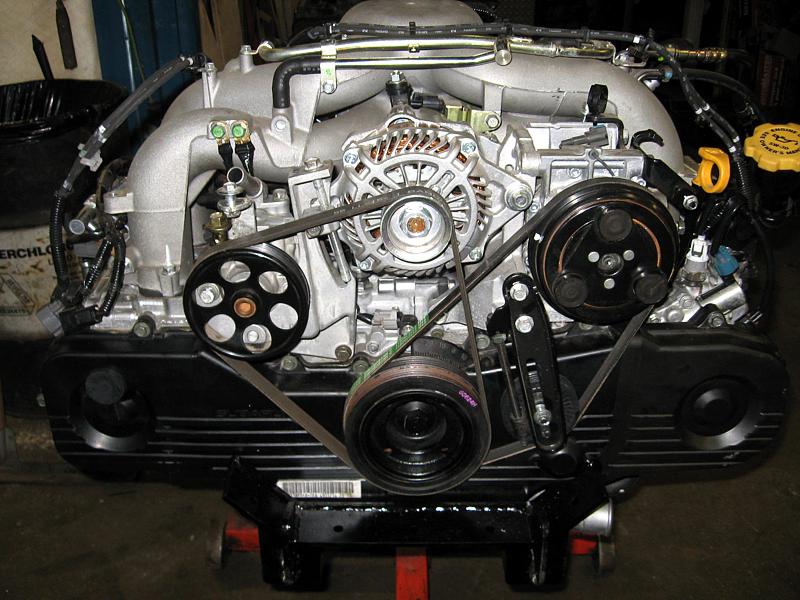
| The finish Subaru EJ25 2007, this engine is no more in a test phase but it's not sold to the public as "turn key" but can be fully install by us in Montreal or PA. The 06-07 EJ25 have a bit more power (about 174hp) due mainly to VVT (Variable Valve Timing), they are fly by wire (Electronic Gas pedal) and have a one way fuel pressure system. | |||
|
|
|||
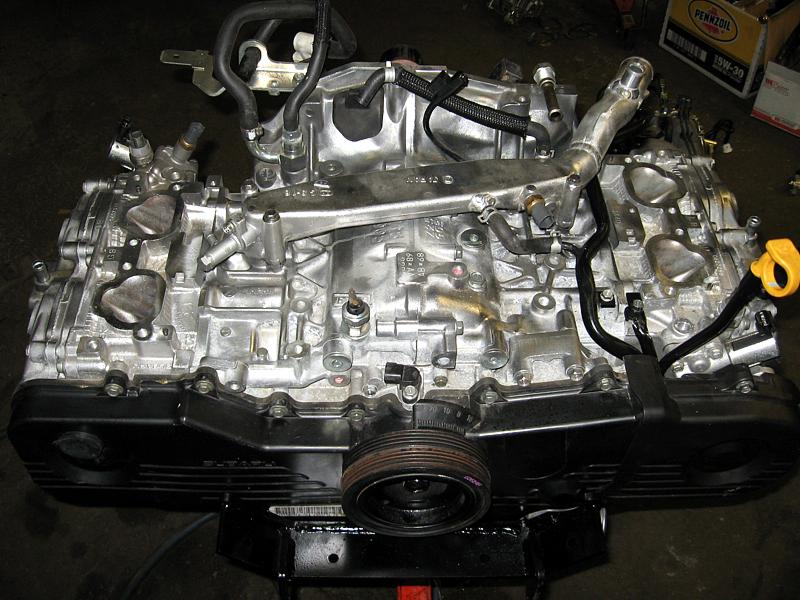
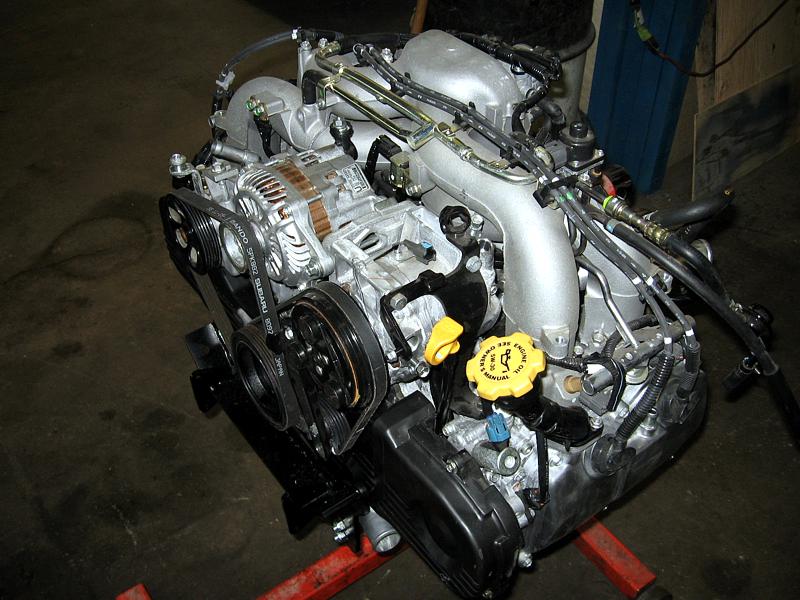
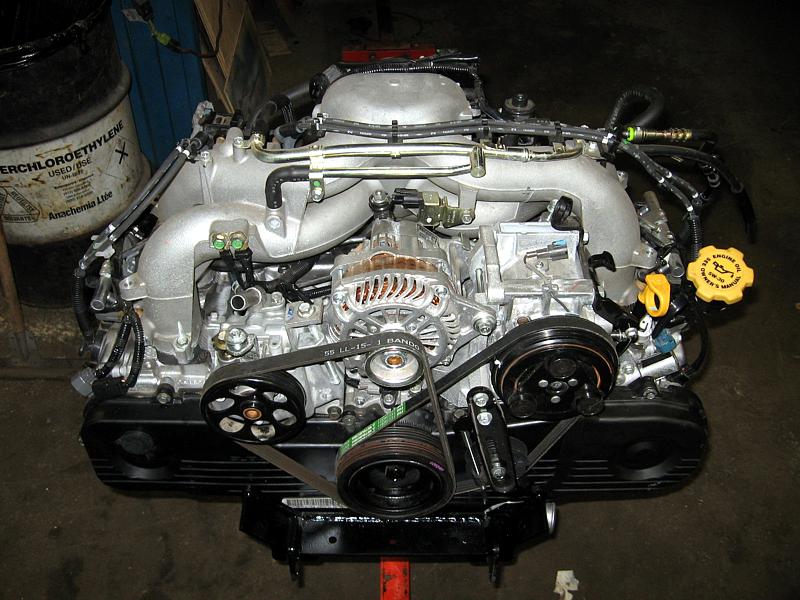
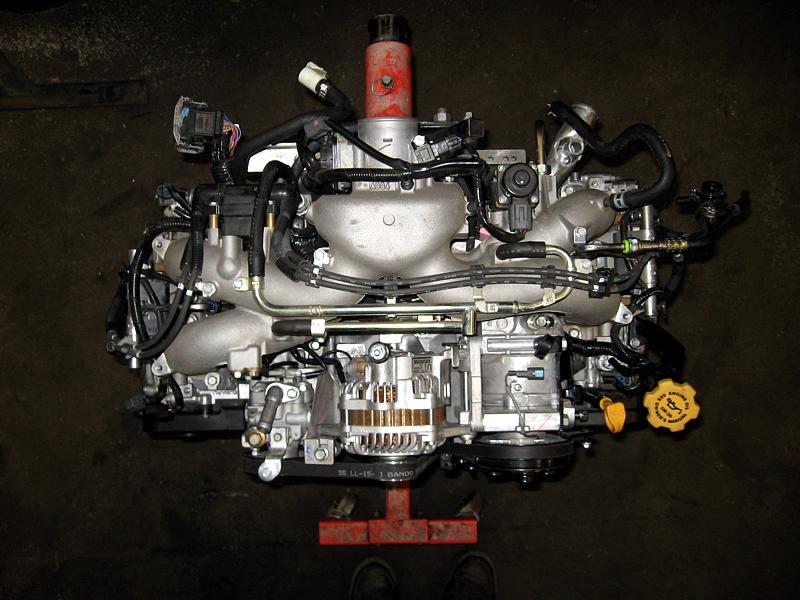
| Here is some shot of a 600miles 2007 engine | |||
|
|
|
|
|
|
|
|
|
|
| Some picture
of an engine assembly/conversion/installation, from a Subaru car to a
Vanagon engine bay... the kind of engine VW should have built
for this van.. Older engine like
2.2L or higher millage (like mine)
2.5L SOHC are open and have a re-seal/ head work if needed and new head
gasket, new tensionner, T-Belt guide, T-Belt, Water pump, all new
seals and gasket, new/rebuilt Alternator and PS pump. Compression is checked
again. Very late or extrem low millage engine like this one need no
internal
work. The following pictures show a 2006 (2000miles) |
||||||
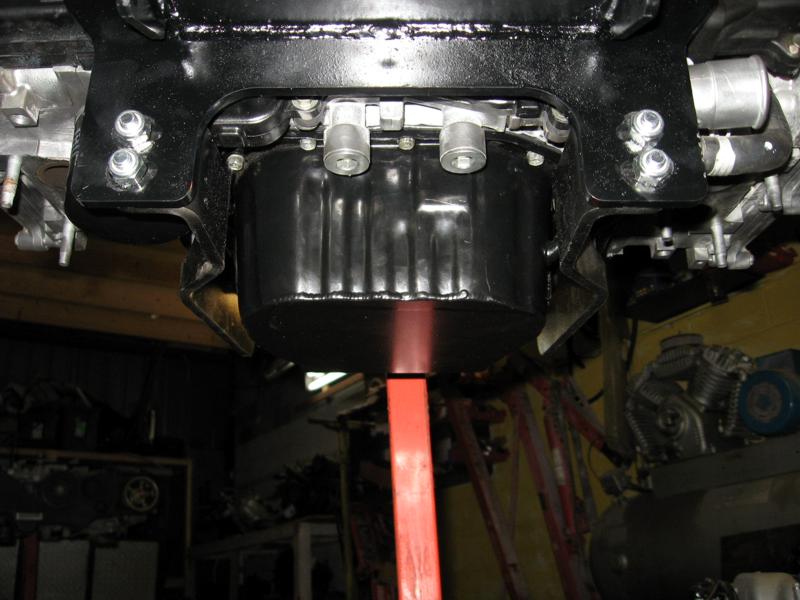
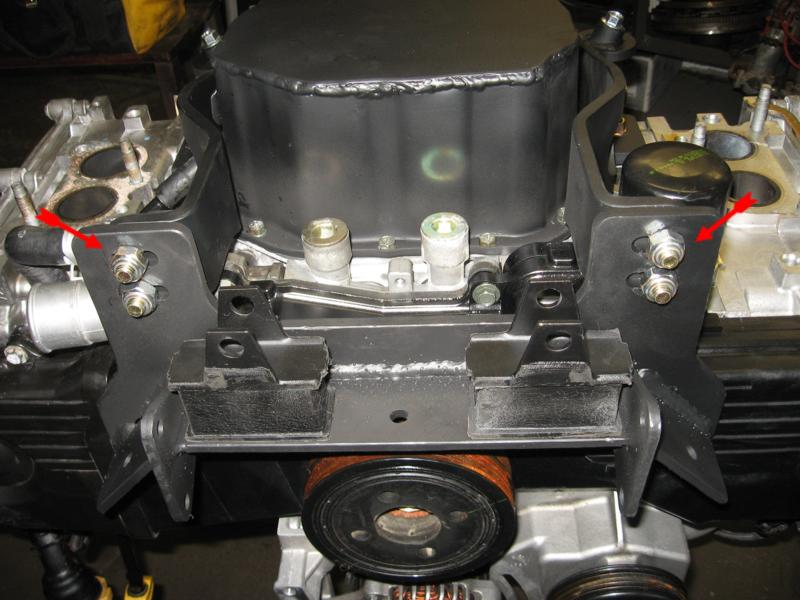
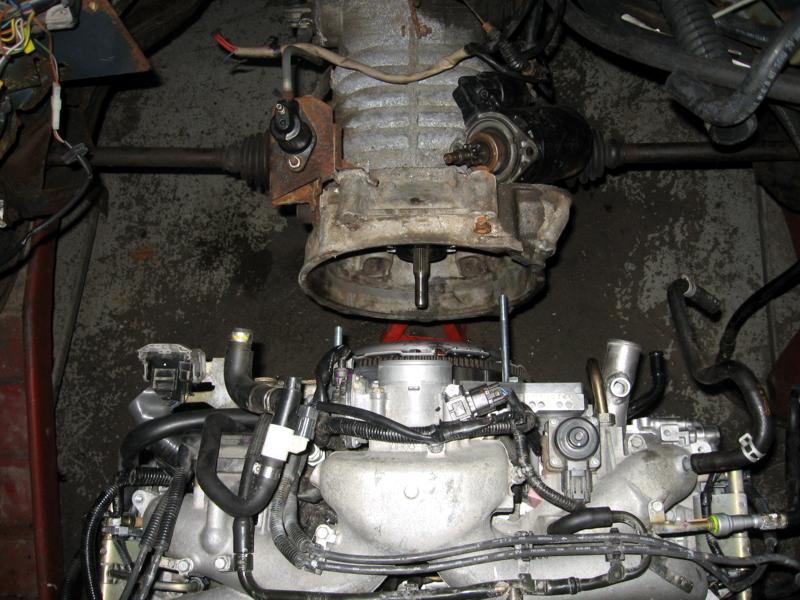
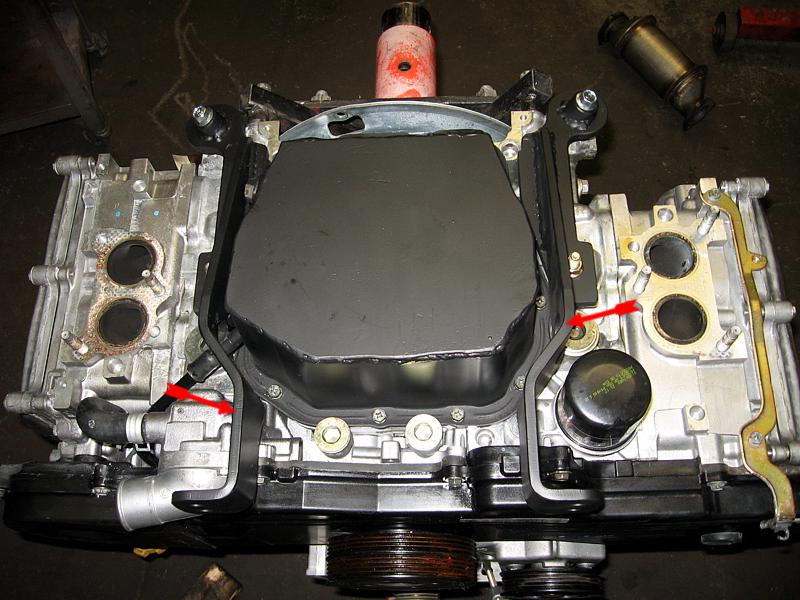 Engine up side down, installation of the shorten oil pan, shorter oil pickup (not shown) and the 2 main engine mounts. |
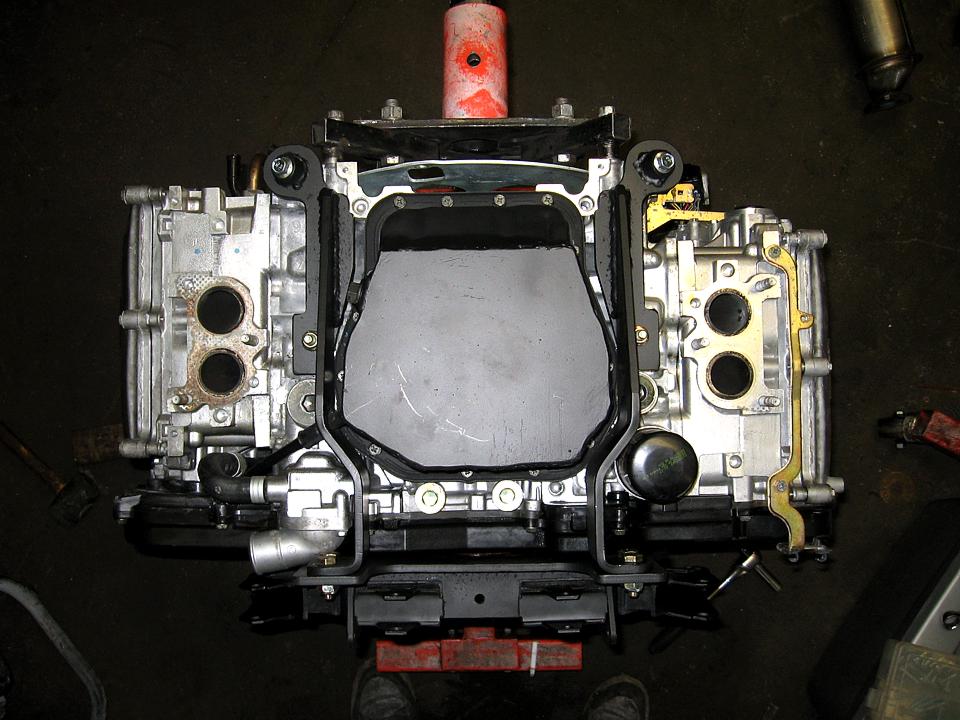
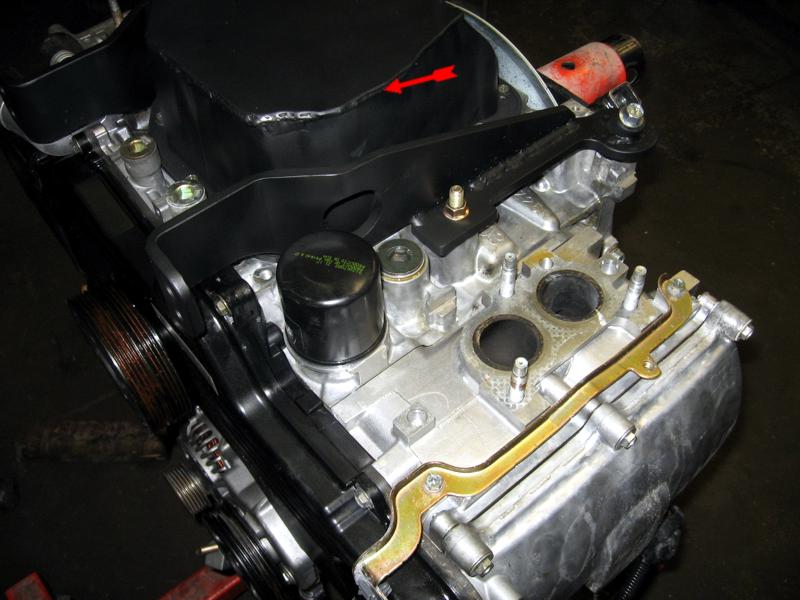 Side view of the shorter oil pan. |
 Installation of the main/center engine mount and the 2 VW stock engine flex mounts |
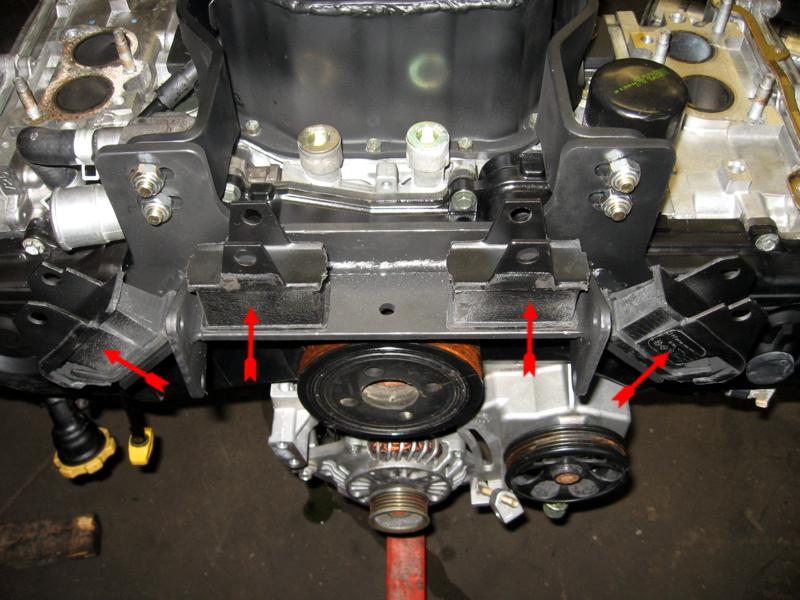 The 2 outside one |
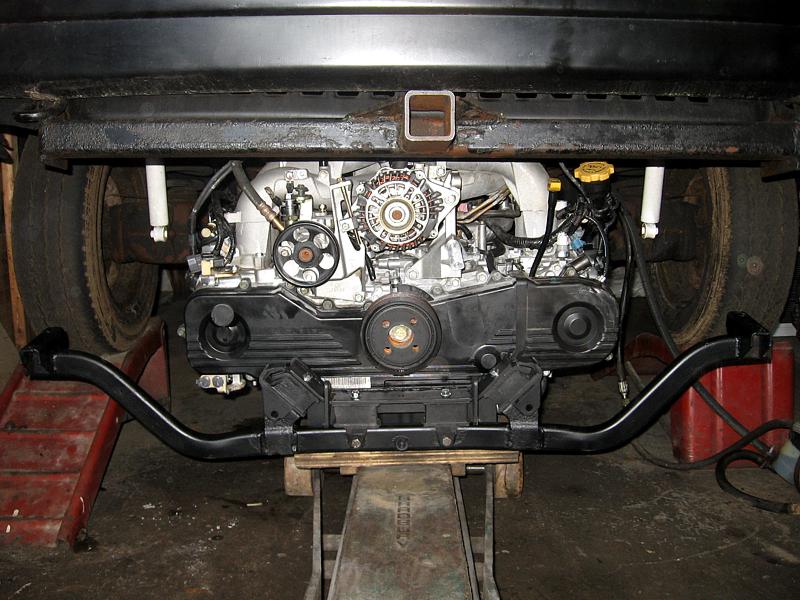
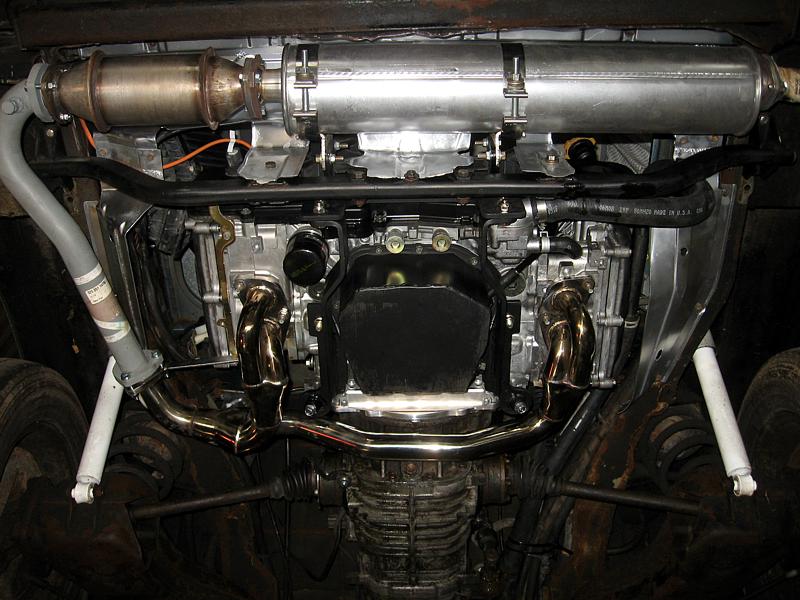
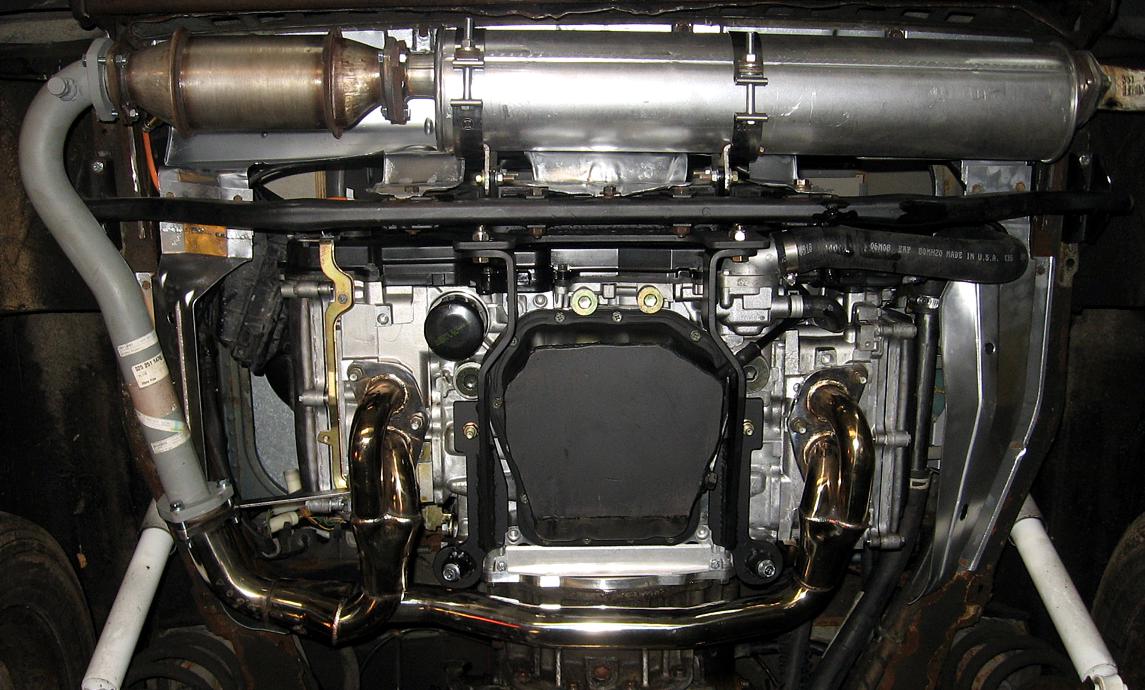
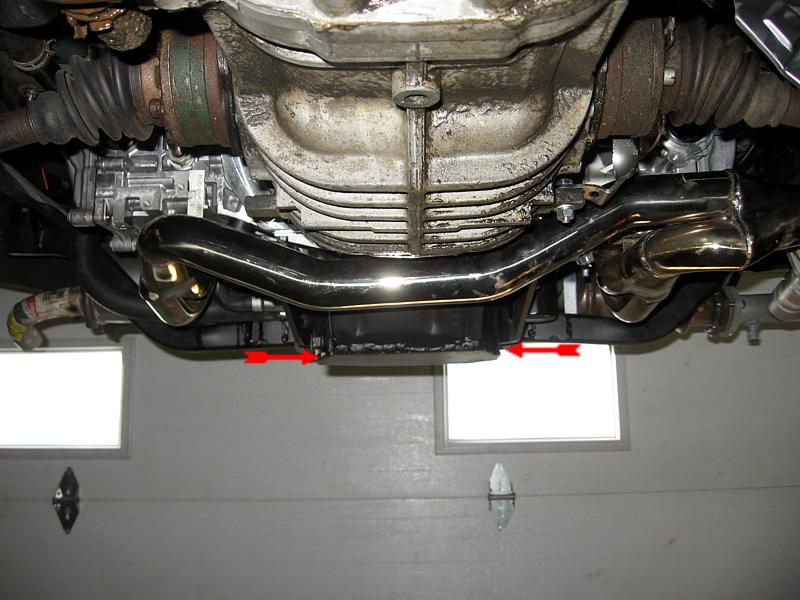
 General view from under |
||
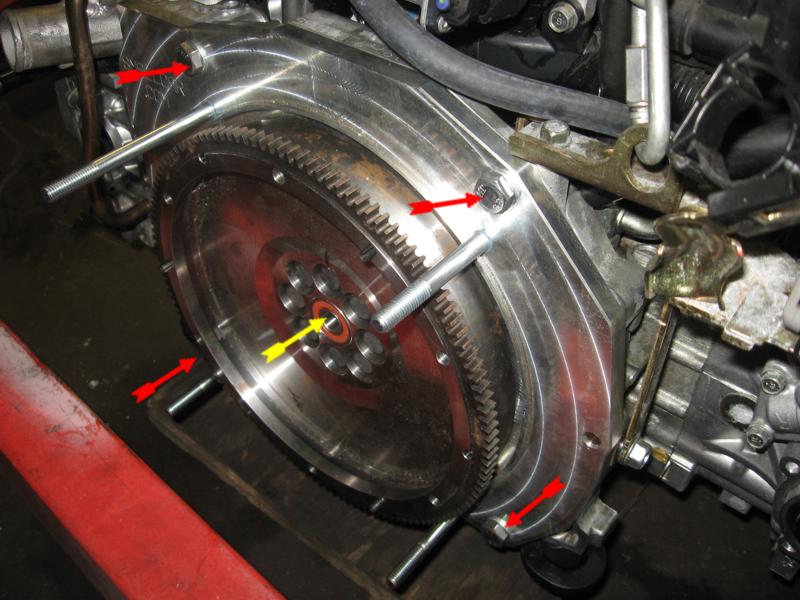 The adapter plate is screwed to the Subi engine, flywheel after. |
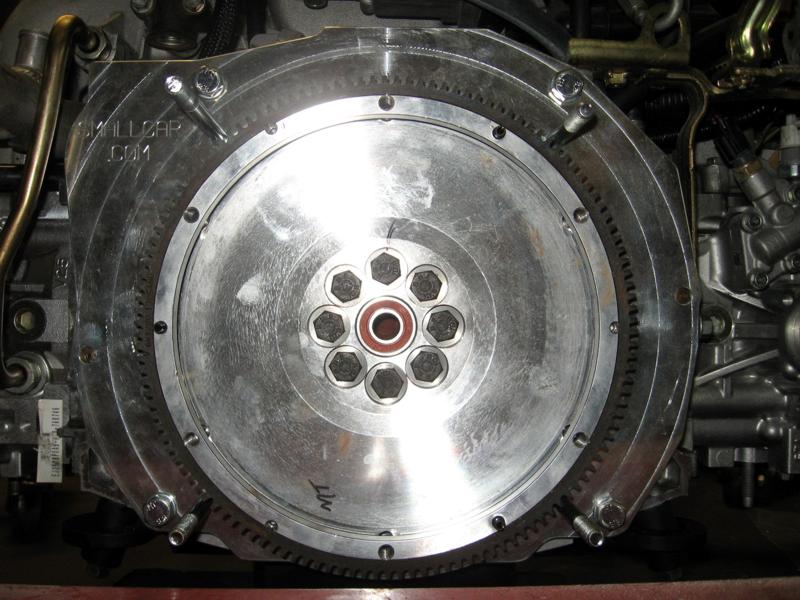 Front view, look at the solid center pilot bearing (Small Car) |
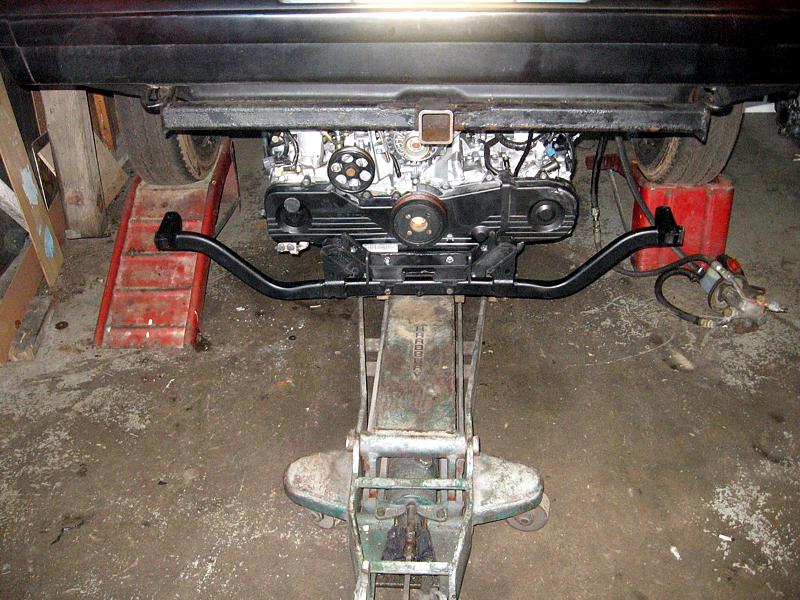
 Carrier bar installed... engine ready to go IN. |
 |
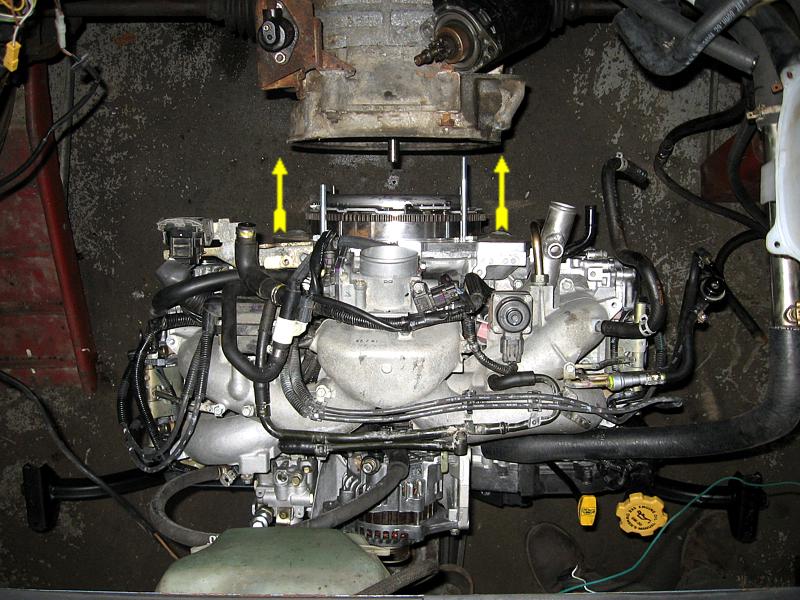 Push it in slowly, like any stock VW Wasser Engine |
||
 Another view |
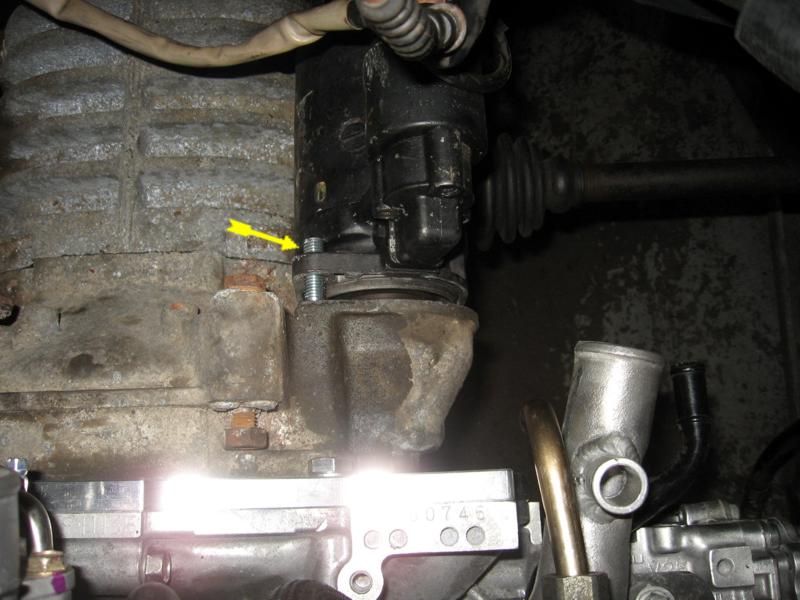 Put the starter IN slowly... as soon as you start to see some thread put the nuts in, push it in slowly and screw the nut at the same time. (4 speeds trany) |
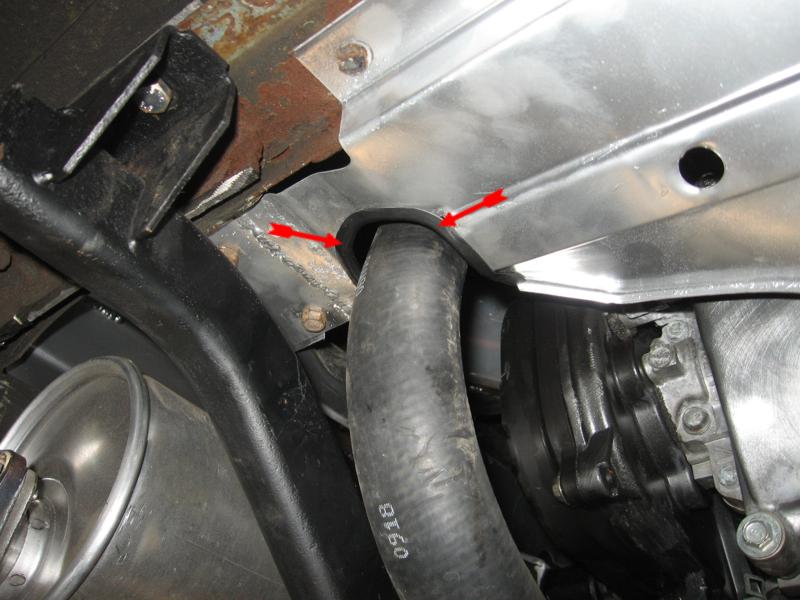
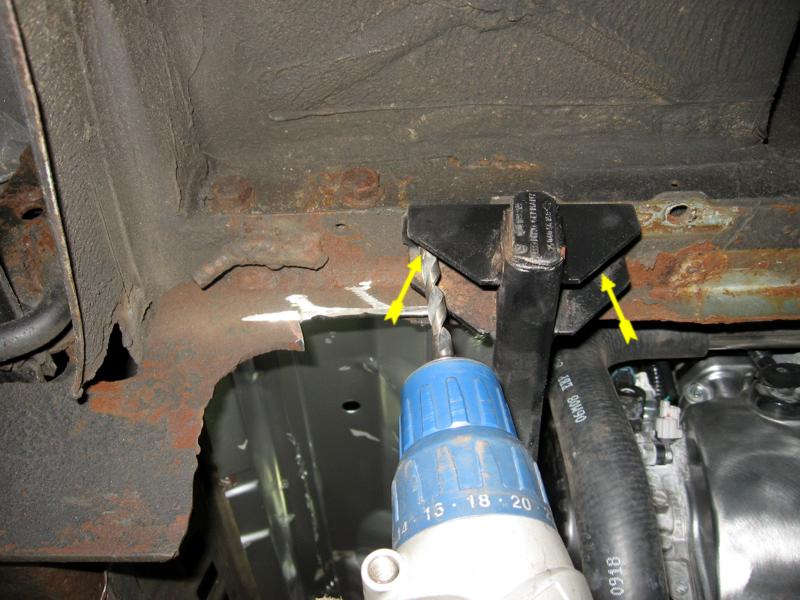 Jack the engine UP, center it with the old wasser carrier holes, when centered, let it sit, move it a bit, make sure it's sitting fine. The Subi engine is slightly longer, you need 4 news holes in the chassis. |
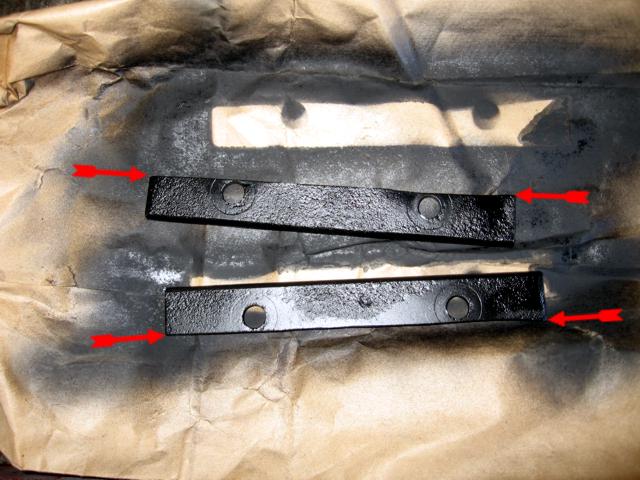 The carrier plates need to be shaved (done with the Turnkey) |
 Voila, look carefully, you can see the old holes. |
||
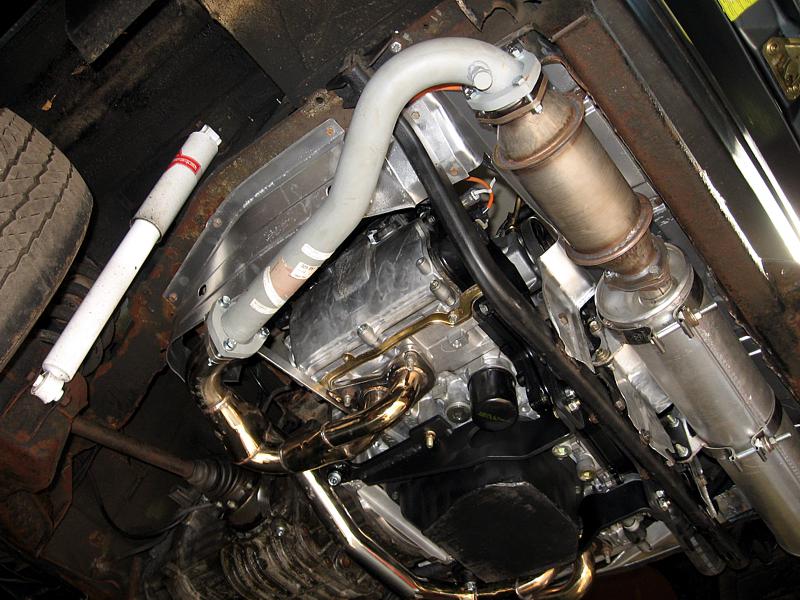
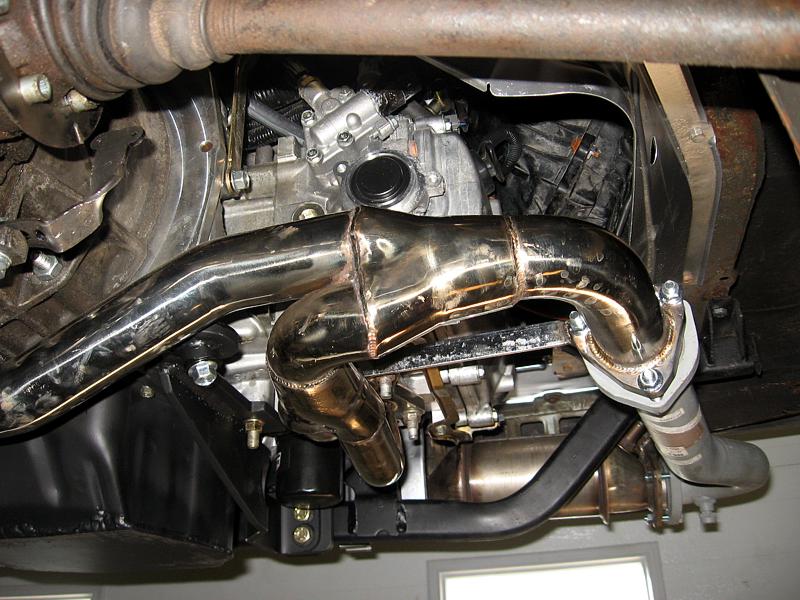
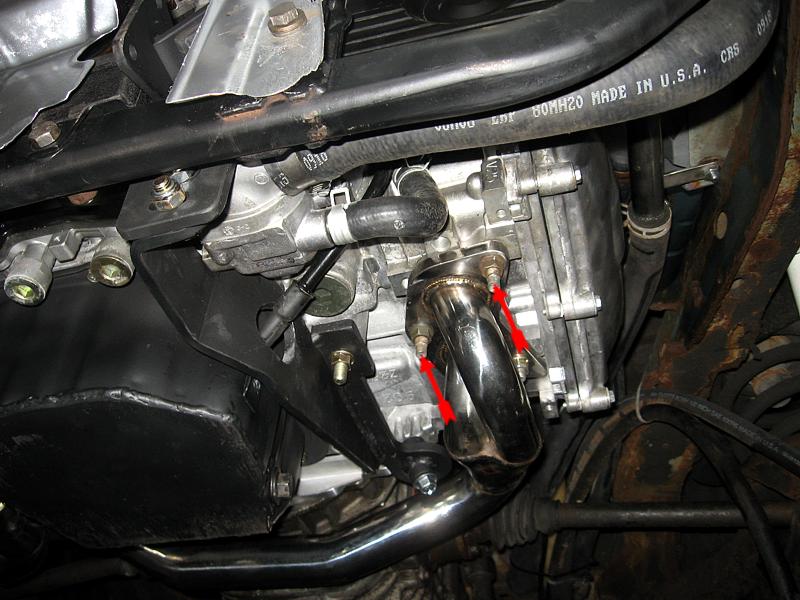 Install the 4 in 1 manifold (install with the turn key) |
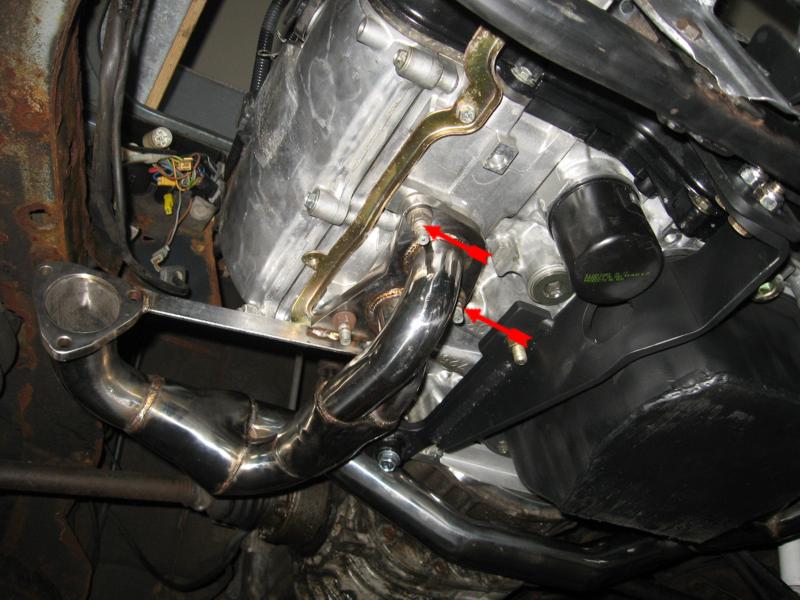 The other side. |
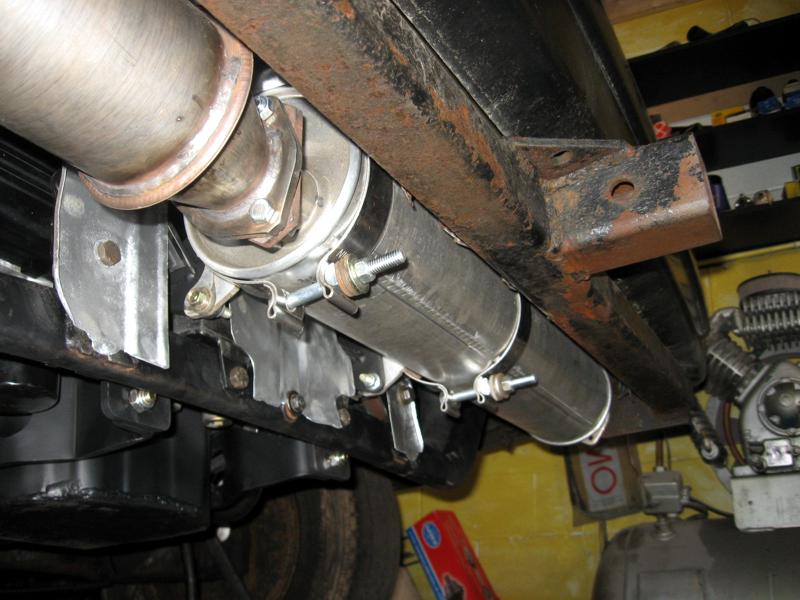
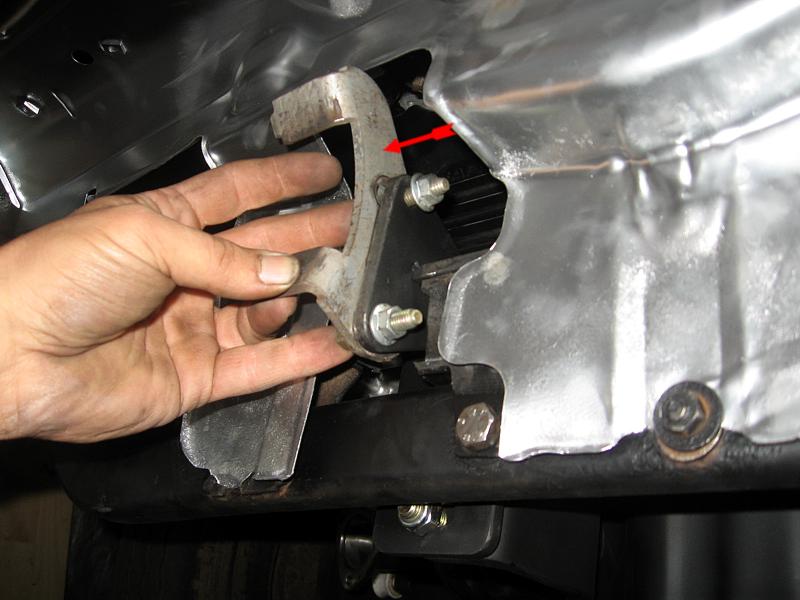 Installation of the muffler carrier bracket |
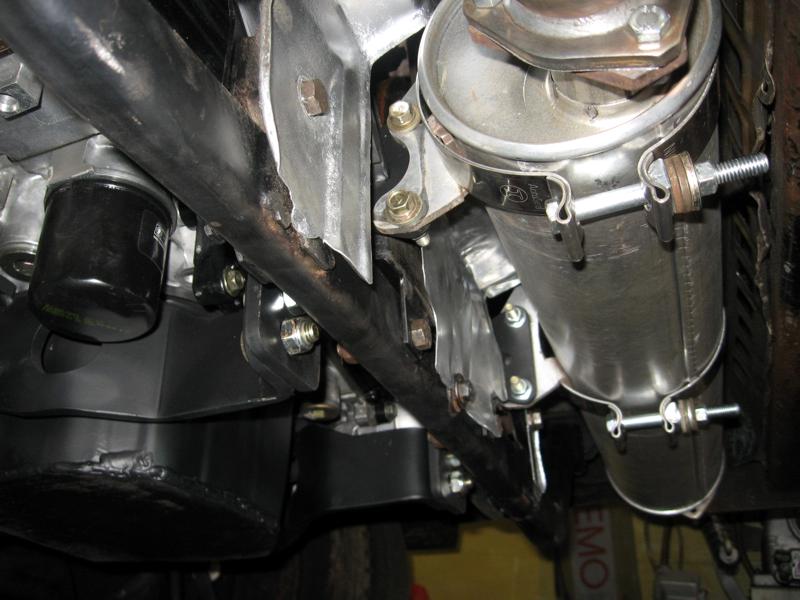
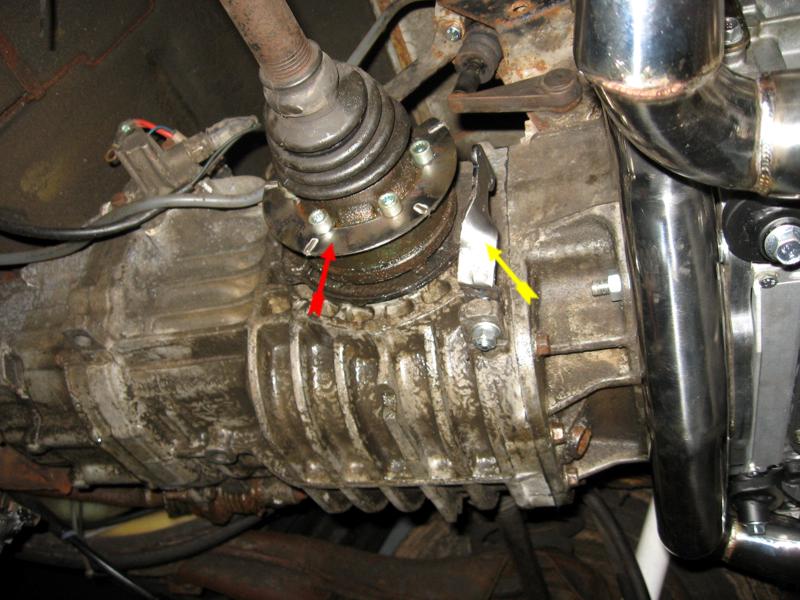 Speed sensor disk and speed sensor bracket |
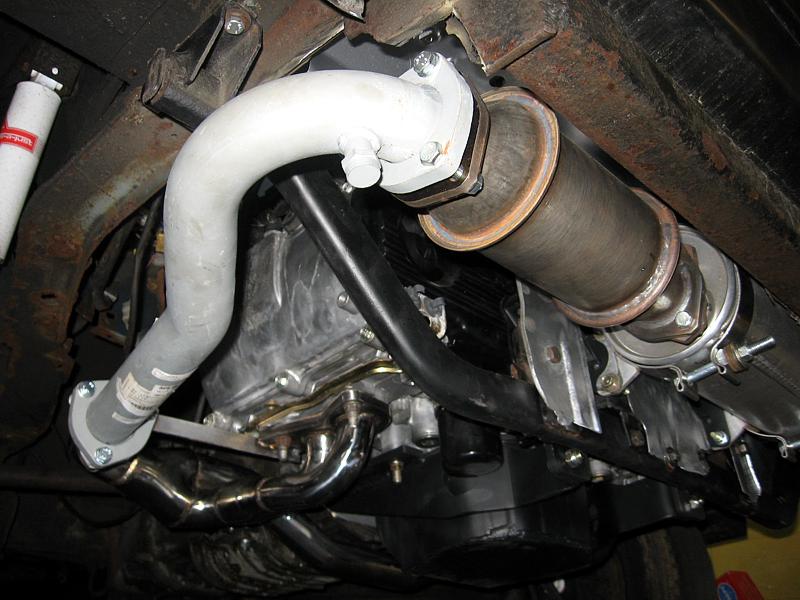 Stock VW J-Pipe (2.1L) and stock Cat and muffler are use |
||
 It will need some adjustment, foir now, every bolts and nuts are loose. |
 When everything is straight, thighten everything slowly, a little bit on each screws and bolts |
 Voila, most of it is done. In the case of a turn key, the harness would be ready. Fill the van with coolant and start it! |
 |
 |
||
 |
 |
 |
 |
 |
||
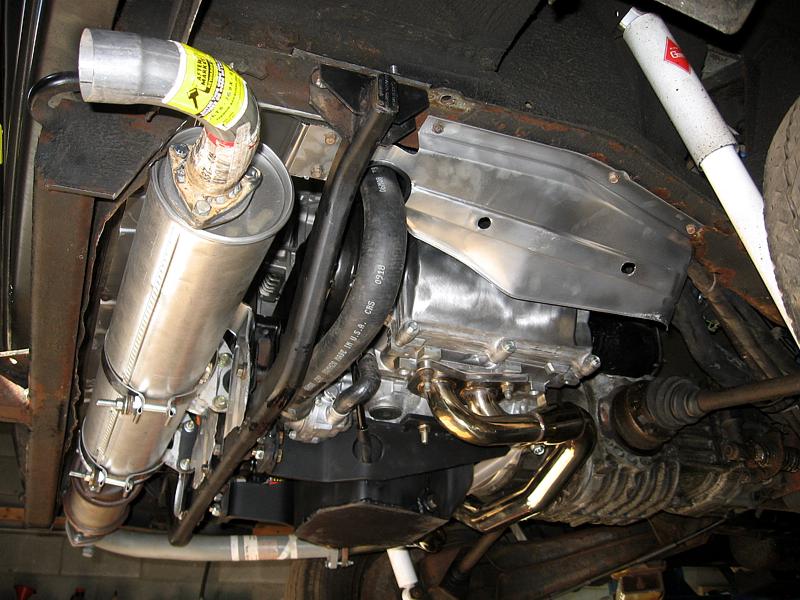
Some "sexy" pictures to finish this little section
|
||||||