(ENGLISH in green) Panel replacement
| Remplacement
de la tôle arrière droite (Il est plus vite,
plus beau et plus solide de remplacer le tout que de travailler la tôle) The right rear skin removal (it is faster, nicer and more solid to replace th whole thing than to fix the damage section) |
||||
 |
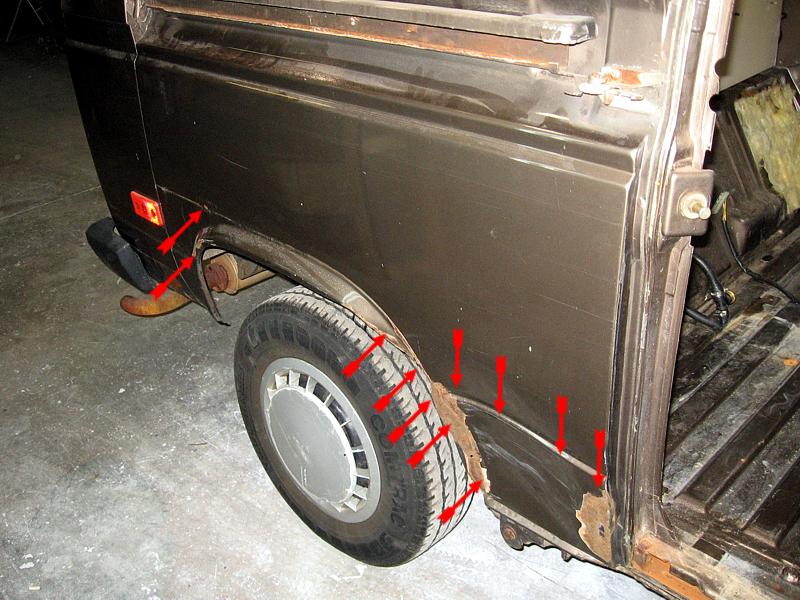 Un classic / most vanagon have that problem? |
 |
 |
 L'équipement de base / Basic tools (the grinders were the most needed) |
 Couper a l'aide d'un ciseau a air et du grinder avec lame rotative a metal, enlever le plus gros / Air chisel and the grinder with a rotative blade are needed here, well, anything that cut...fast, remove most metal and as close as possible of the edge. |
 Premiere étape est la partie du haut / First step is the upper portion |
 La partie du bas de l'aile / Lower portion |
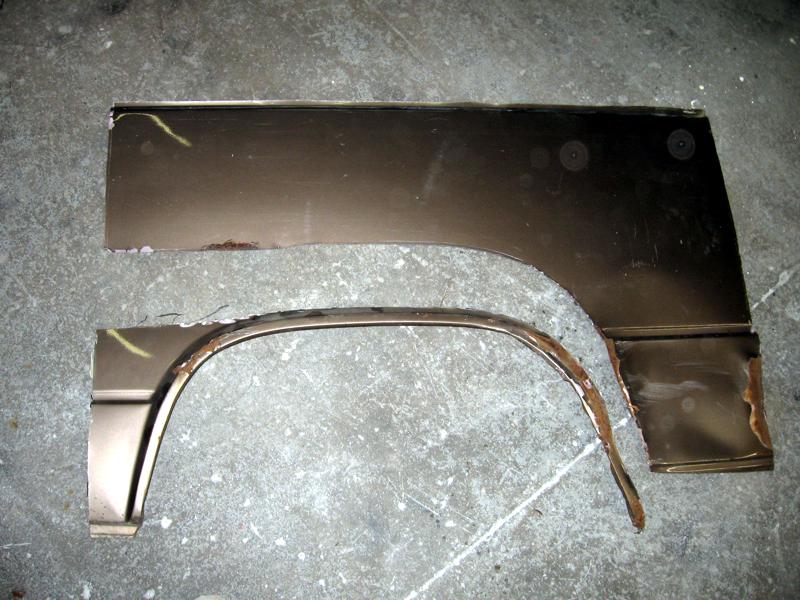 Voila une bonne vue / here is a good picture to understand |
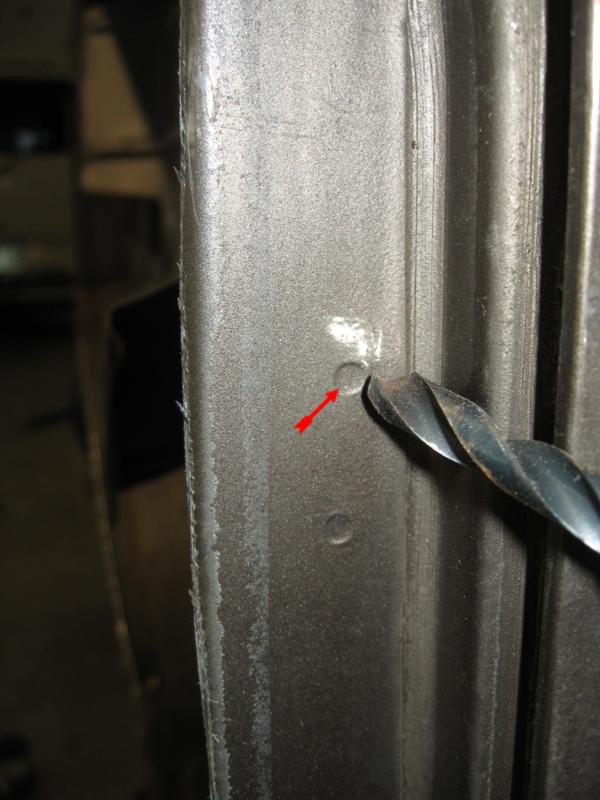 Il est temps d'enlever les rebords de la tole original, il faut percer les soudures. / It's now time to remove the edges of the original skin, for that, you need do drill the "spot weld", just enough. |
 On voi ici le percage des soudures d'origine / Here are the drilled "spot weld" |
 Enlever le restant de l'aile avec un levier / Remore the remaining skin with a pry bar (easy to remove, sometime by hand). |
 Le résulta; comme a l'origine / Here is a clean result, like it was before VW put the first skin. |
 Il est suffisant de seulement "gringer" le bas (il a fallu ramener la tole intérieure vers l'extérieur) / It is enough to simply grind the lower portion (some work was needed on the inner skin to bring this one back out) |
 Pareil pour la partie arrière basse de la tôle / Do the same for the lower rear part of the skin |
 Et en haut / And the upper part |
 "Grinder" le tout / Gring everything flat |
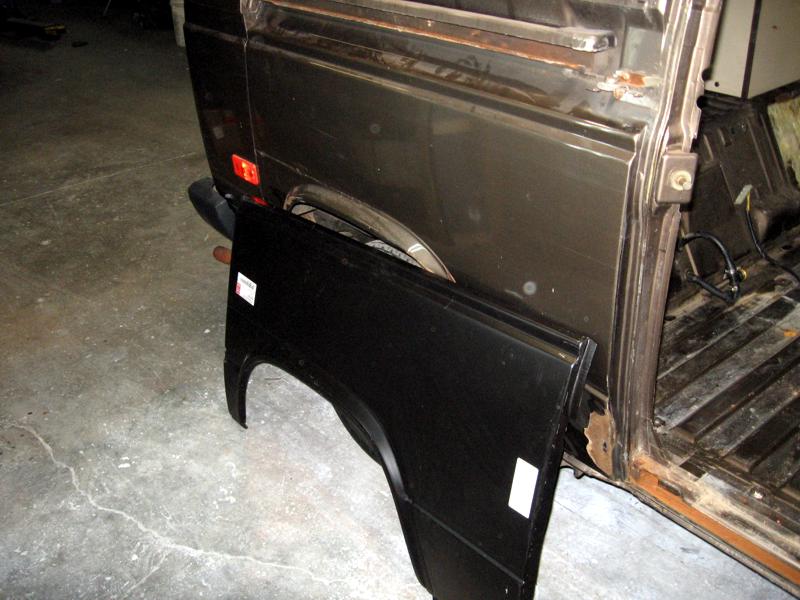
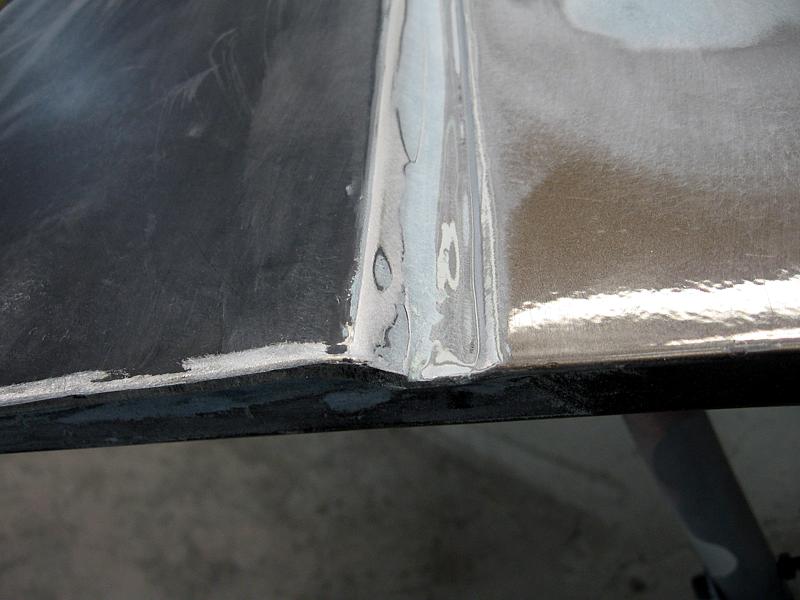
 Maintenant il faut s'assurer de faire "fitter" la tole, cela demande du doigté, du limage, du "fittage"... et de l'oeil, mais en gros, je suis Très satisfait de la tole de CIP1.com , en haut, la nouvelle tôle embarque par dessu la vielle en toujours en place, il faut laisser +- i pouce / Here is the most crucial step, fitting the skin, it take some skill and patience, you need to make sure that every edges will touch the new skin, i'm verry happy with the fit of the CIP1.com skin. On top, where the 2 skins overlaps, the lower new one will go over the old upper one, an inch of overlaping is needed, later, we will fix that with some micro fiber and some putty... |
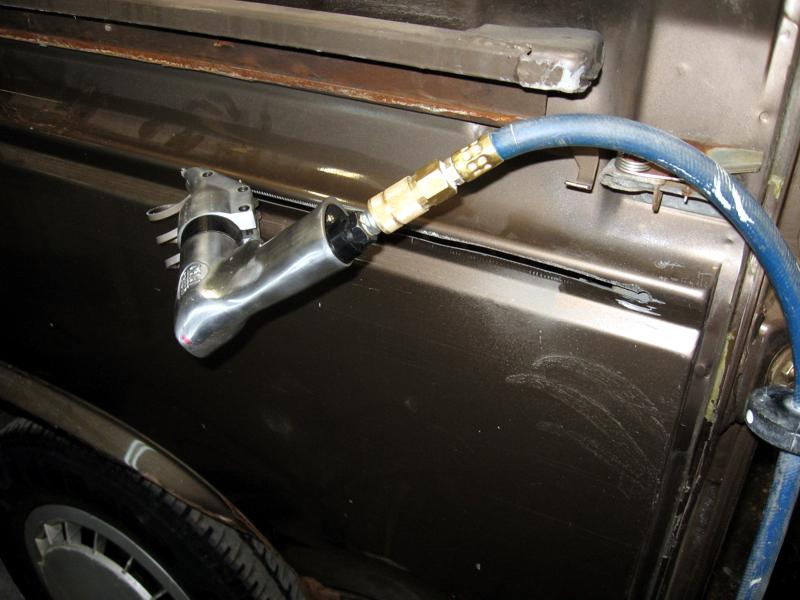
 PLUS de soudure, c'est su passé... pas de marque, d'affaiblissement du métal au soudure, de corrosion... et en plus, cela procure déjà un scellage presque parfait... solide comme su rock! (autour de 60$ pour le fusils et 45$ par tube de colle) / The END of welding, period! this stuff is great! no more soft or weak welding spot, prone to corosion after a wile...and on top, it seal the entire skin... an bit expensive but if you don't have a MIG... (around 60$ for the applicator and 45 for the glue) |
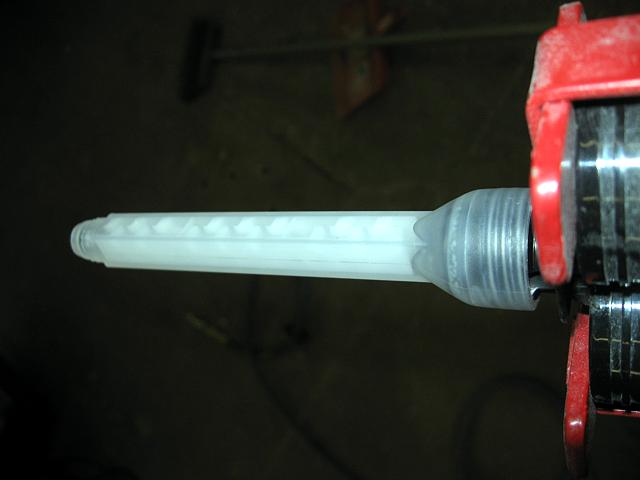 L'emboue mixeur / The self mixing tip |
 Mettre de la colle partout ou le panneau touche le véhicule, en masse...L'utilisation de serres est requise (45-60 minutes) / Put some glue (sorry no picture, i had my hands full!) EVERYWHERE where the new skin touch the van, each side, upper mating/overlaping surface, inside the lower part...The use of clamps is a must (45-60 min.) |
 Voila! |
 |
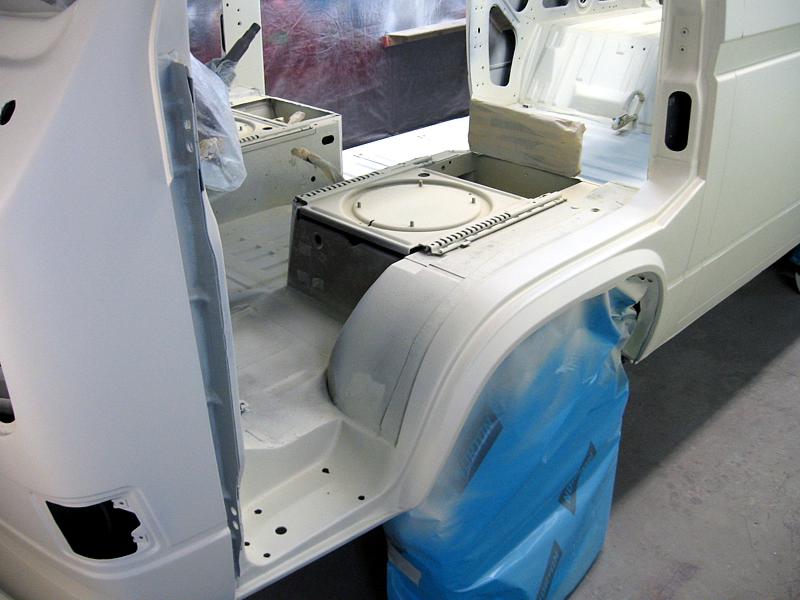
 Vue de l'intérieure, on vois ici les renforts qui sont collés a la tôle et au fond on peu apercevoir de la colle / View of the interior, you can see the holding points also glued, far on the picture you can see some glue. |
 Premiere couche de micro fibre sur le joint du haut / First coat of micro fiber on the upper joint
|
|
|
||||
|
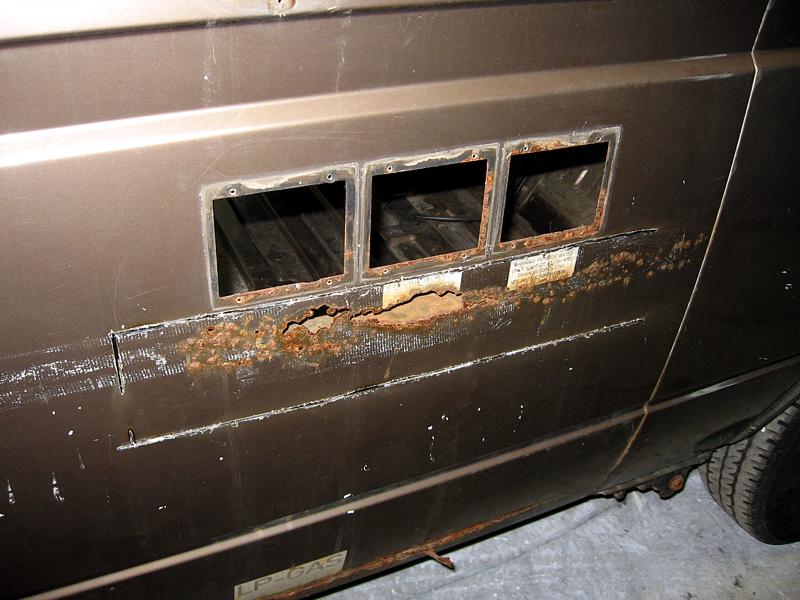
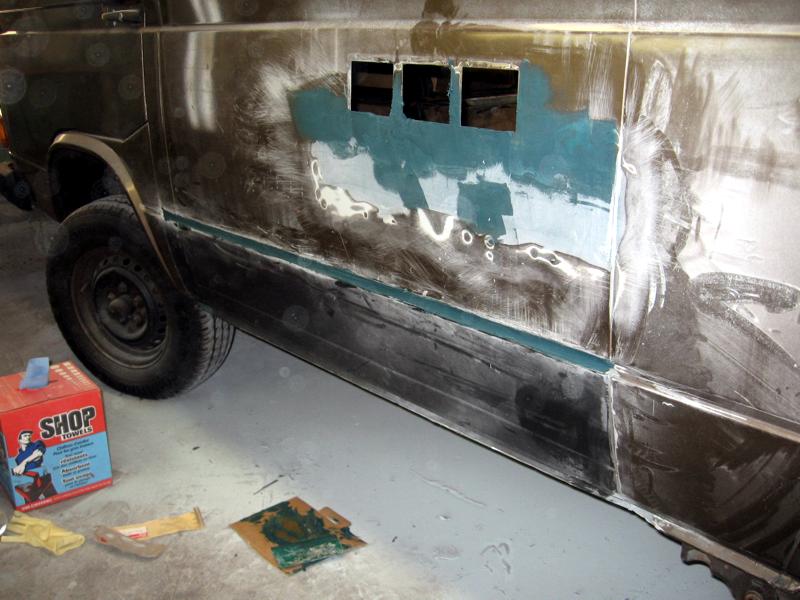
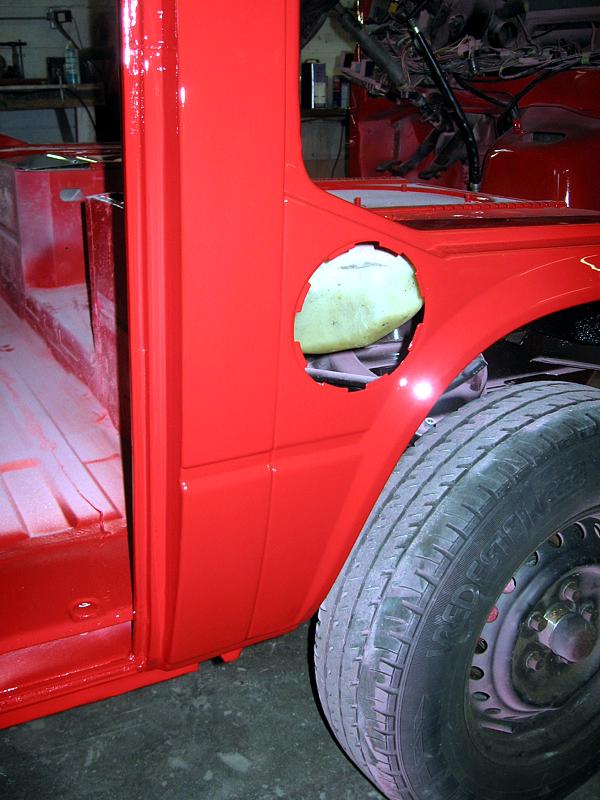
Réparation coté gauche, autour des trappes Repair around the oulets |
||||
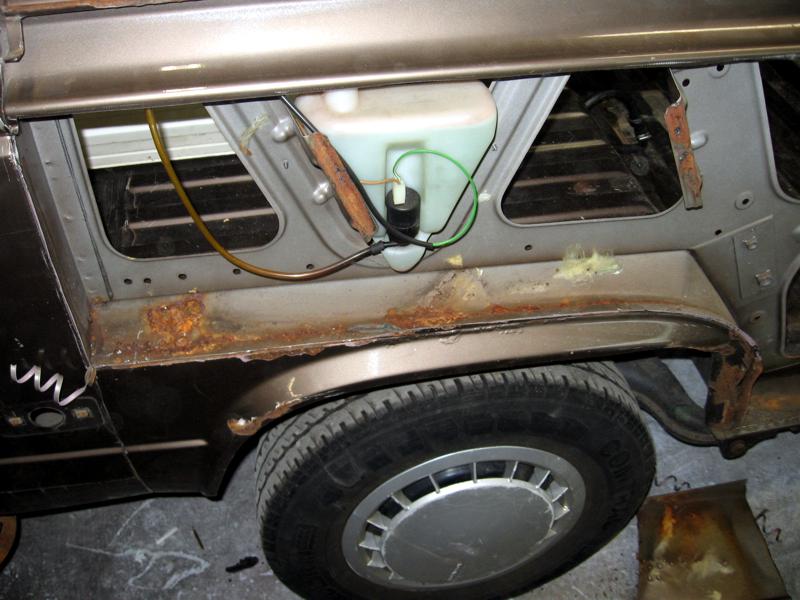
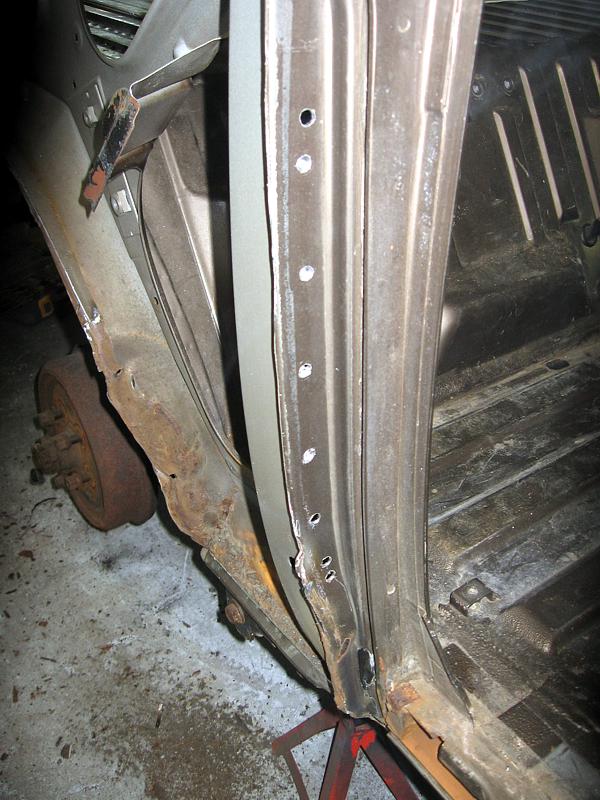
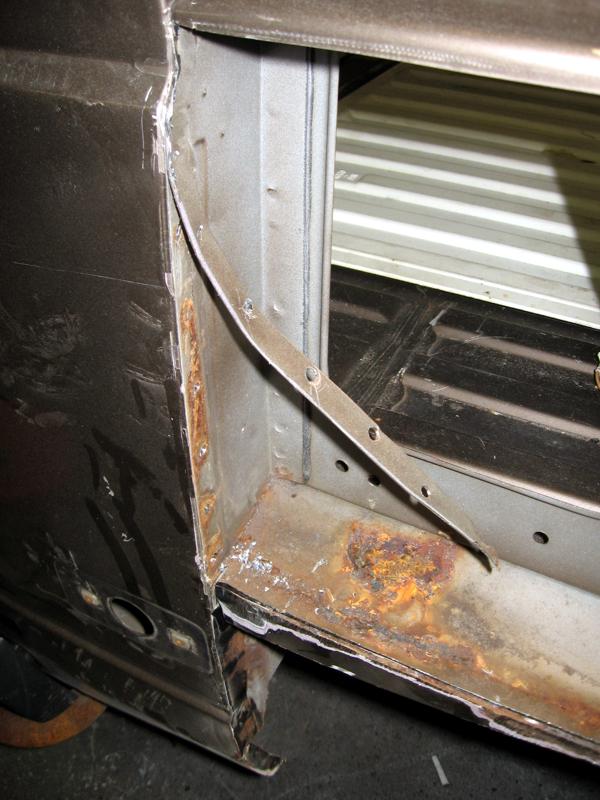
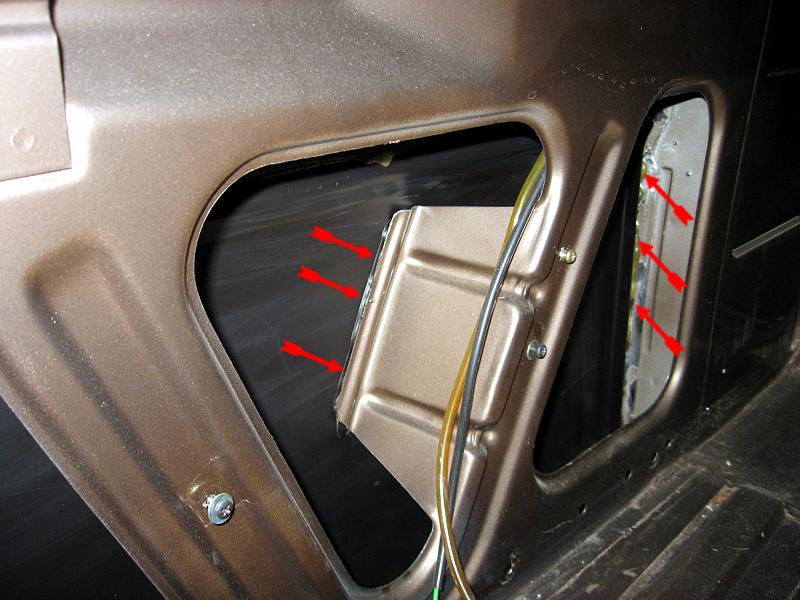
 Extérieur, un classique Vanagon (laine isolante humide, eau venant des trappes et condensation venant du fonctionnement du refrigérateur...) / Exterior view, a Vanagon clasic (wet isolating material, water from outlets traps, fridge condensation....) |
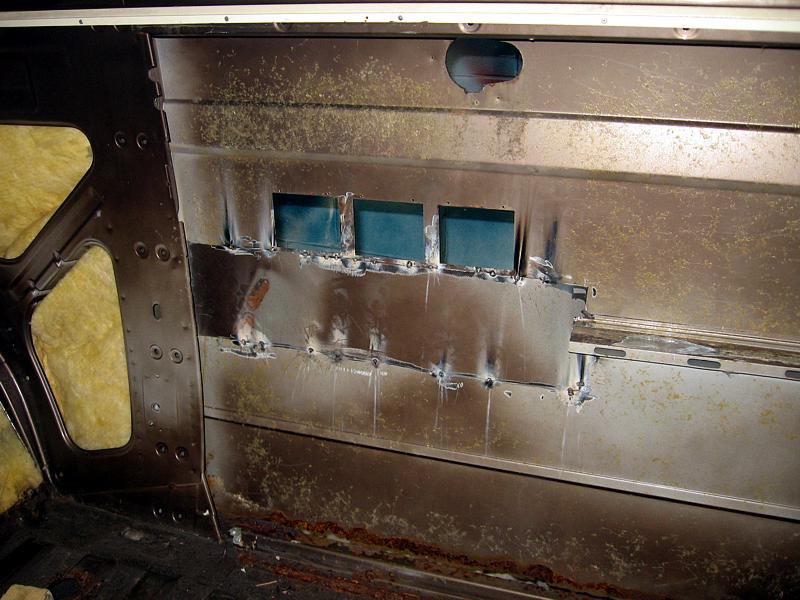
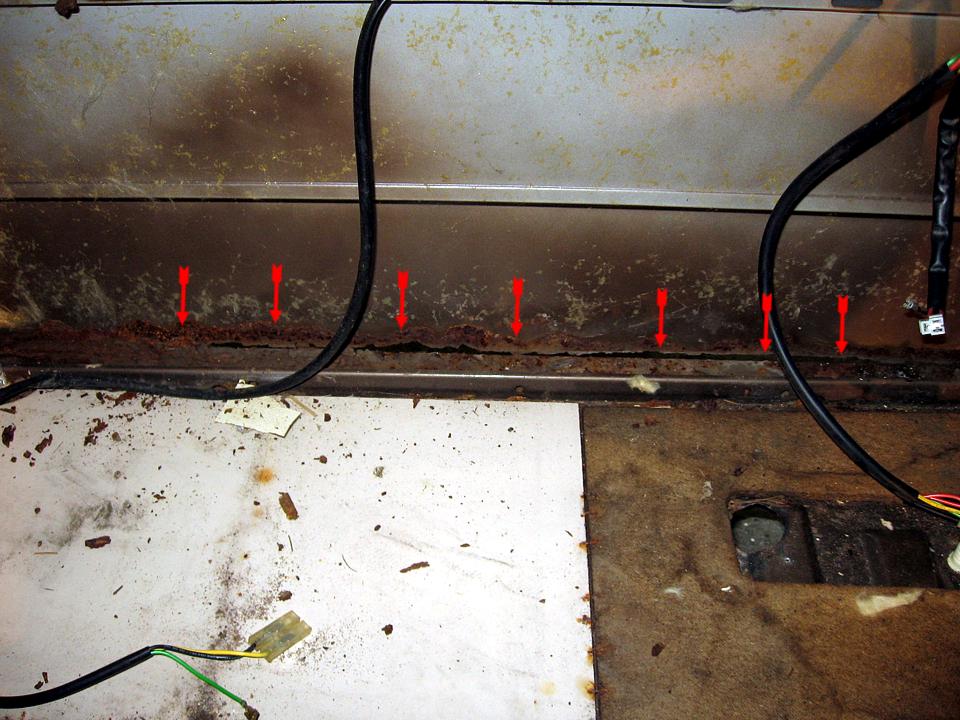 Vue de l'intérieur / Interior view |
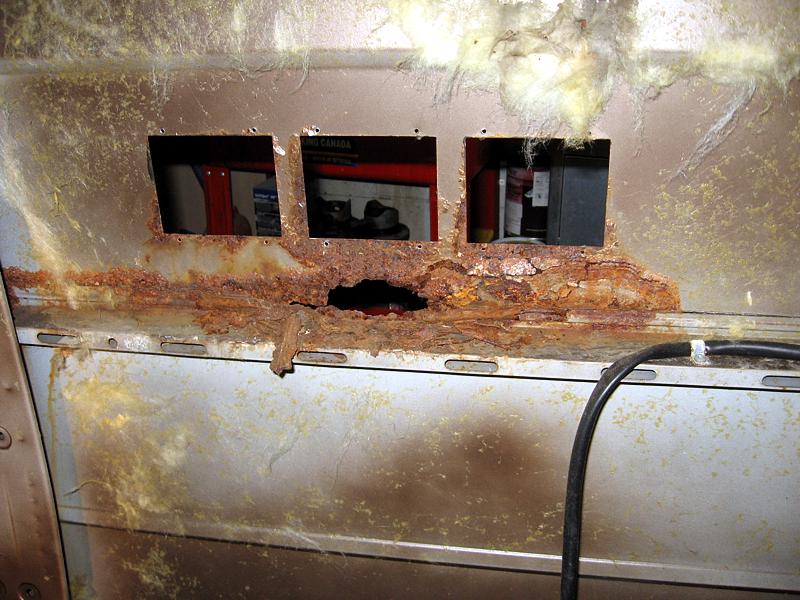 Commençons par le haut, drôle de rouille, surtout derrière la membrane de renfort / Let's first begin with the outlets, well, lower than those is the renforcements membrane/beam, under this one is the real damage |
 Couper tout le cancer, point a la ligne / Cut everything, period |
 C'est seulement du métal... / It's only metal |
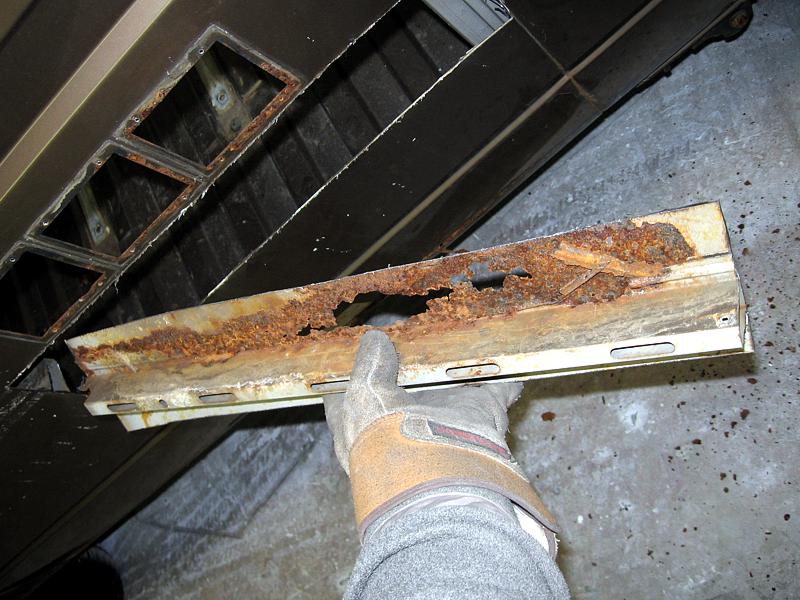 Adieux cancer! / bye bye cancer! |
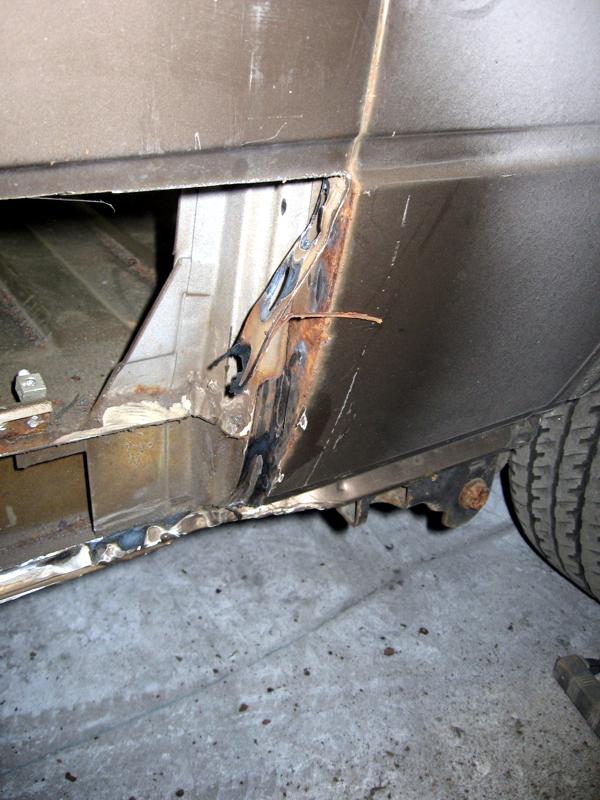
 J'ai utilisé une partie de l'aile comme don d'organe :-)))).... souder / I have used part of the skin removed on the other side as a donor :-))) ... welded in that case. |
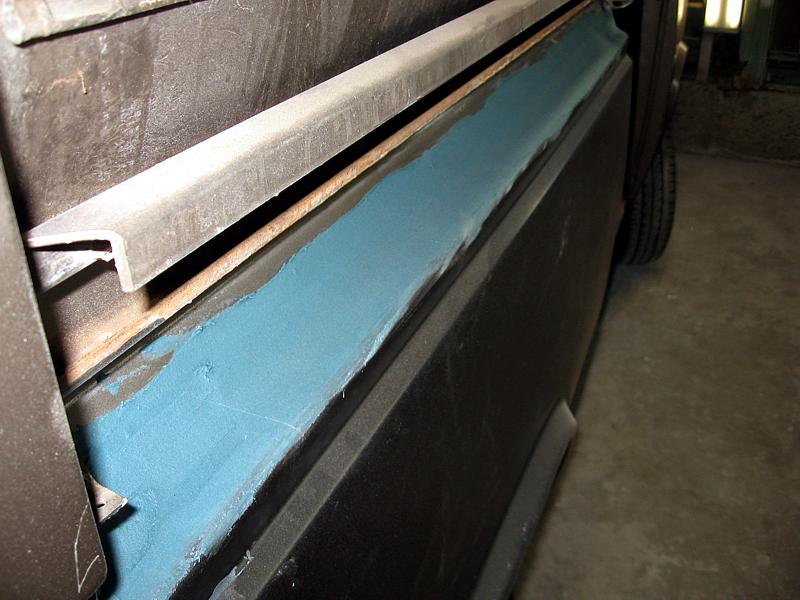
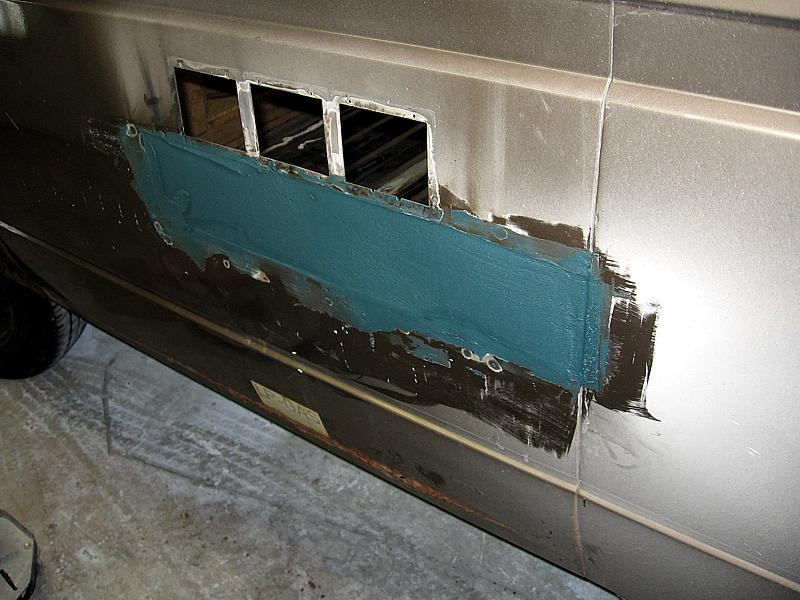 Première couche de micro fibre Evercoat / First coat of micro fiber from Evercoat |
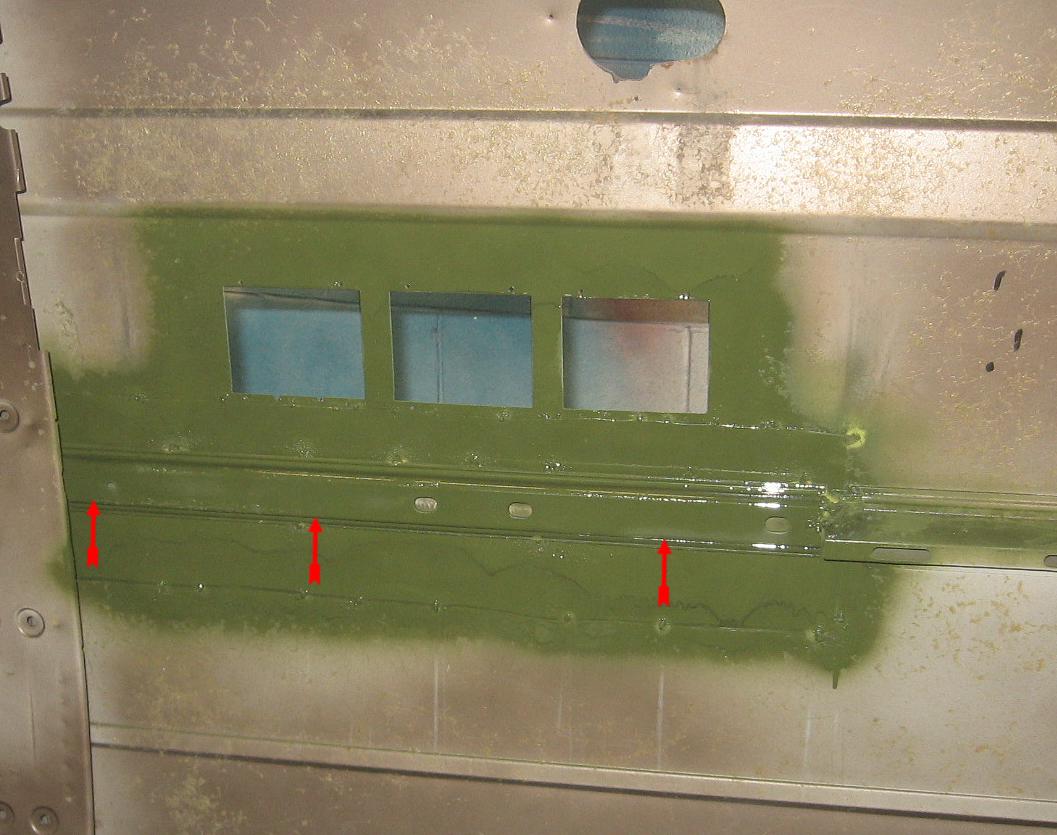 ZINC partout, le renfort utiliser pour remplacer le vieux rouiller viens d'une des rail du plancher du banc central :-) / ZINC everywhere, the reinforcement part come from one of the rail for the center seat :-) |
 J'ai renforcie le coté gauche, au joint, bien entendu, la coupure a crée une faiblesse, avec ce joint, c'est du solide / I have reinforced the lower panel, of course the joint was now a weak point, but now, it's stronger than ever. |
|
Réparation coté gauche, panneau du bas Repair of the dreaded rusty lower center panel |
||||
 Couper la partie du haut en premier / Cut the upper part first |
 Rusty |
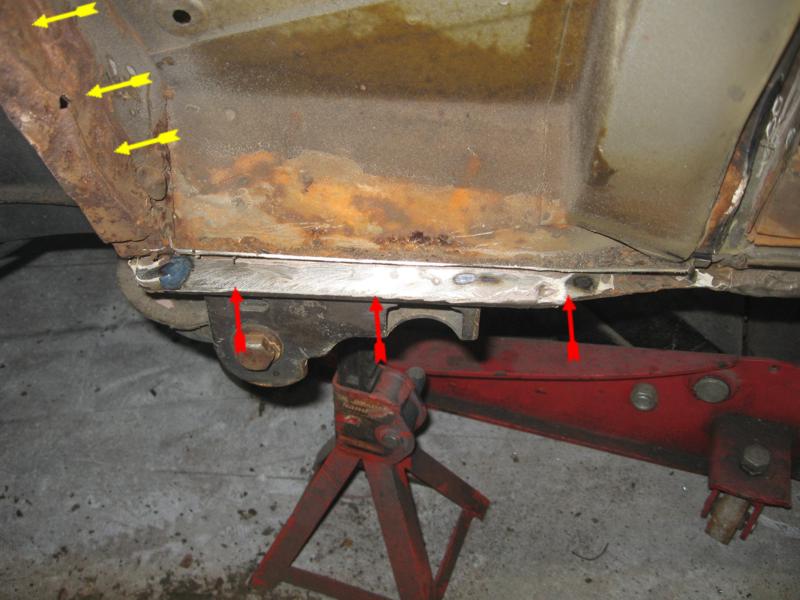
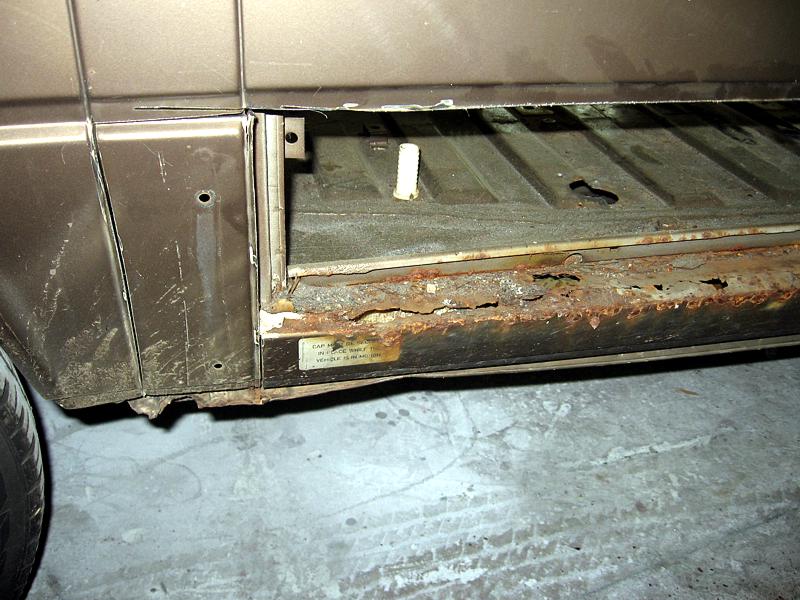 On peu maintenant mieux voir le vrai dommage / Now we can see the real dammage |
 Cela montre bien les pièces a couper / We see here the parts that need to be remove. |
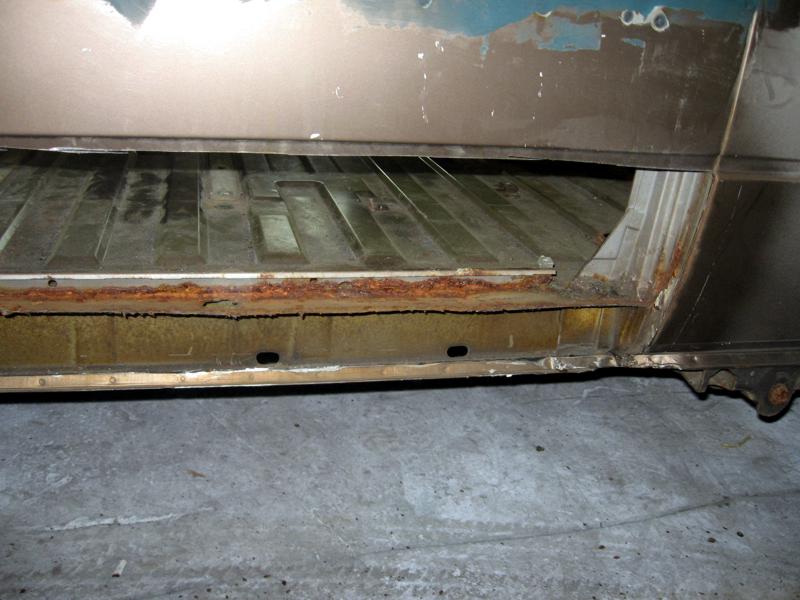 Pas mal en dedans un coup le bas enlever / Pretty good inside |
 Enlever la rouille - plancher / Remove all rust - floor |
 Enlever les coté de l'ancienne tôle (la prochaine fois, je vais enlever moins de metal en haut, couper 2 pouces en bas de l'encavage pour garder plus de force) / Remove the sides of the old skin (next time i will cut the upper part 2 inchs lower to keep more metal so the joint will be stronger) |
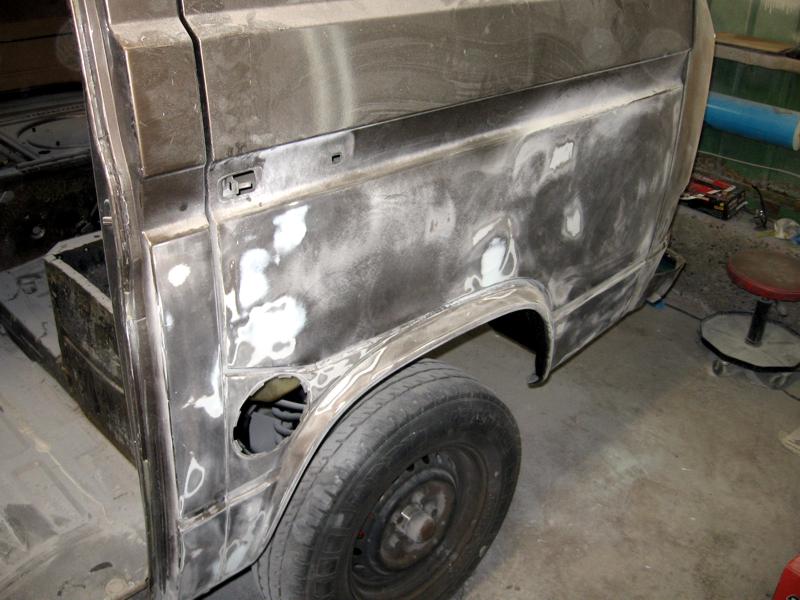
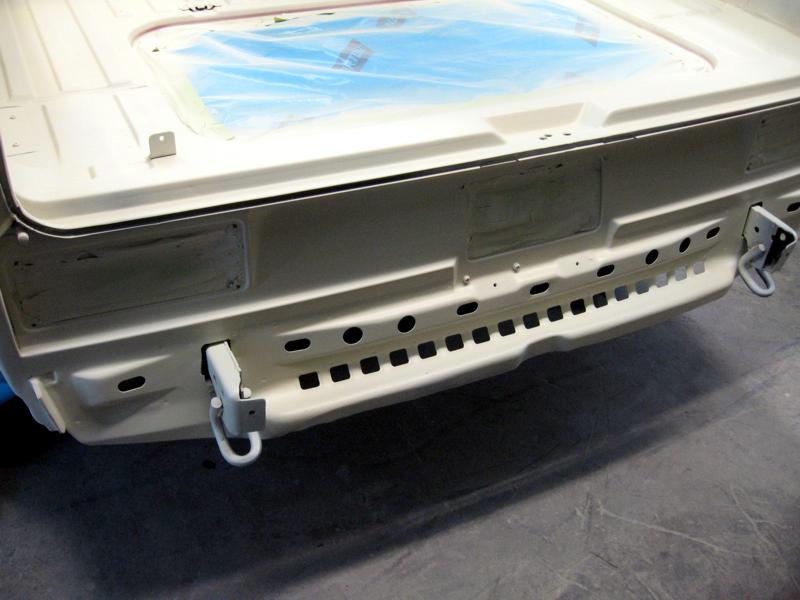
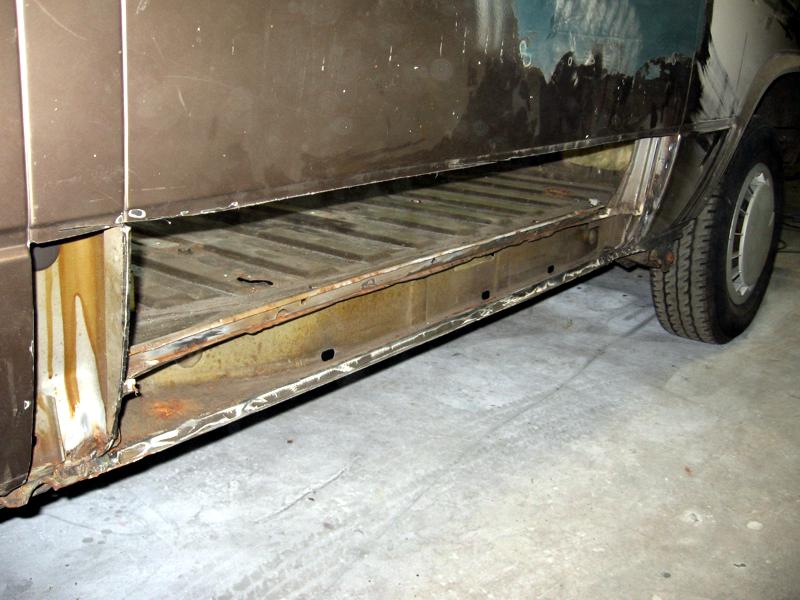 Voila, tout a été sandblaster, grinder et préparer / Everything as been sandblasted, grinded and prep |
 Test de positionnement / Test fit |
 Couche de Zinc et colle / Zinc coat and glue |
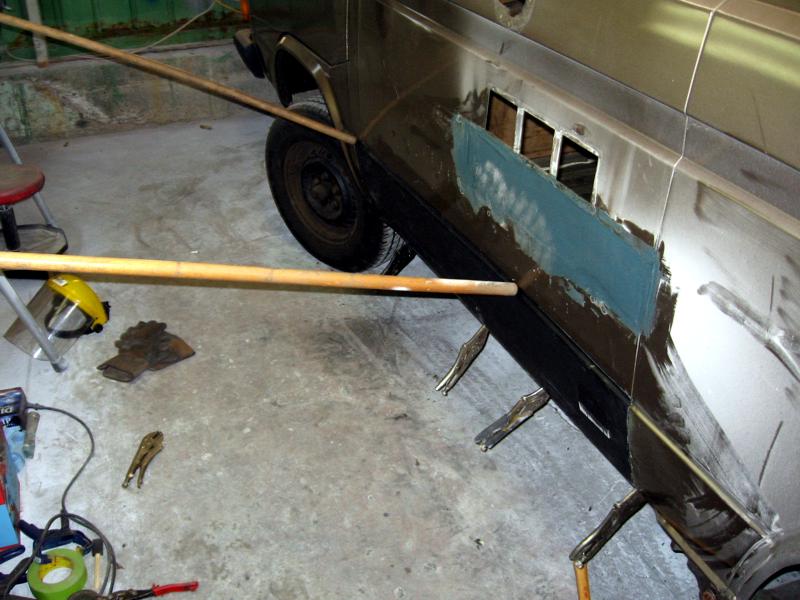 Tenir le tout en place (pas si évident que ca) / Hold everything in place (not so simple) |
 Bon, c'est pas très jolie mais c'est du solide / Well, it's not pretty but it's solide |
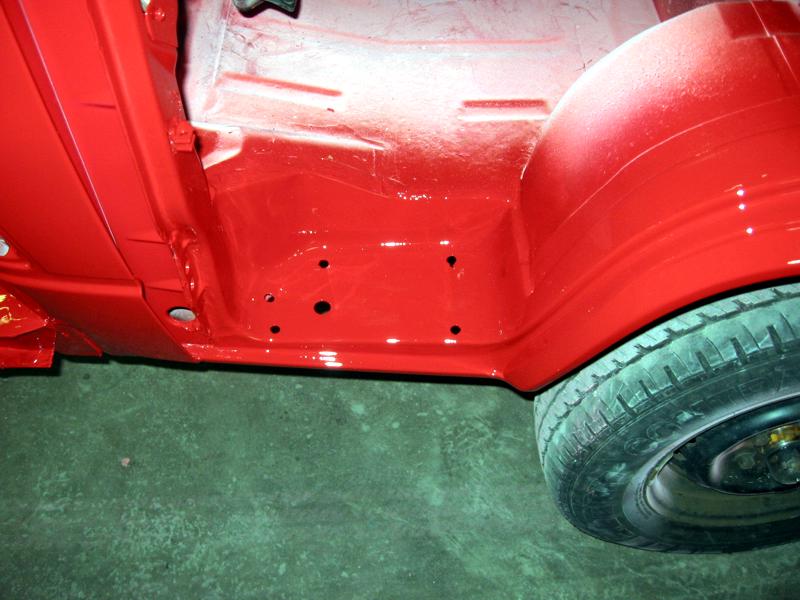
 Je suis très contant du résultat / I'm verry happy with the result |
 |
|
|
|
||||
|
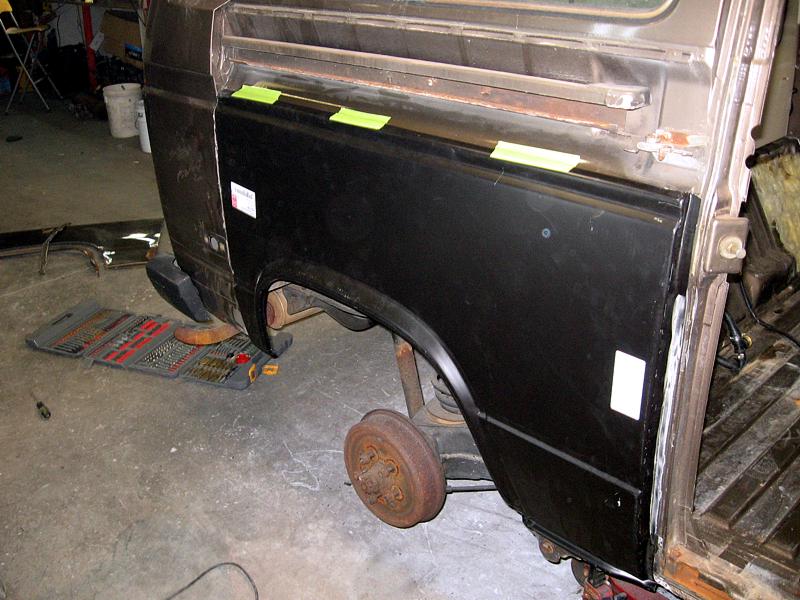
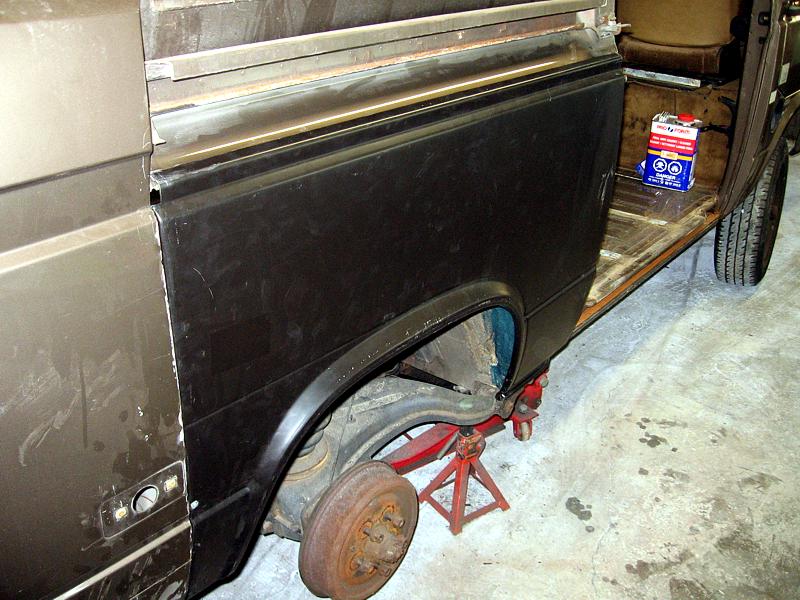
Réparation du bas de la porte coulissante Repair of the lower part of the sliding door |
||||
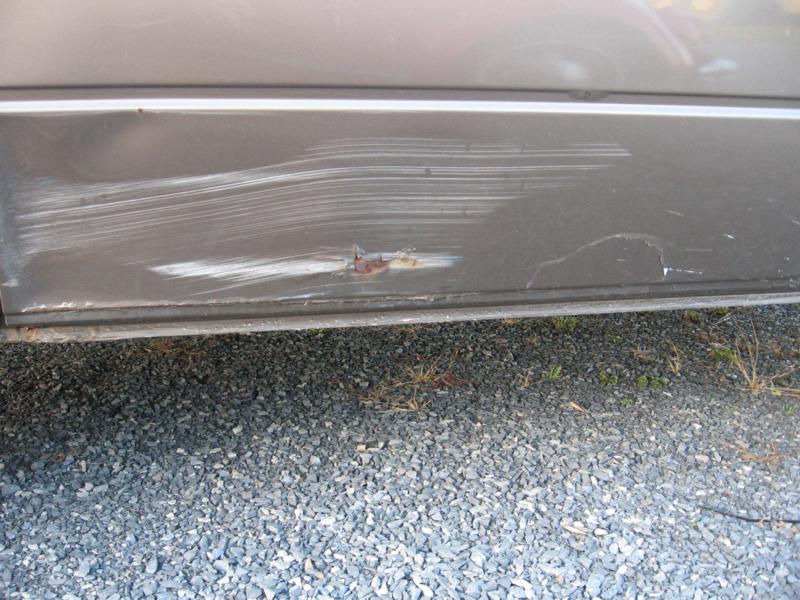 Il serait bien plus simple et moins couteux de changer la porte, faut juste en trouver une... / It would be easier to just change the door... well, in my neck of the wood, they don't come easy |
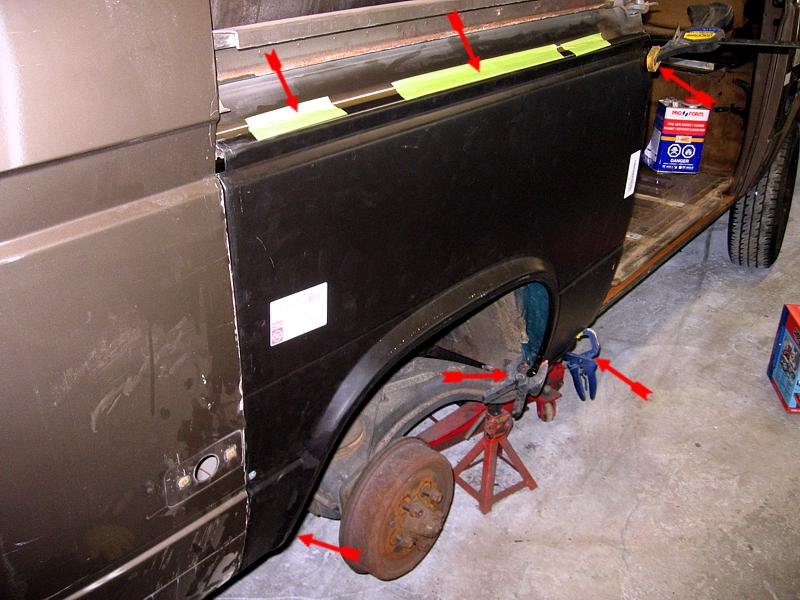
 Couper, mais en laissant un bon deux pouces pour renforcir la tôle / Cut, but leave 2 inchs around so the skin will be stonger |
 Ramener les coté tordu de la tôle en place / Bent back in place the distorded edges |
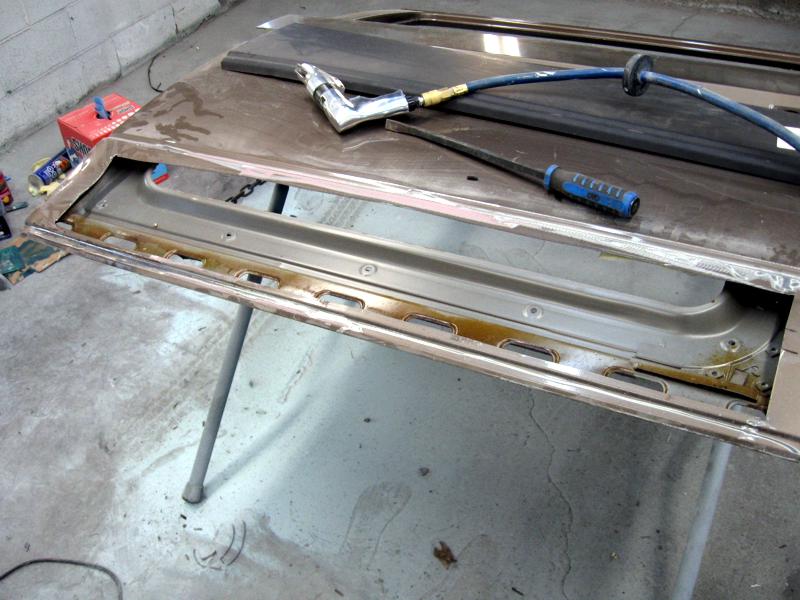
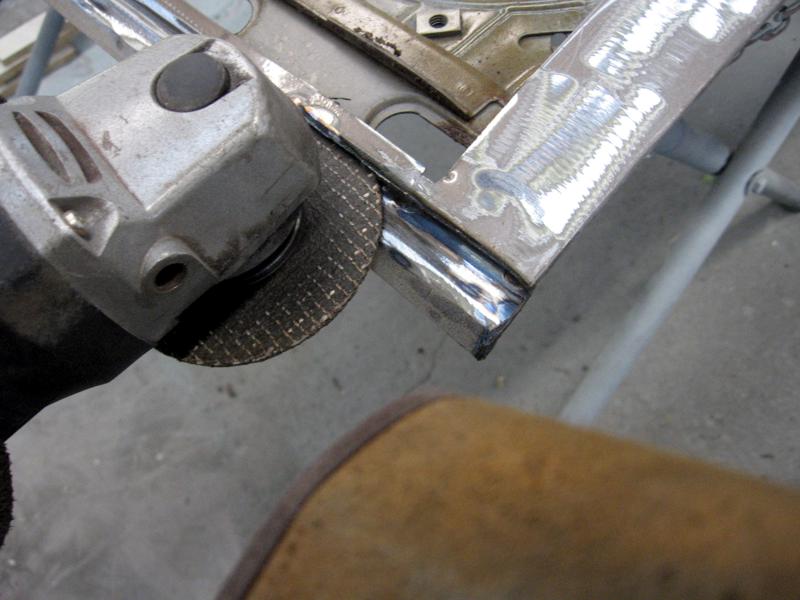 Enlever le bas completement pour que la nouvelle tole se moule parfaitement au coté de l'encienne / Remove the lower end of the old skin so the new skin will fit perfectly |
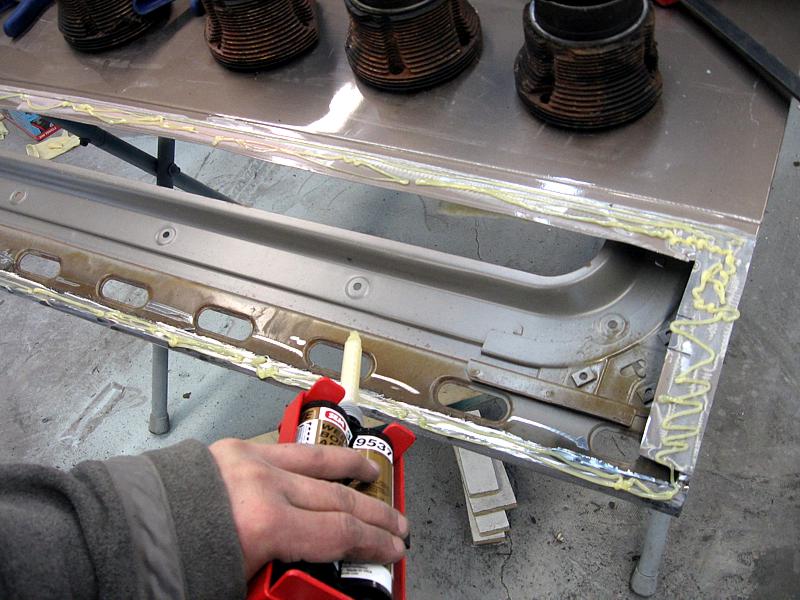 Essayer la tole en premier, et préparer vous a coller / Test fit the skin and after, aply glue |
 Attendre / Wait (funny, the aircooled barels...) |
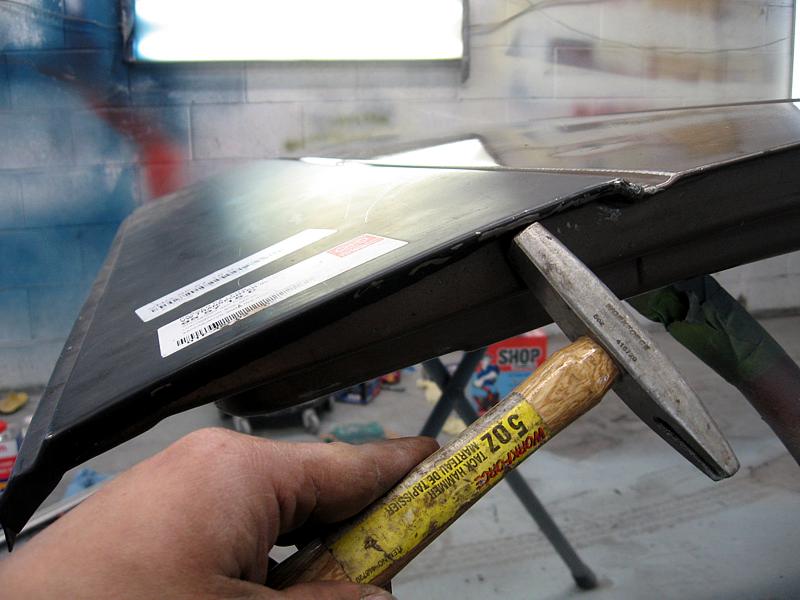 Replier la nouvelle tôle tout le tour / Bent the new skin all around |
 |
 Zink |
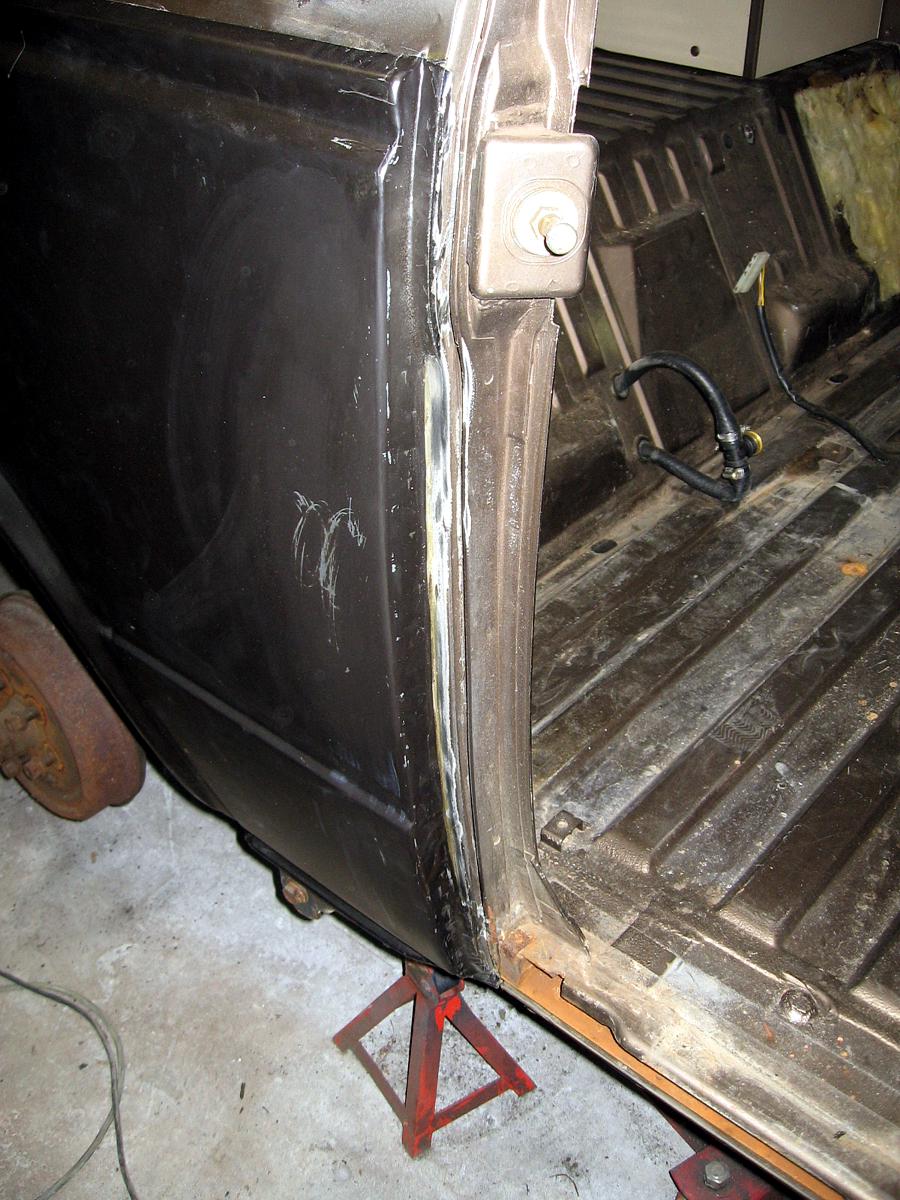
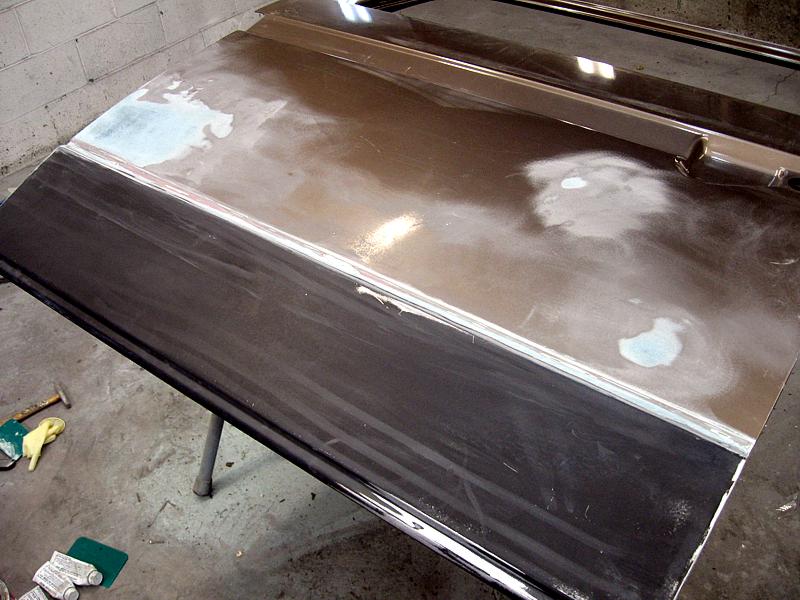 Première couche de micro-fibre / First coat of micro-fiber in the joint on the upper skin (small dammage) |
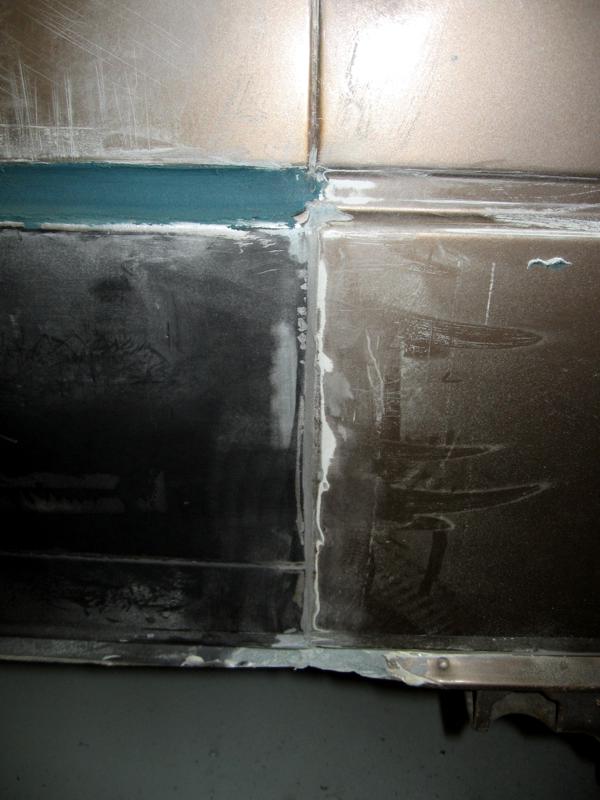
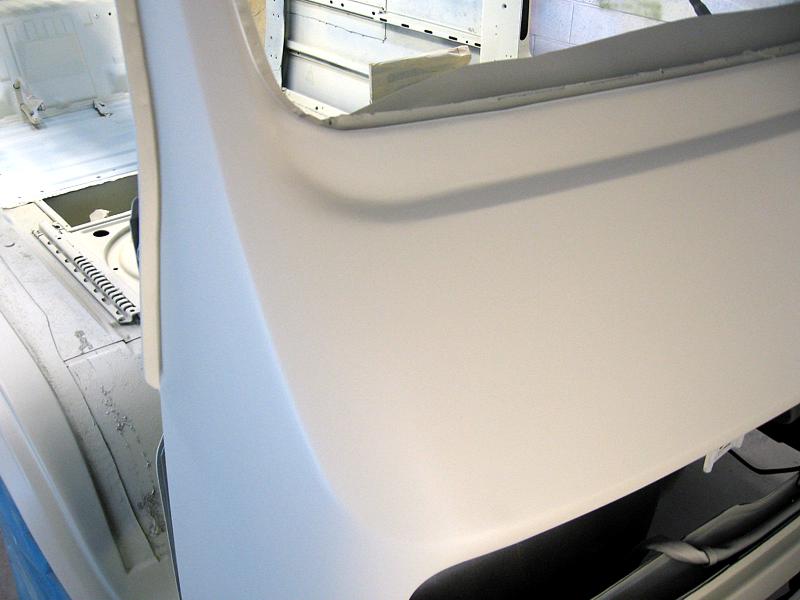
 Une vue du joint en question, legerement plus épais, bien entendu dans le bas, mais j'ai grinder le tout / A close shot of the joint, of course, for all who wonder, it's slightly thicker on the lower part, slightly!!! but i have grinded this one to about nothing |
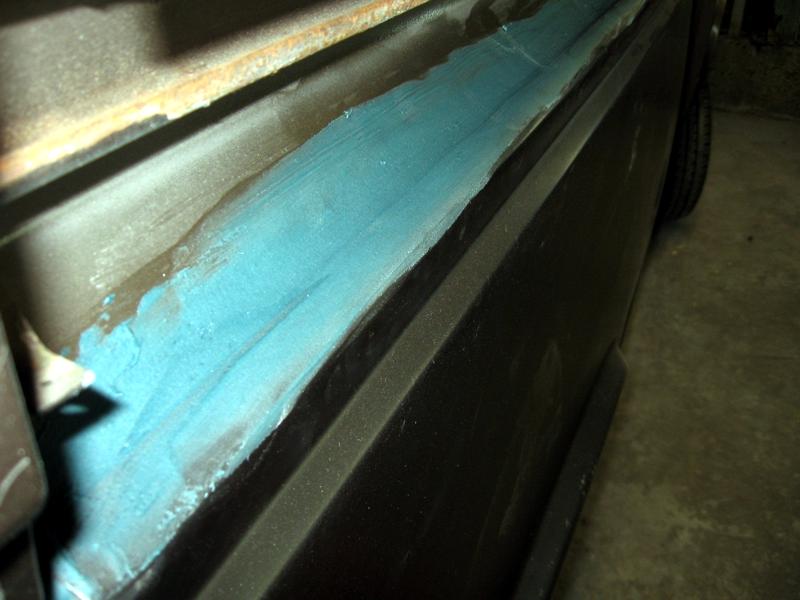
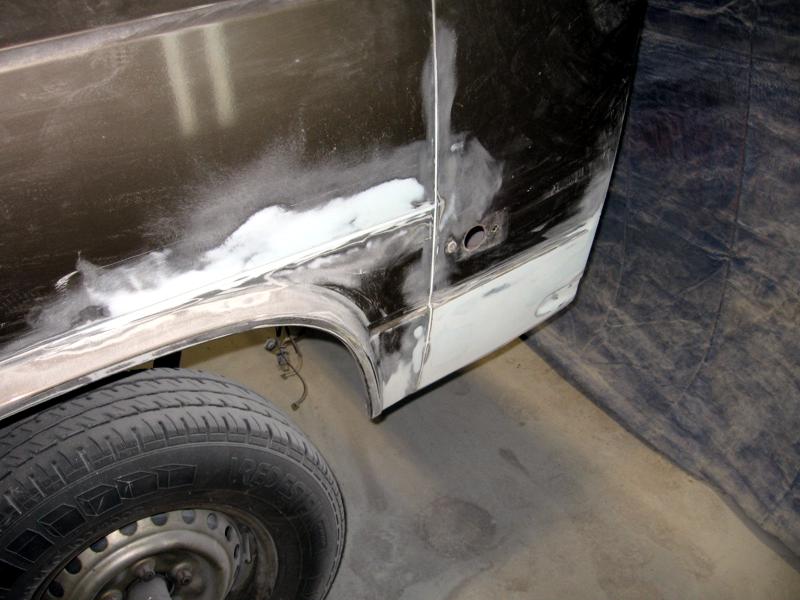
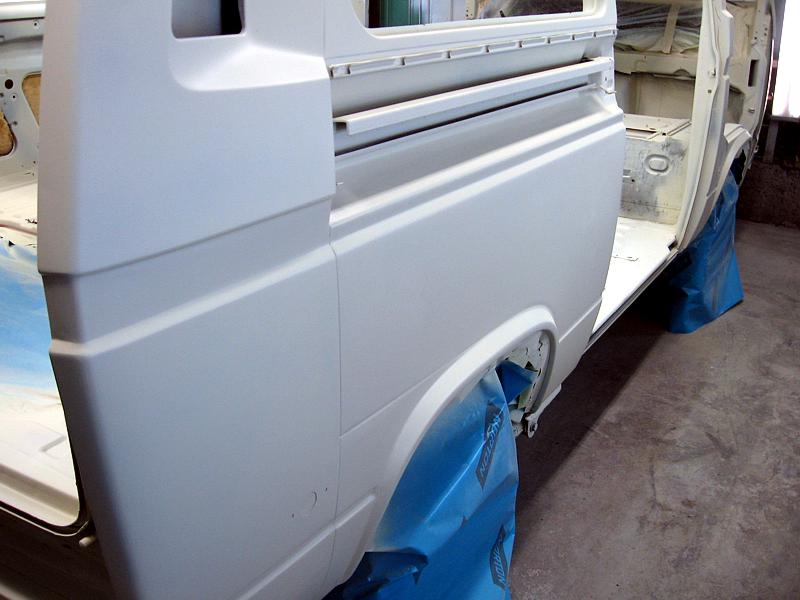
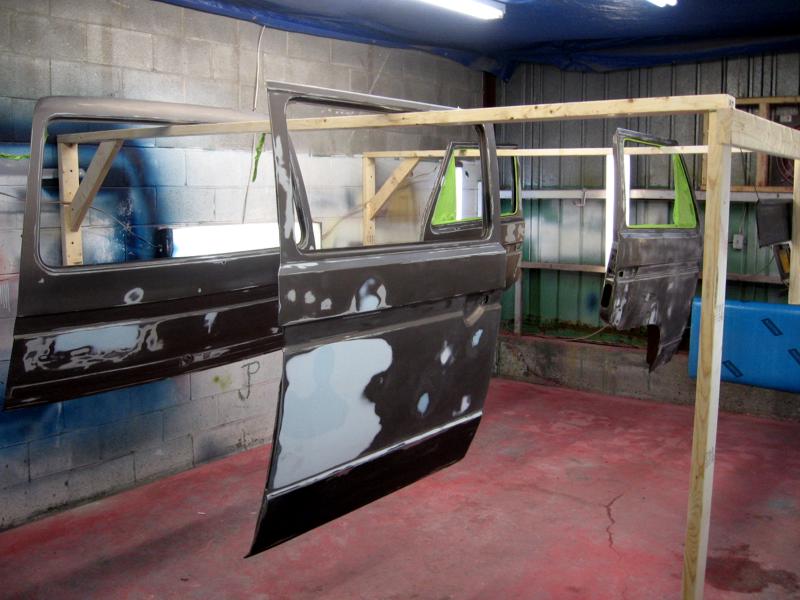
 Prêt pour l'apprêt, après 8 couches de "Spot-lite" fin / Ready for primer after 8 coat of fine "Spot-lite" putty |
Ceci est
MA façon de faire les choses, certainement qu'il y a d'autre façons.... Ben This is my way of doing things, of course they are other ways.... Ben |
||
 You see here that changing the panel is not enough, a lot of work in needed around to make a perfect fit |
 |
 Small dings & scratchs |
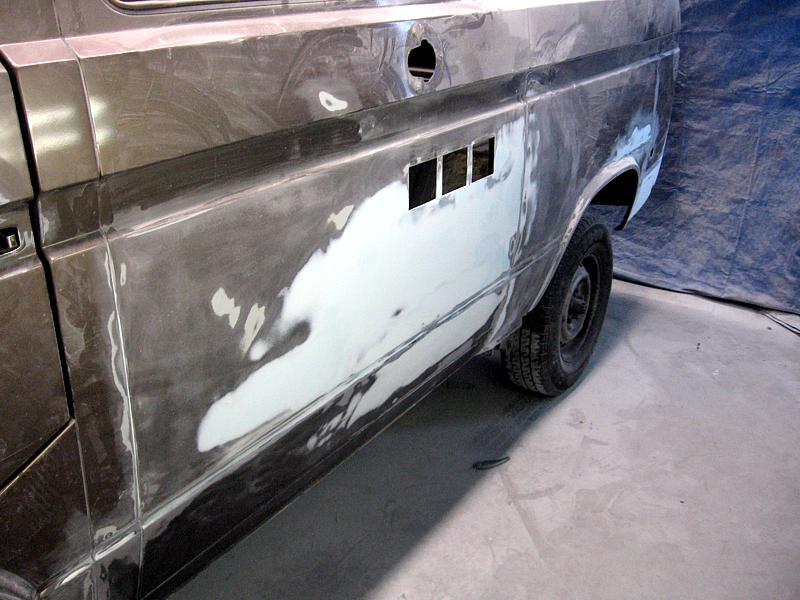 Agains, to "smooth /level" that portion you need to go far each side, there is probably 8 small coat. |
 |
 |
 The heck with that portion, it staying brown. |
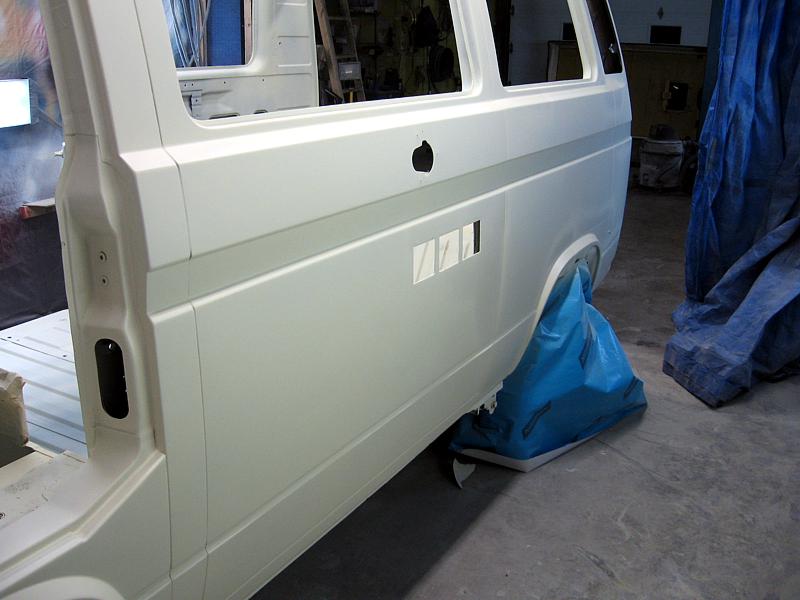
 Clean and ready for priming |
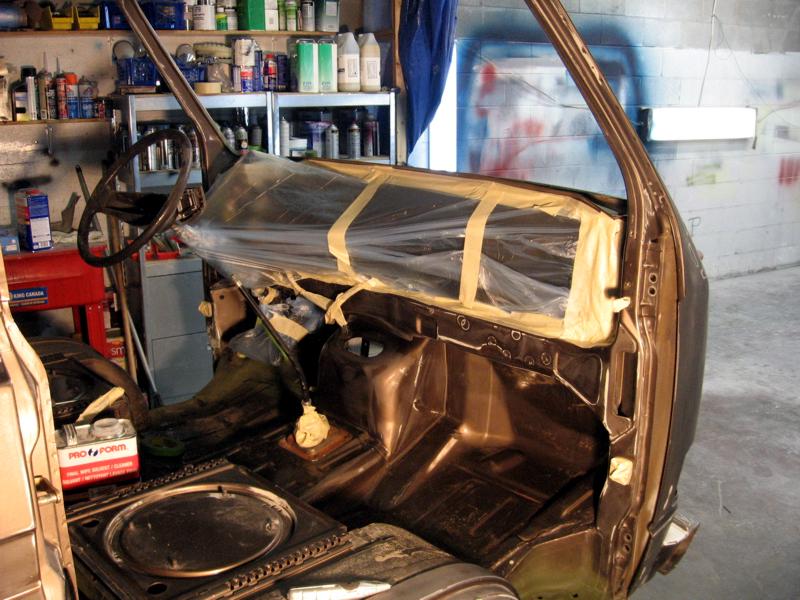
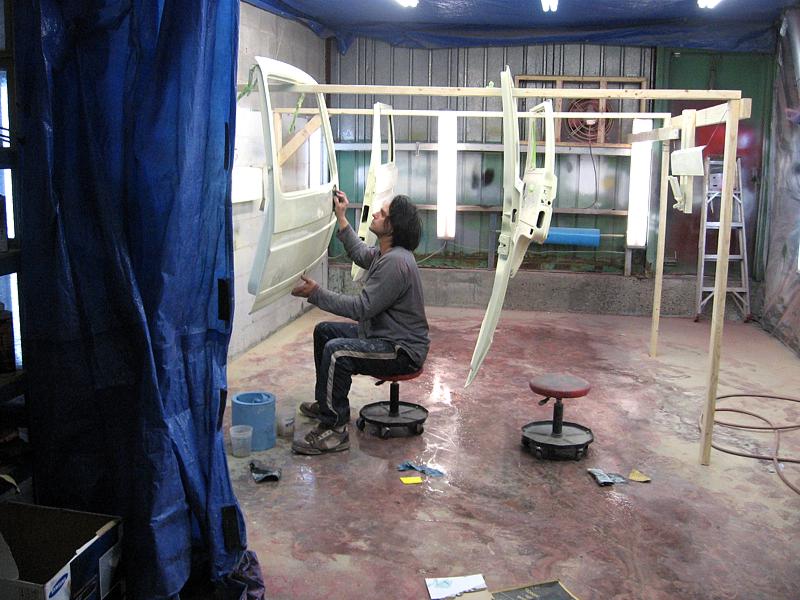
 I had to empty this van anyway (remove AC, fixx all panel), that is why i went that far |
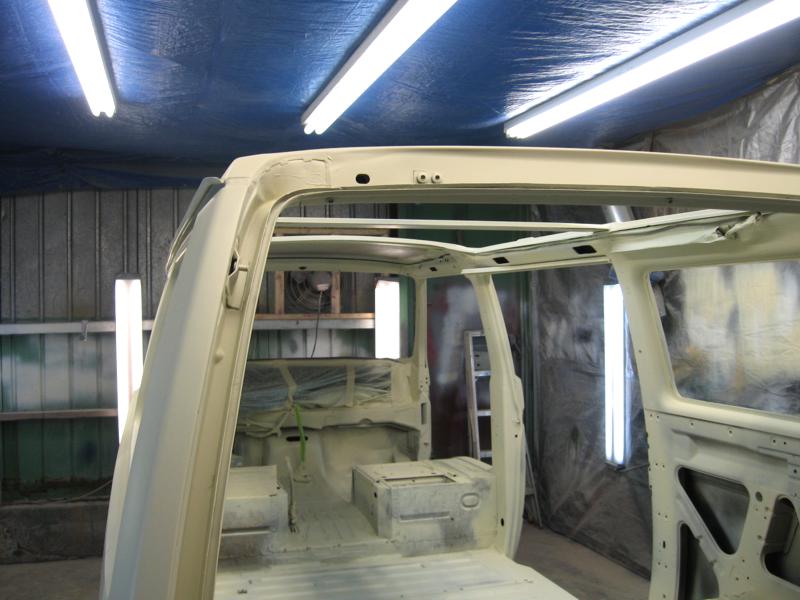
 This is crasy, watch your step wile painting inside. |
 |
 |
 |
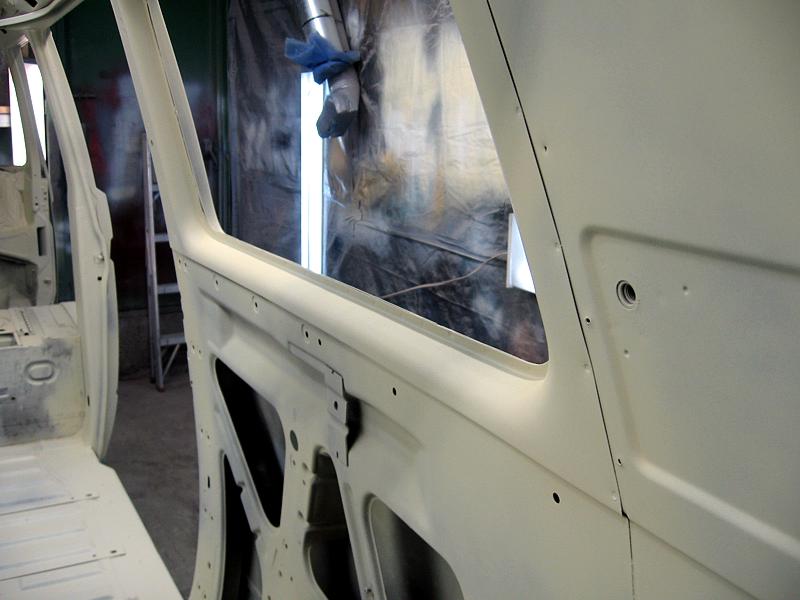
 I had to re-do the lower windows skin, 18 holes, weld metal, no time for pictures, i was too mad! |
 As i had to redo everything, i removed the front seams, very nice. |
 |
 |
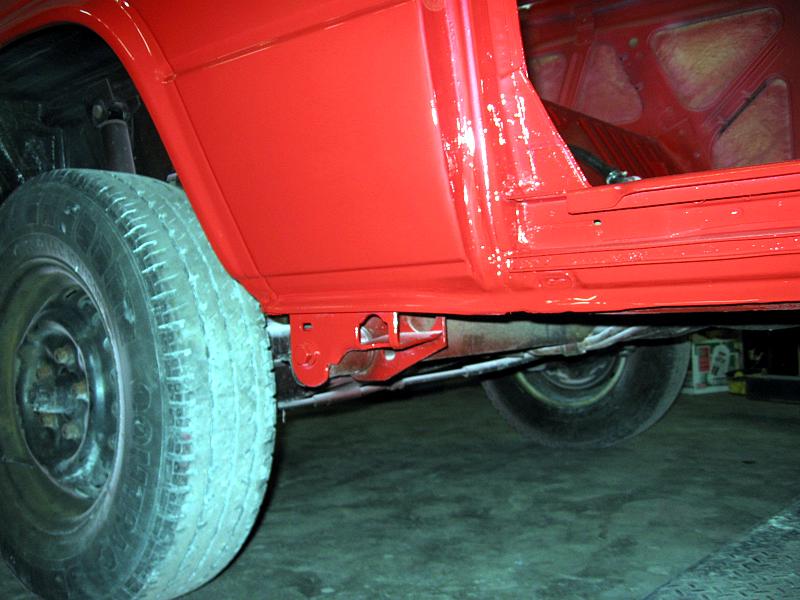
 I'm very happy for now |
 This was a pain! |
 |
 |
 |
 |
 |
 |
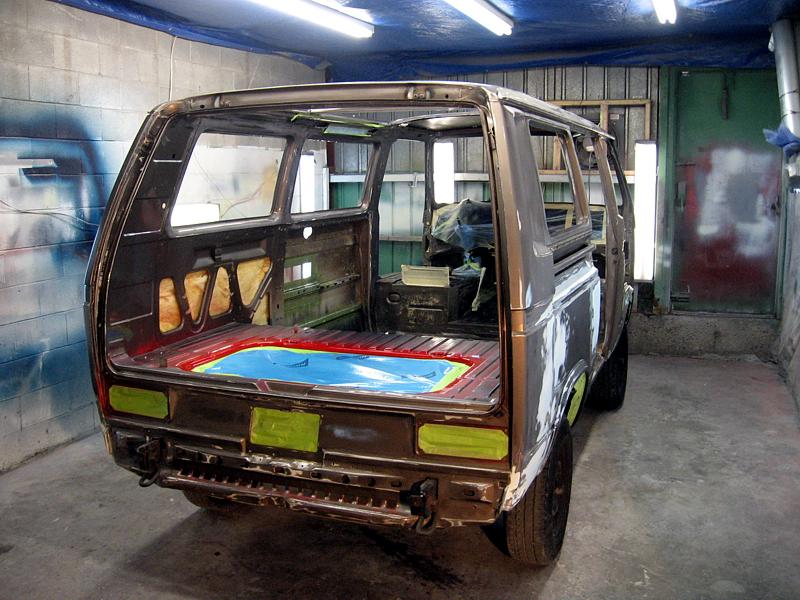
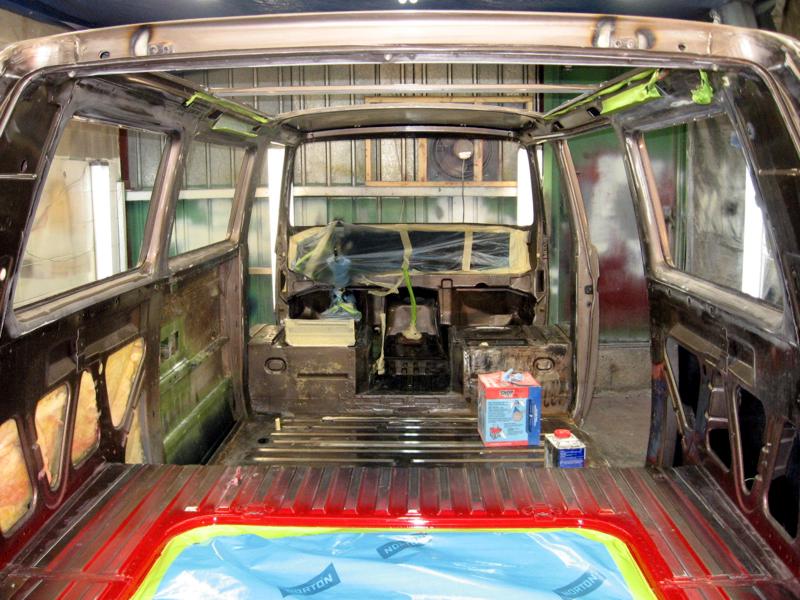
 Van in million of pieces.. |
||||
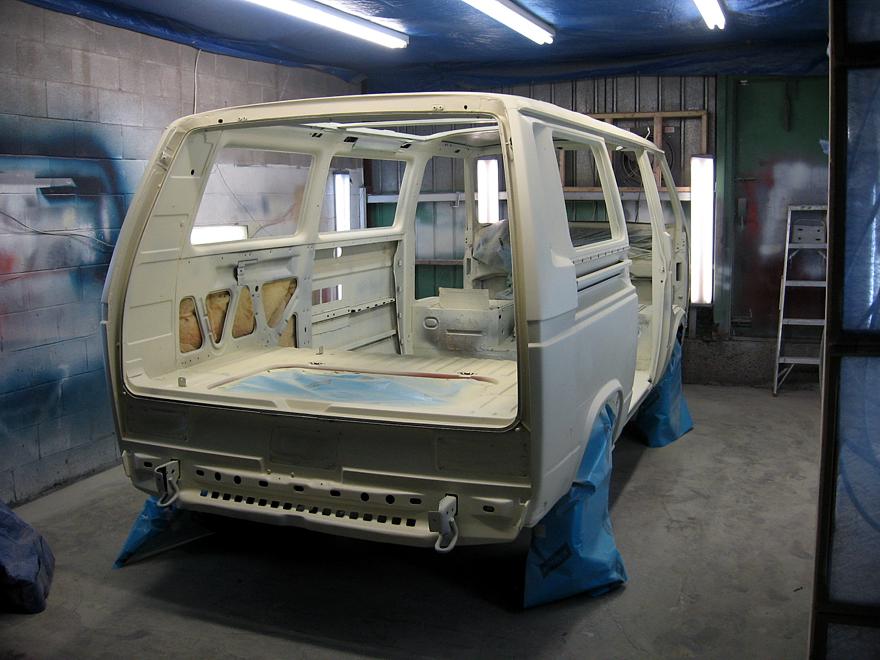
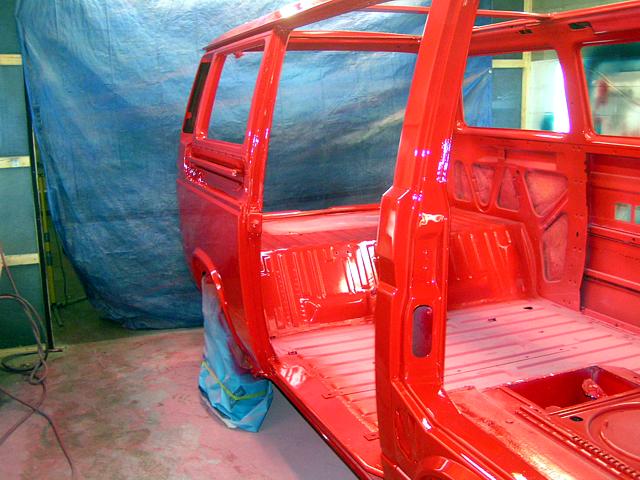
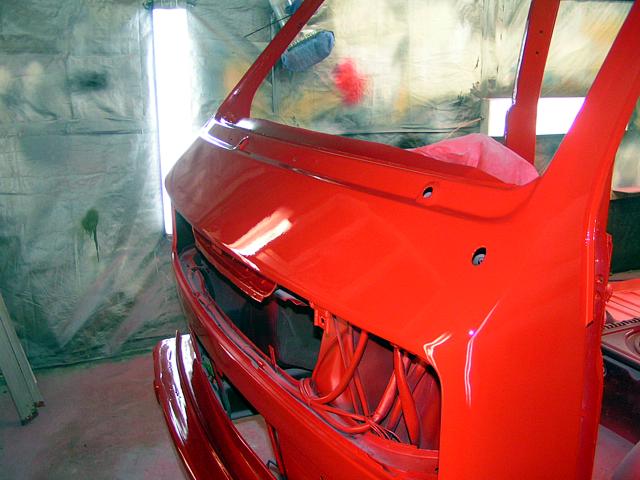
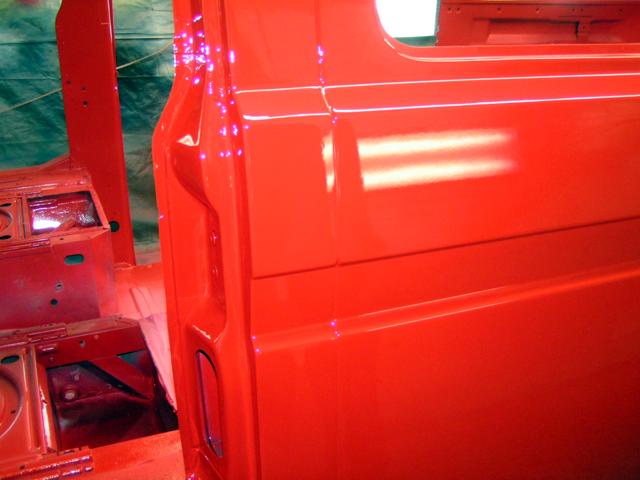
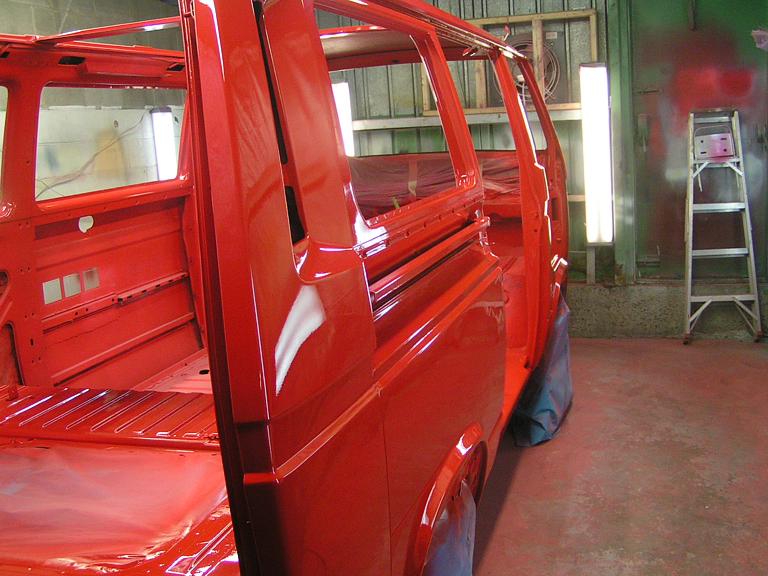
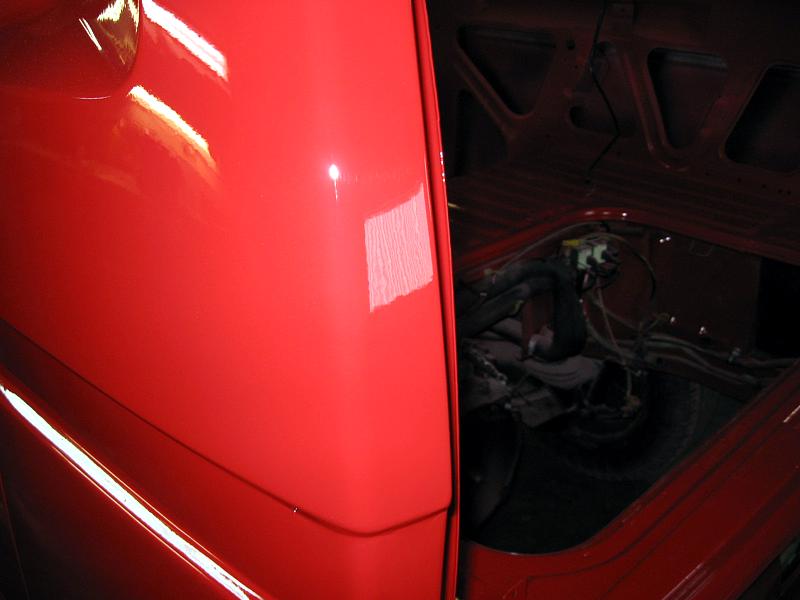
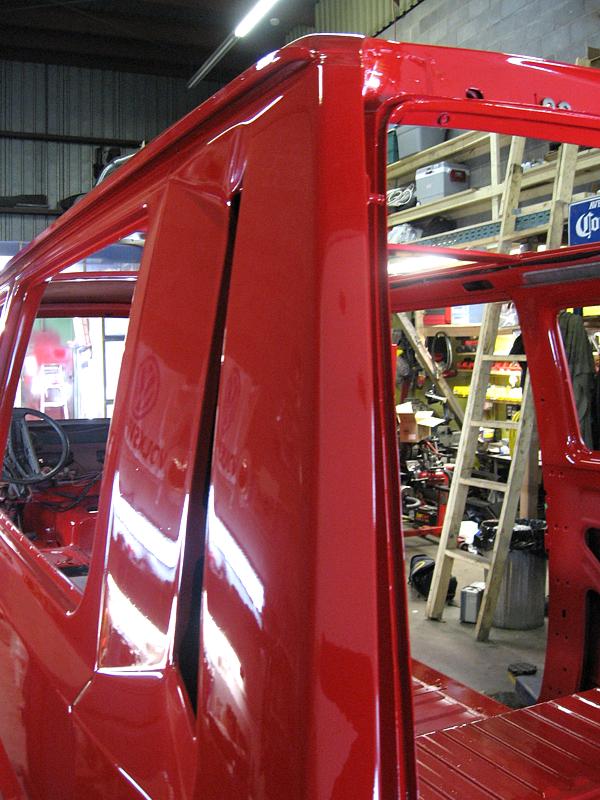
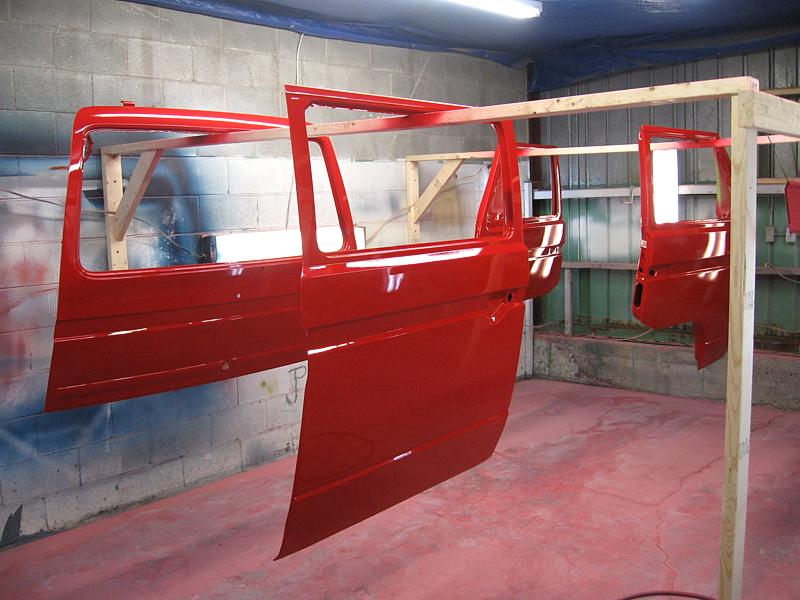
| The color... finally (taken with a mediocre Canon small Digital cam) | ||||
 |
 |
 |
 |
 |
 |
 |
 |
 |
 |
 |
 |
 |
 |
 |
 |
 |
 |
 |
 |
 |
 |
 |
 |
 |
 |
 |
 |
 |
 |
 |
 |
Click here to see the full project. | ||