Clutch...
(Français à venir)
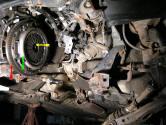
There is 4 kind of "clutch Job",
|
 |
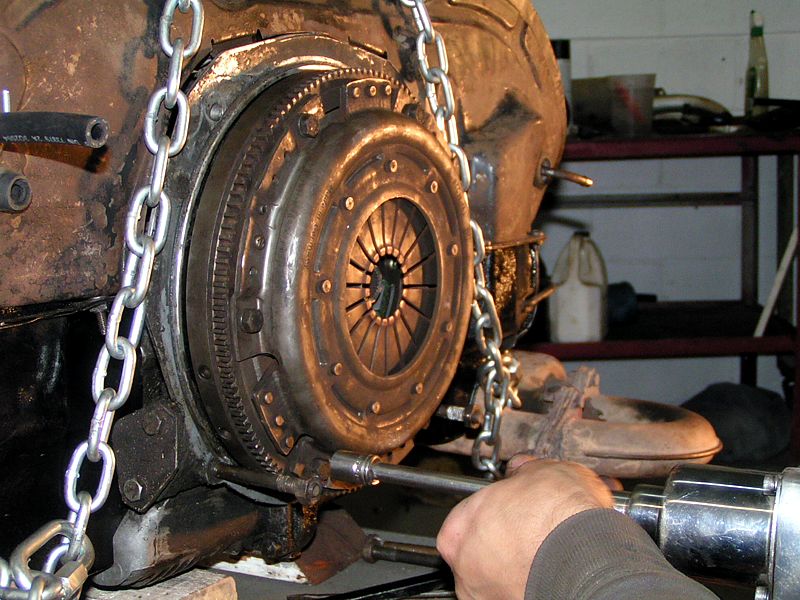
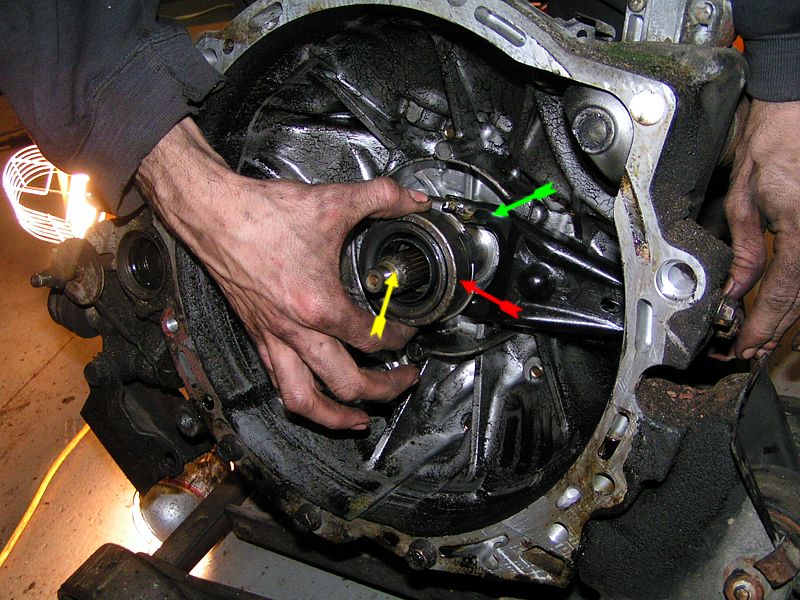
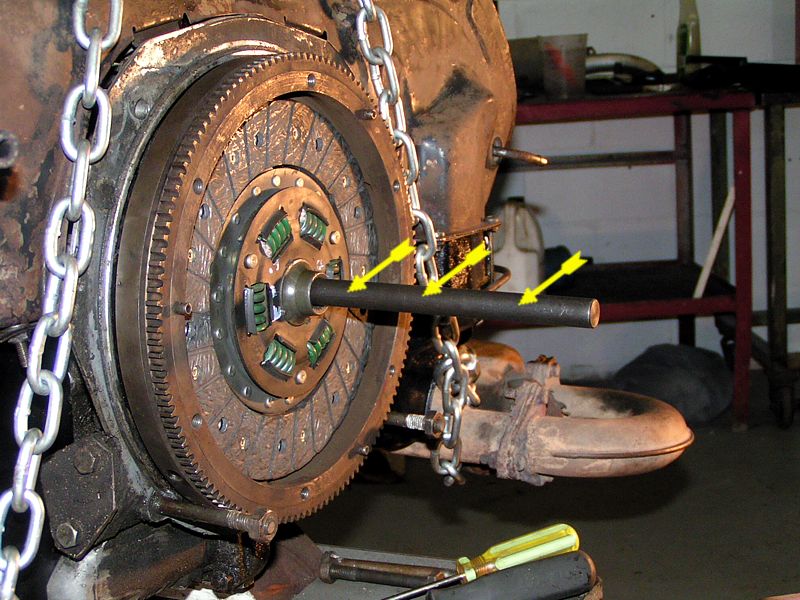
General view (Ford Probe V-6) of a
clutch system when the transmission is out, yellow shows the disc, green
the Pressure Plate and red is the Flywheel... |
 |
Removing the release bearing, in most
car/van, a simple pull / twist is needed |
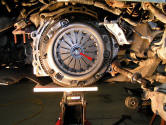 |
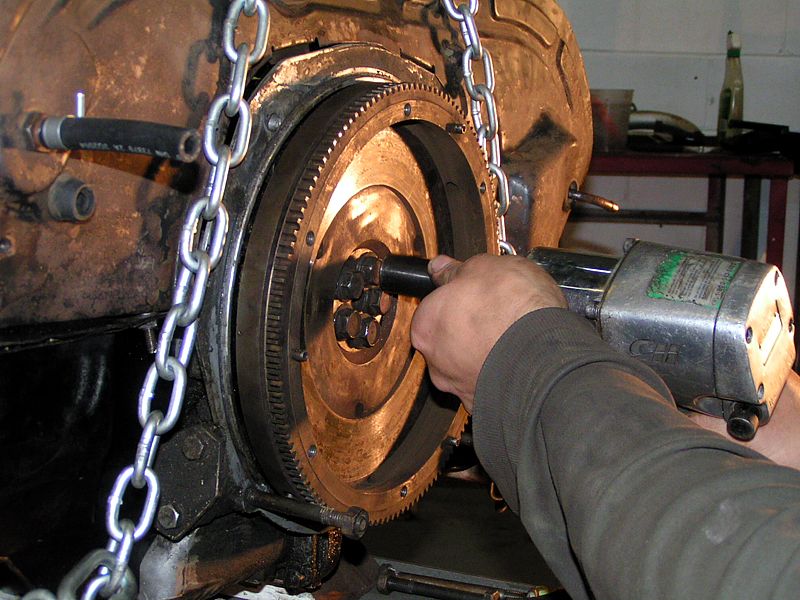
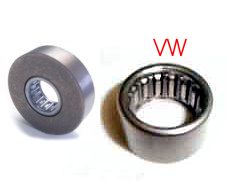
View of the Pilot Bearing and clutch
assembly, it's time to removed the clutch.... all 6 Pressure Plate
screws and the 6 Flywheel screws, gently removed the Flywheel (most
engine have the same clutch system) |
 |
On
that specific car, "the front release bearing retainer gasket" was
leaking, and NOT the rear crankshaft seal... |
|

|
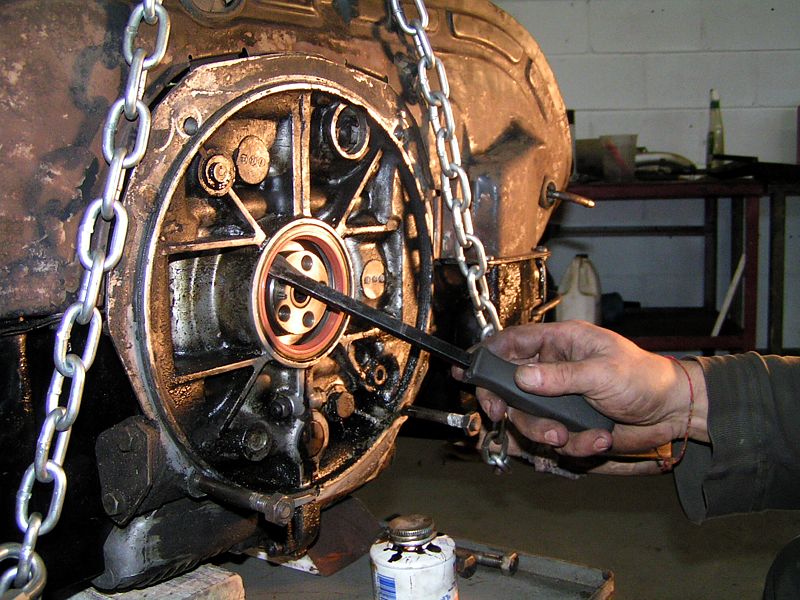
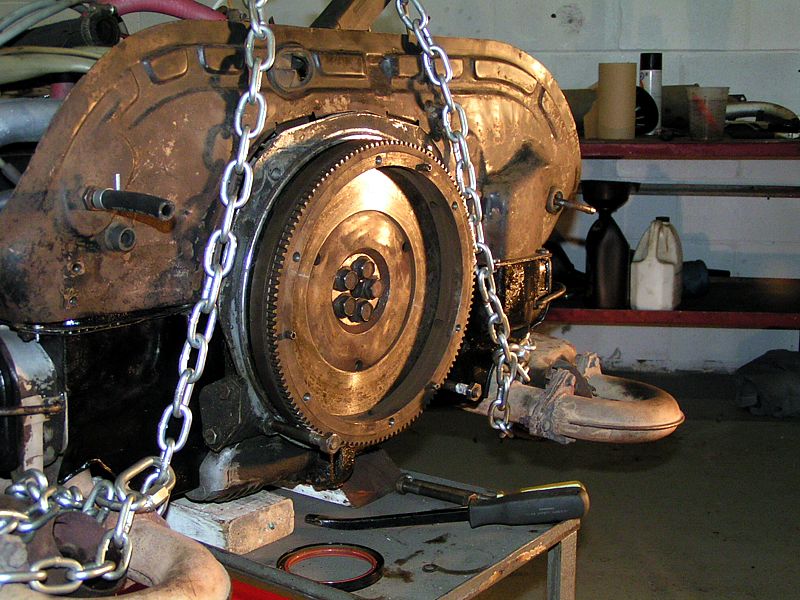
General rear view (Clutch removed)
of the VW aircooled engine, all Westy clutch
system are the same, including all
Vanagon years, only the disc diameter change on the early
model |
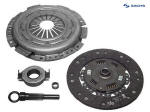
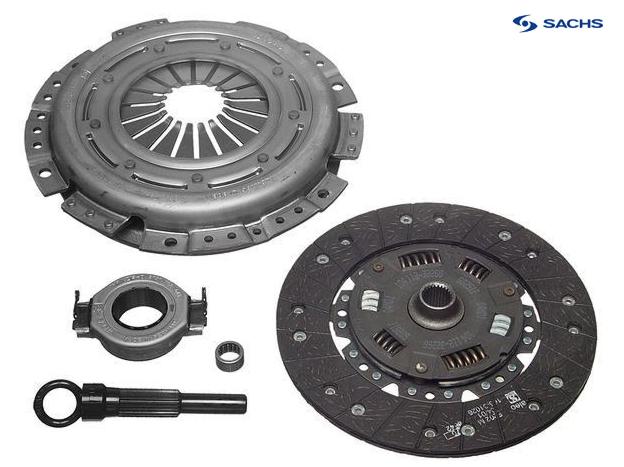
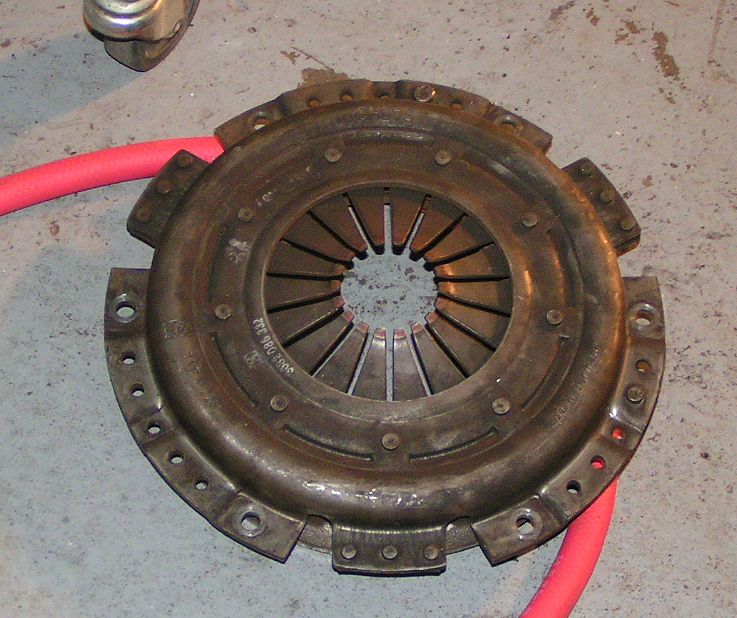
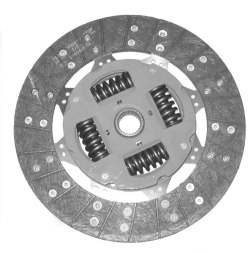
Here is a typical
clutch kit.... |
 |
|
|
|
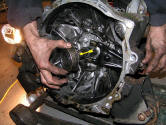
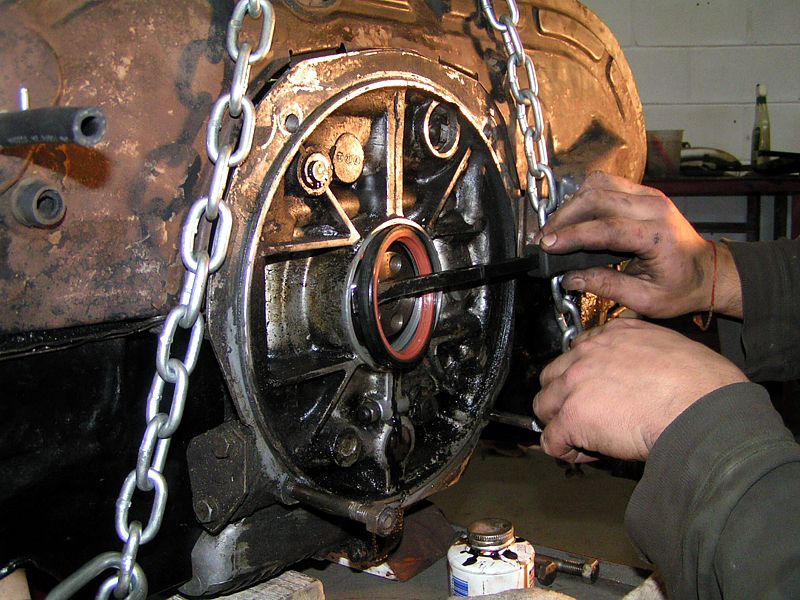
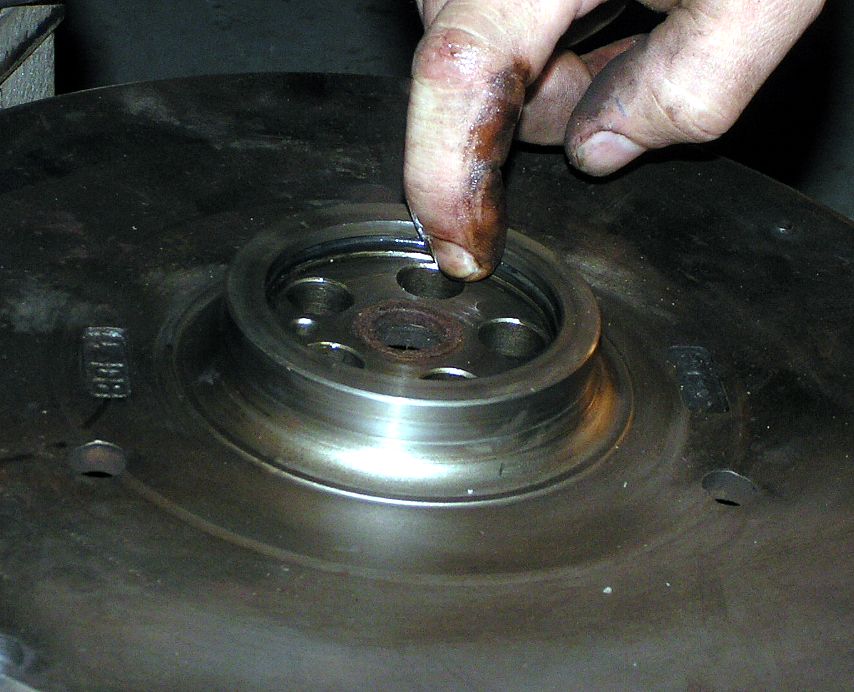
| Removal of the rear crankshaft
seal, be careful not to scratch anything!!!! Inspect the core
surface (yellow) and the crankshaft surface. Make sure the Pilot
roller bearing is rolling!!! Red arrow shows the endplay shims... |
|
|
|
|
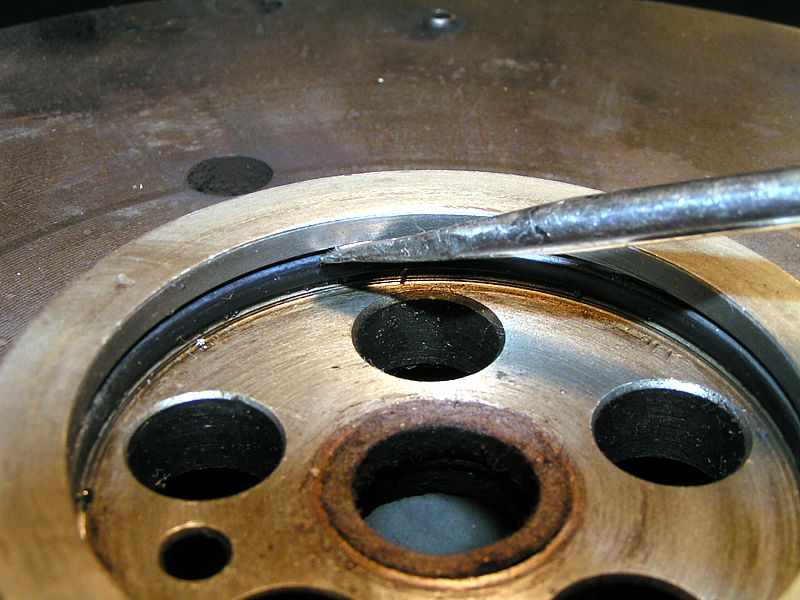
| Put back the new seal, just tap
this one IN with any kind of soft object.... it need to be even with
the engine core edge. |
|
|
|
|
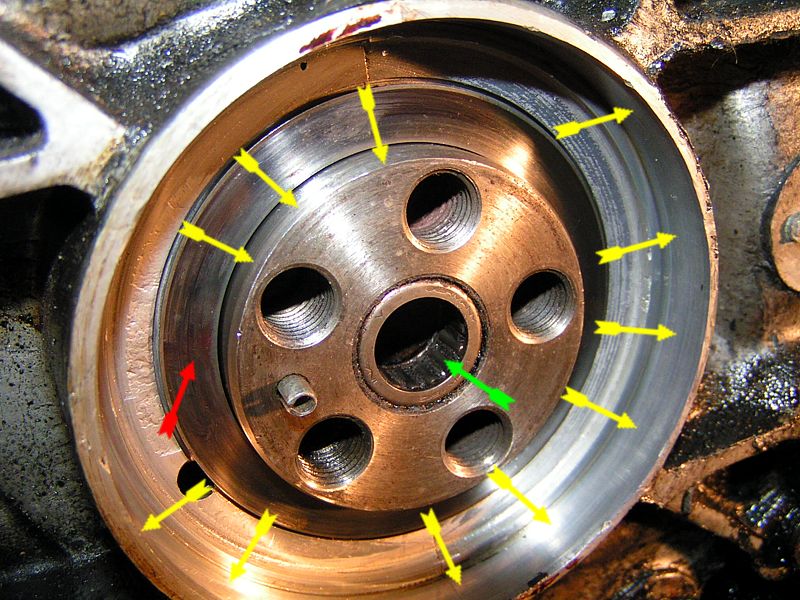
Change the flywheel inner O-ring,
this one is as crucial as the rear crankshaft seal...Lately, most leak i
have seen come from this one..... Grease this one. |
|
|
|
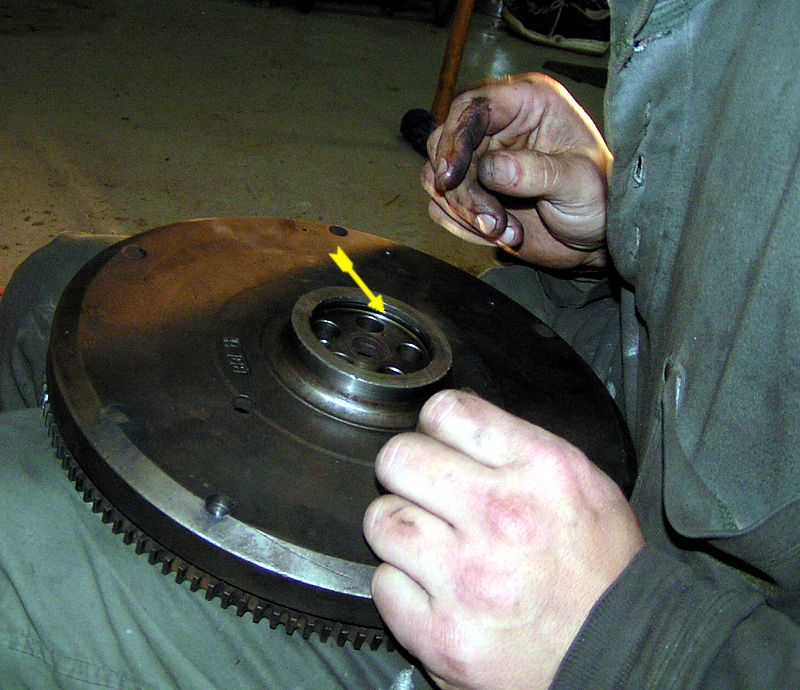
| Grease the flywheel (yellow
arrow) where the seal sit, put back the 6 flywheel bolts (Check
torque!!!!!....i don't...never did and never will!!!! with the
CAREFUL use of an impact gun) |
|
|
|
|
| Time to put the new disc IN, you
will need a "Clutch alignment tool" (Clutch
alignment is critical to installation. Otherwise, expect the
transmission to not line up with the pilot bushing).
Clutch alignment tool comme with various adapter to fit inside the
pilot bearing.... When you are sure that the clutch disc hole is
align with the pilot bearing, put back the NEW pressure plate.
|
|
|
 |
Now it's time to screw the 6 screws,
begin with any of those but make sure you do them in a crosswise
pattern, tighten those one by one, a few turn each until you make the
final torque... |
|
|
That's about it....
|


