|
Pistons & heads removal & installation videos |
|
First thing here!!!! i am not a frigging
big company! so my "bandwidth"
(file transfer per month) is not that big, my website is already near 1.5gig, and that is my limit for now, so please download those with
recpect and care. Save it to your hard drive!!!
This is a very mechanical section for those who want to venture in the
unknown, he he he. So for you it's there, for the curious one, please think
twice. If my provider call me (again) to tell me that my bandwidth is tio
high, i will simply close that page!!!!!
Those 5 videos are about 25meg each, so
that 100meg total, a lot for me!!!! They are in a WMV (Windows Media Video)
format because i think that they give the best quality VS size. |
| |
|
I do that for pleasure, for fun, no other reason, people like me make
internet a nice place to learn stuff.
Do your share/part one day!
I have divided this section in 4
videos for 2 reasons, first, you may not need all 4, second, it's easier to
dowload those 1 by one in case of a problem. Moderne internet make high
quality video possible, no need to spoil everything! |
| |
|
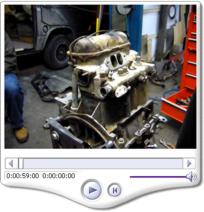
Ok, so what are those videos about, they
are about how to the job the right way, wasser engine are... special, after
too many "top-end", i think i have mastered the art of doing so, so i have
decided to share the way of doing that job! This is for the advance mechanic,
this is not an easy job, so if you want to go that far it's because you
already have some knowledge about engine, i won't tell you how to remove the
engine and to remove every thing around this one, you should be ready for
that. Here, i'm showing you the real deal, yea! your heads are out, that is
not a big deal, now you want to venture farther to make a better job, of
course, you are so close, well, those videos will tell you if your up and
ready for the job!
Click on the image to see the video!
|
|
|
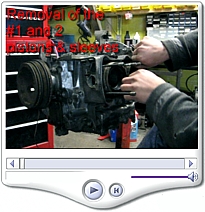
I have just added this video lately,
many are scared about breaking the head stud, having sleeve stuck to the
head... even if it can happen, 95% of the time, nothing happen, hammering
the heads hard will get the sleeve loose form the head. If sleeve won't
budge form the head, insert a prybar in between the head and the "tab" on
top of the sleeve.
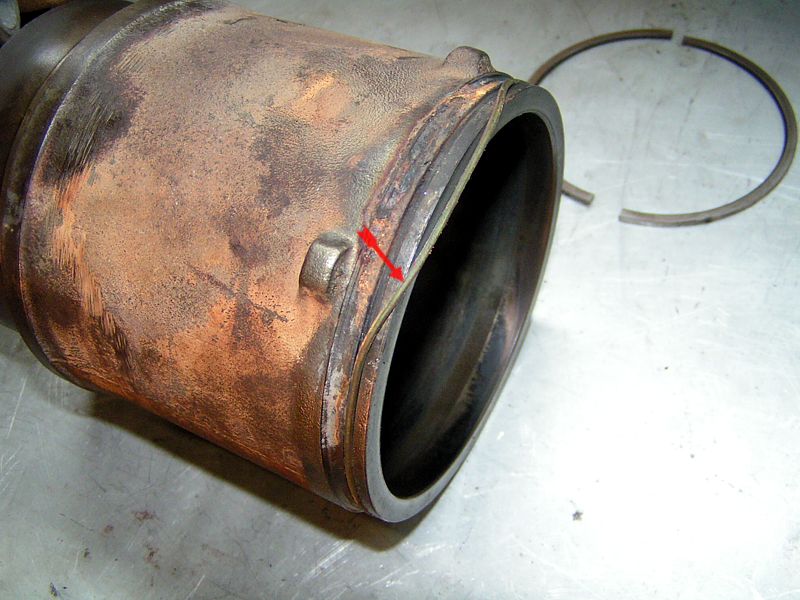
Yes, on top of the sleeve, there is 3 pry tab. Be
sure to put the 2 pistons at mid point/travel and not TDC. This will give
you more room if you don't plan to remove the sleeve and pistons. |
 |
|
In that first video you will see how hard
it is to remove "some" Sleeve/pistons, sometime they go out easily, sometime
not, this will tell you alot about the pistons condition. With time, i will
add some comments, but for now, just watch! |
 |
|
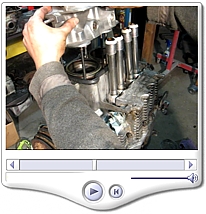
Time for pistons/sleeve cleaning, check,
measurement, rings, o-ring job. Remember that this is a 5min videos, there
is so much i can show and explain, of course i have checked the rings gaps
but i have no time to show all details. Also, you should know that this kind
of job is time consuming, it's NOt worted most of the time, new pistons are
the way to go. With time, i will add some comments, but for now, just watch! |
 |
|
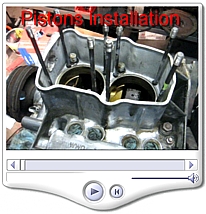
Installation is way more easy if the
pistons pin hole have been cleaned, only the C-Clip is kind of a dificult
task. What you should know is that you need to respect sequence, on the
right side, you need to do #1 first and #2 after, no way out! On the left
side, #3 first and #4 last. |
 |
|
Ok, here it is, the head insallation, of
course, here the motor is sideways, gravity help A LOT, sideway, engine ine
the van!!! it's quite something else. Sideway: are sleeve in or out, are
pushrod into the hydro lifter? It is almost stupid to do this kind of job
with the engine still in the engine compartment. Removing head(s) imply that
most parts around head need to be remove, that mean about everything!!!!
With time, i will add some comments, but for now, just watch! |
 |
|
|