2001 Kawasaki KL250 Super Sherpa restoration.

I thought i should explain the paint process.

  1. First thing is to do the rough, get the ding out, fix scratch. Never use thick coat of putty!
  2. Sand, sand and sand again. It may take up to 5 coat of putty to get the shape back. A scratch will be 10 times uglier when the paint is done.
  3. Clean everything with water and then with a stuff call "final wipe".
  4. Apply the adhesive product, 1 light coat. Most part are made of plastic/nylon, primer/paint won't hold there long if you don't use an adhesive.
  5. First coat of Primer, see, look for scratch, defect, apply more thin coat of putty if needed.  Use water sanding so you will make less dust.
  6. Do at least 3 coat of "builder primer", sand in between with water and 600 grid sand paper. Just to make sure no scratch are left.
  7. Sand final coat with 1000 or 600 grid.
  8. Apply Valspar Z777 paint adhesive. (or other make)
  9. Do 2-3 base coats (if urethane paint is used, only 2 coat of paint is needed)
  10. Do 2-3 clear coats. DON'T do 3 coat if you don't plan to sand & buff, paint will be to fat and orange peel will show!

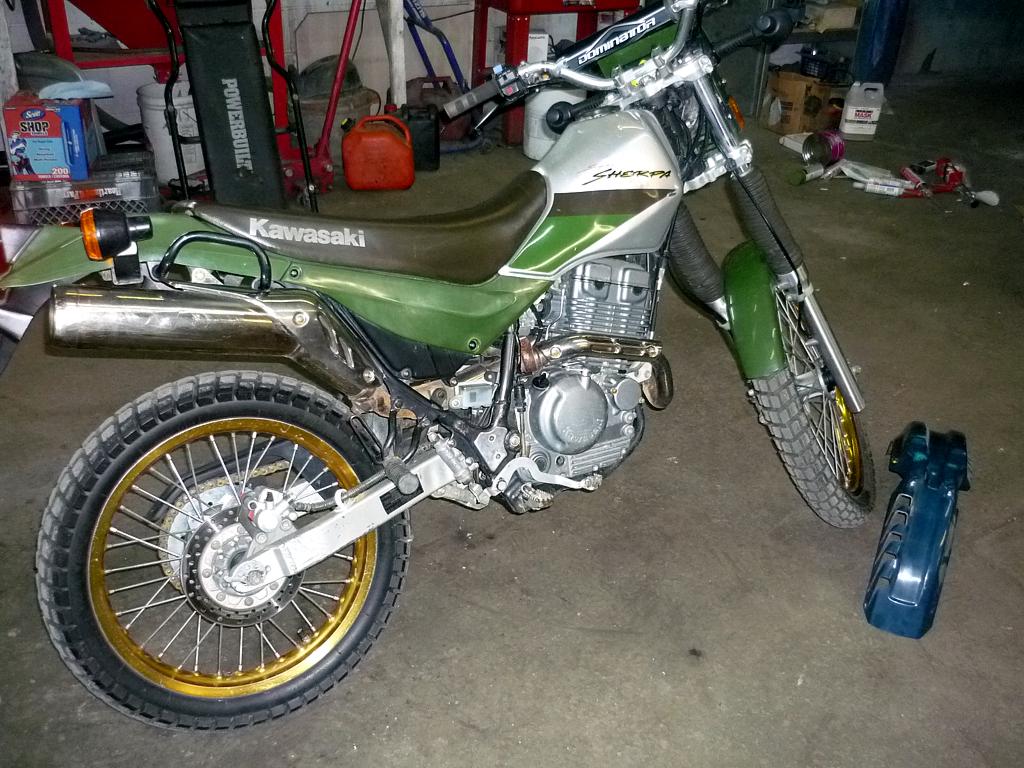
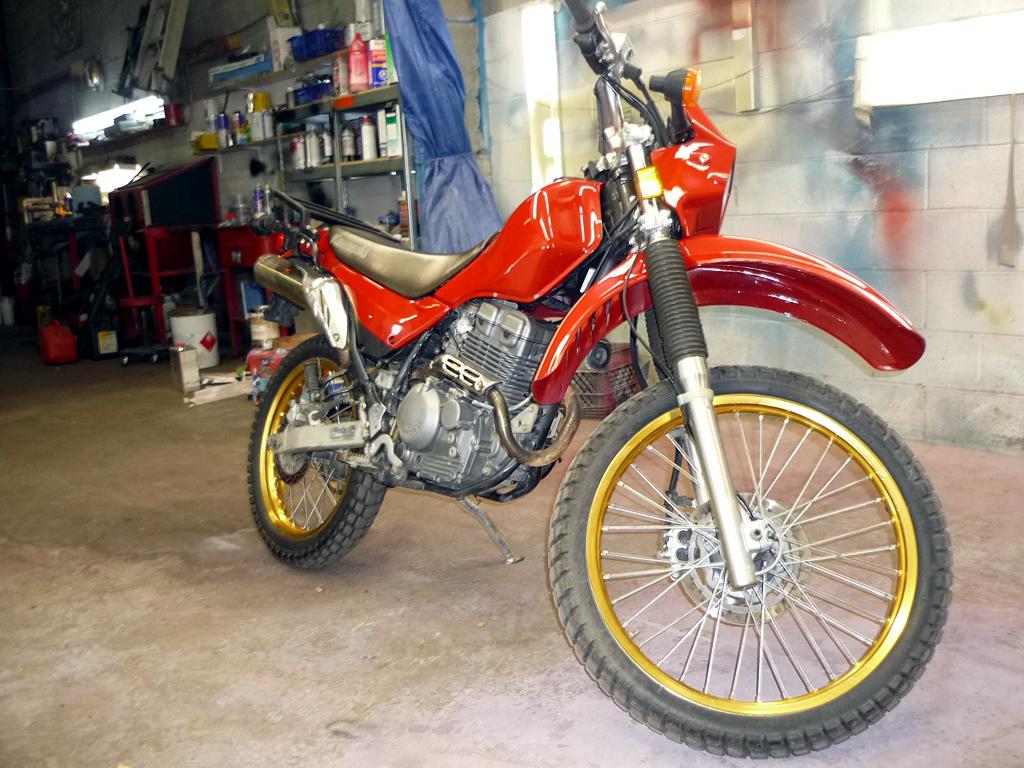
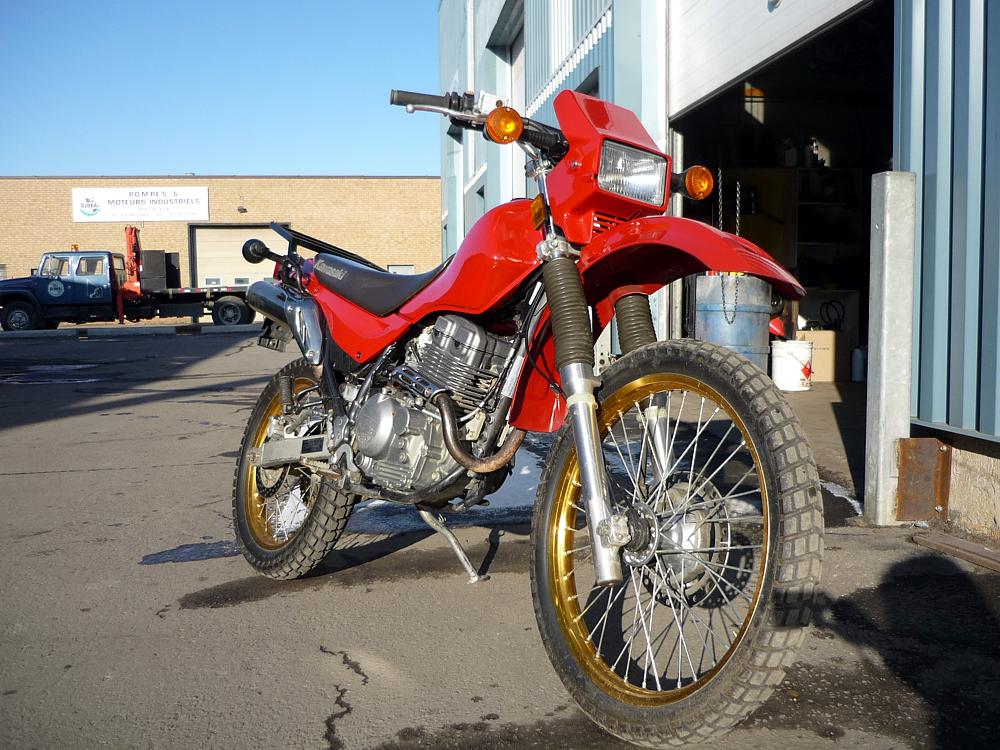
I found a KLR front fender for 30$
 

Little ding are already out
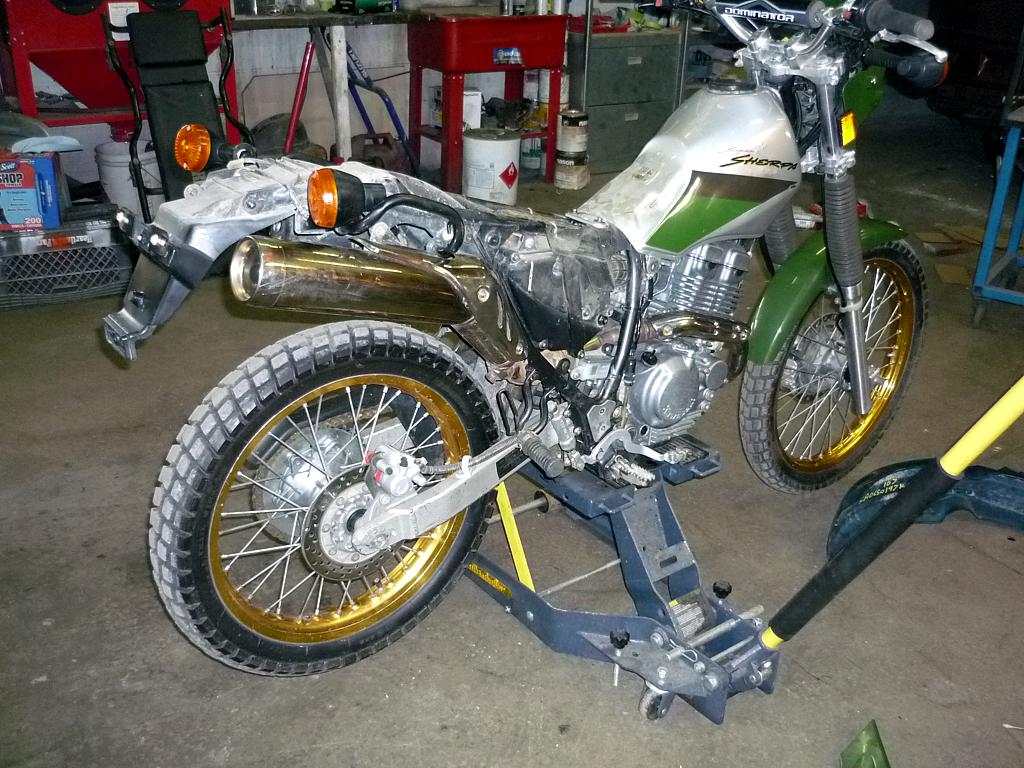
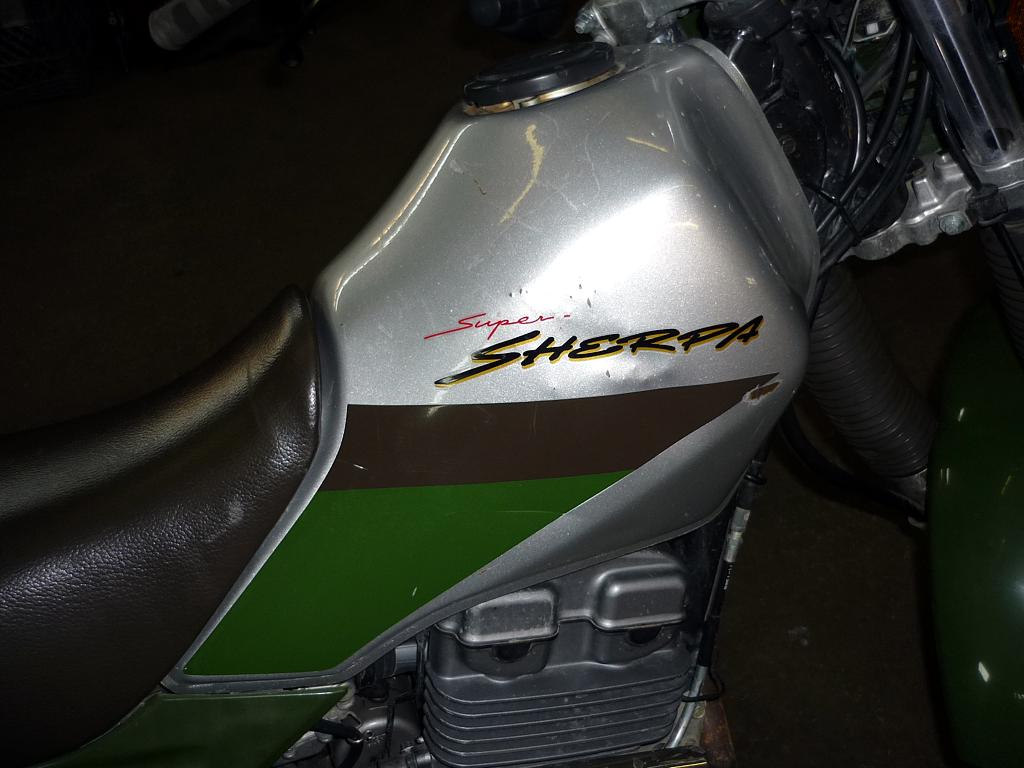
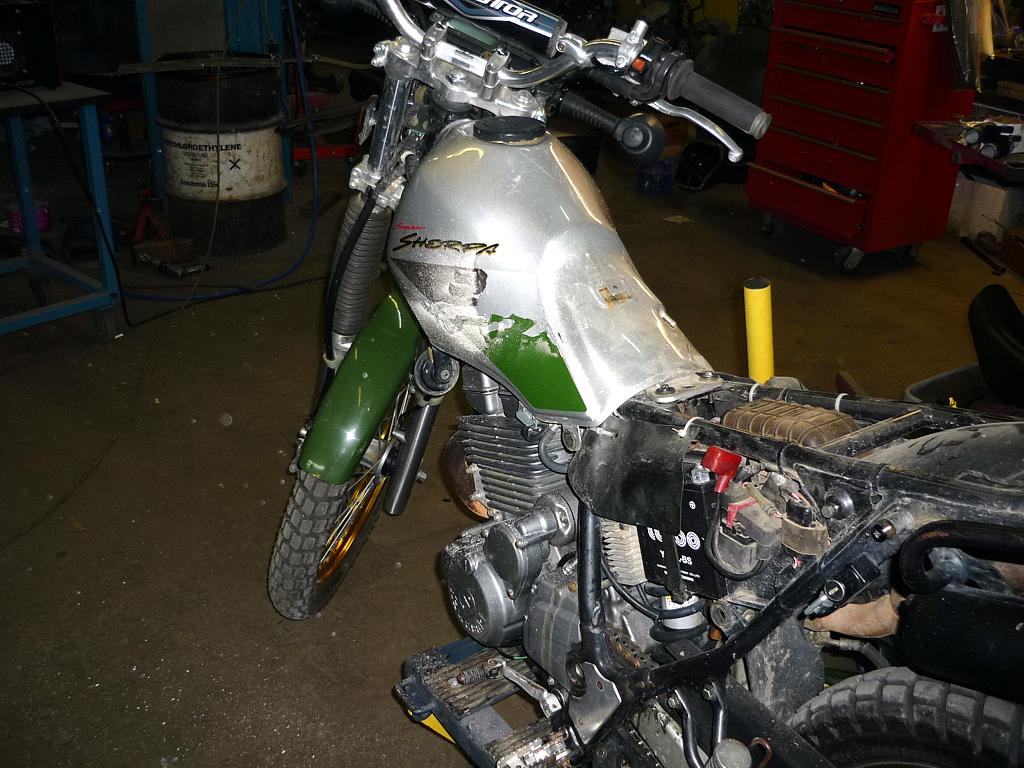
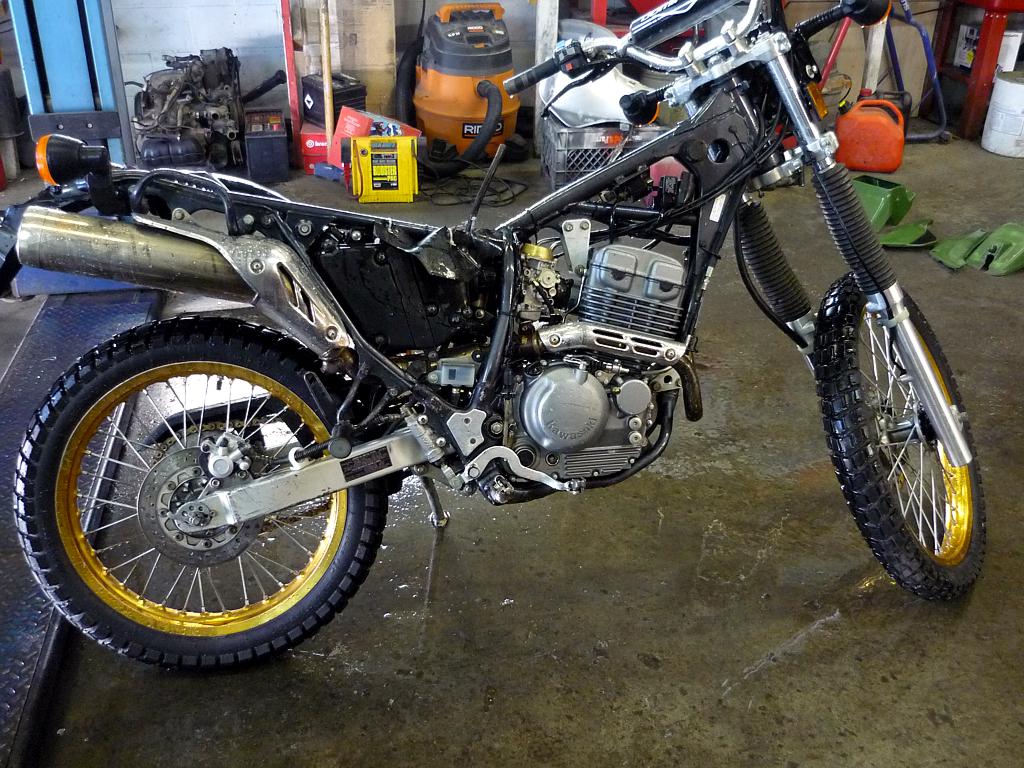
 

Removing all parts.

Removing the sticker. The tool is design for that.

Almost there....
 

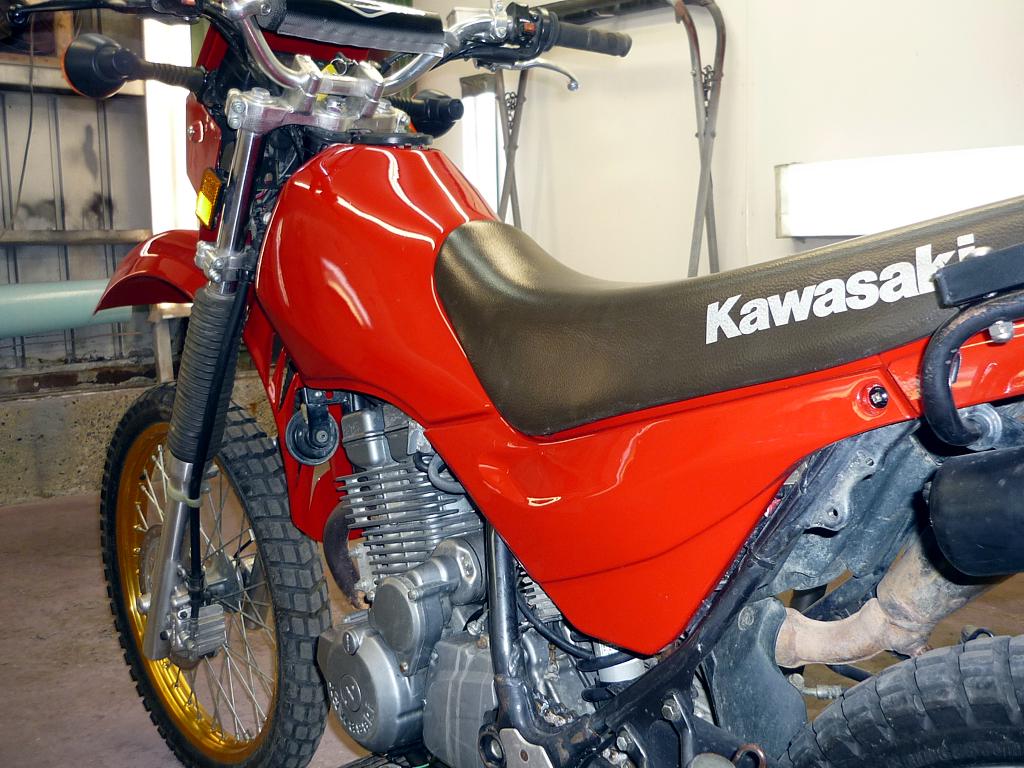
After a clean up it look almost new!
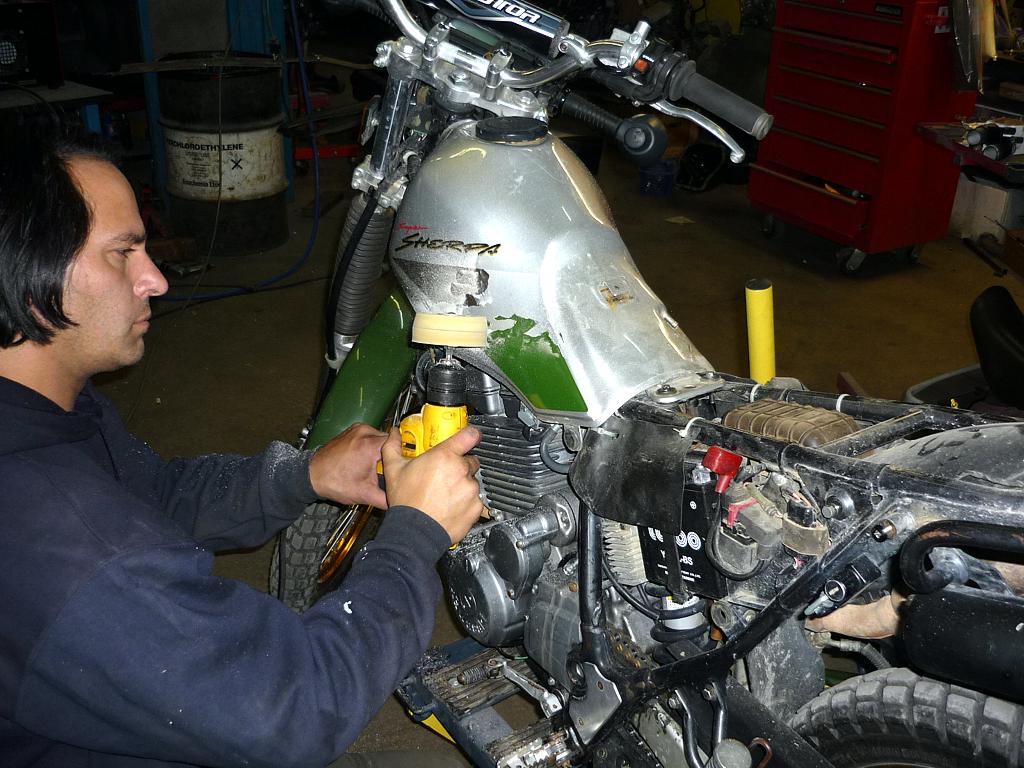
I did a mini tune-up wile there...
 

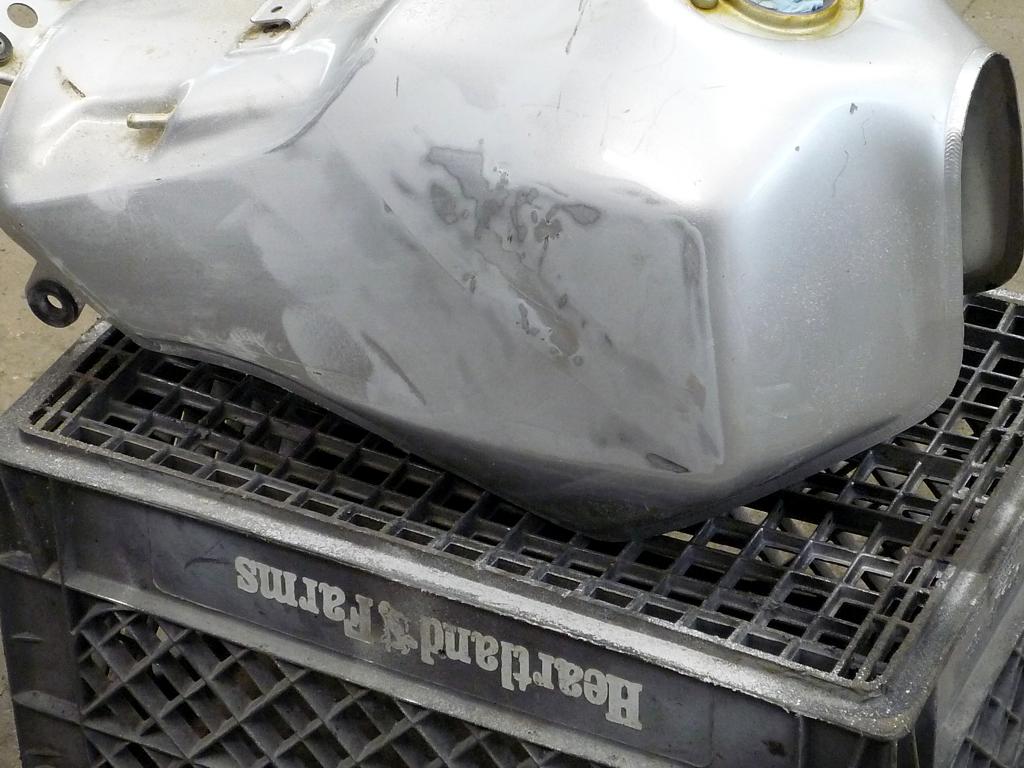
Tapping the ding out as best as i can

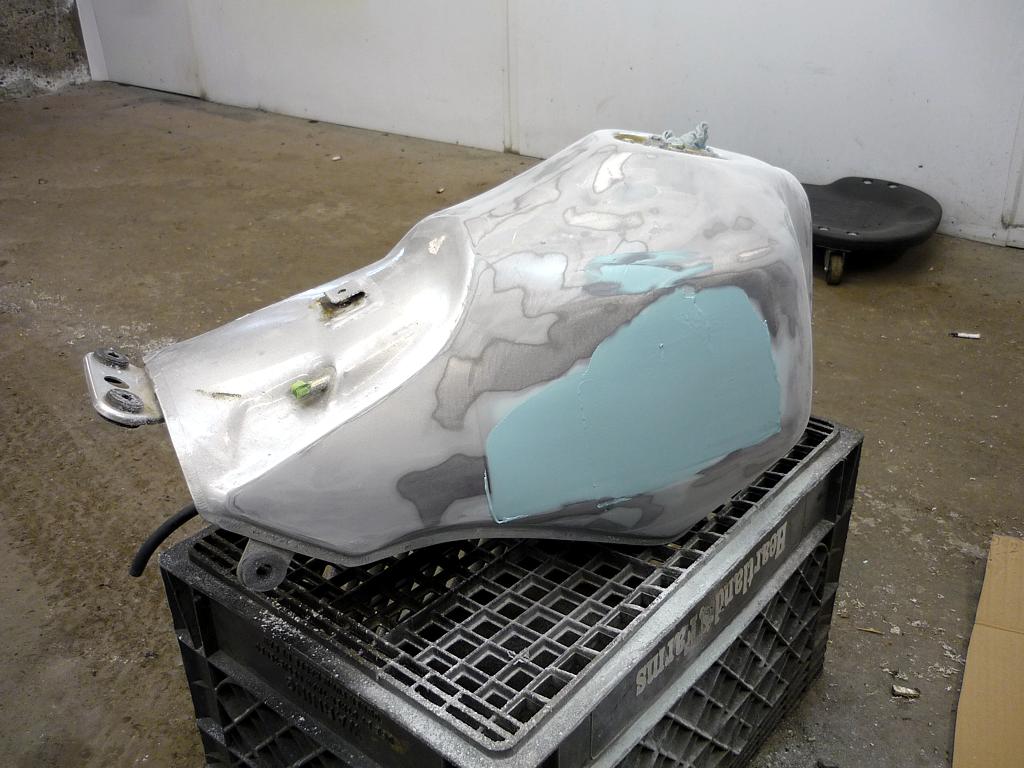
First coat of putty (out of 5). This is good stuff. (Evercoat)

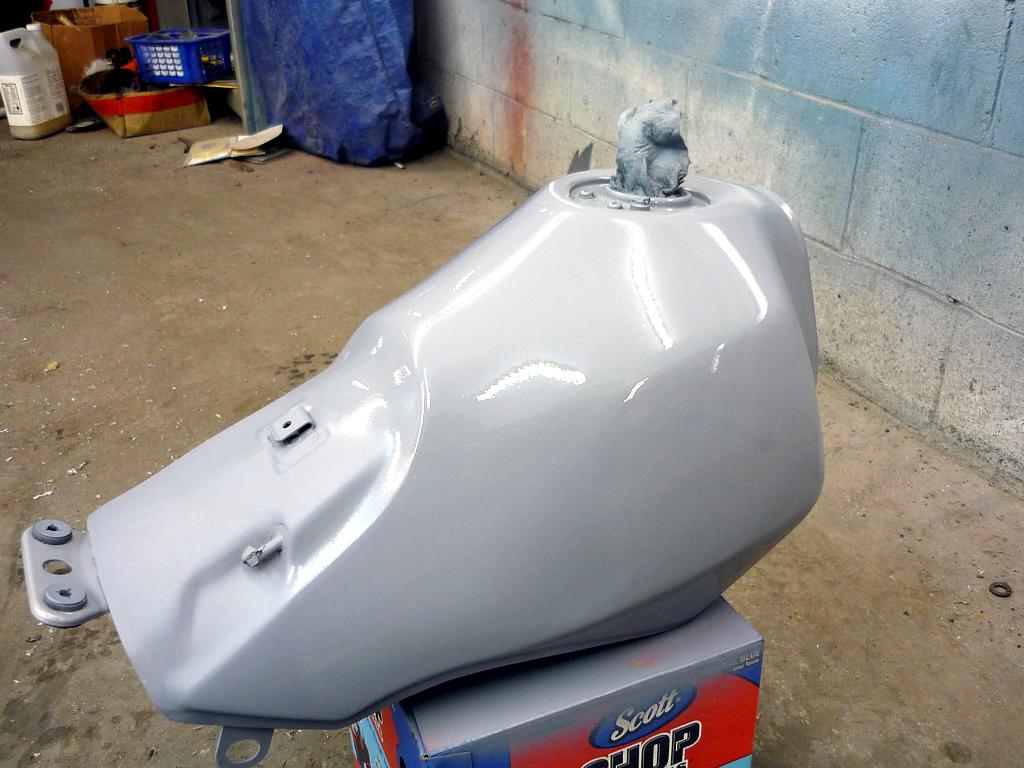
First coat out of 4 of builder primer.
 

Water sanding in between each coat.

Some more sanding to remove all scratch.
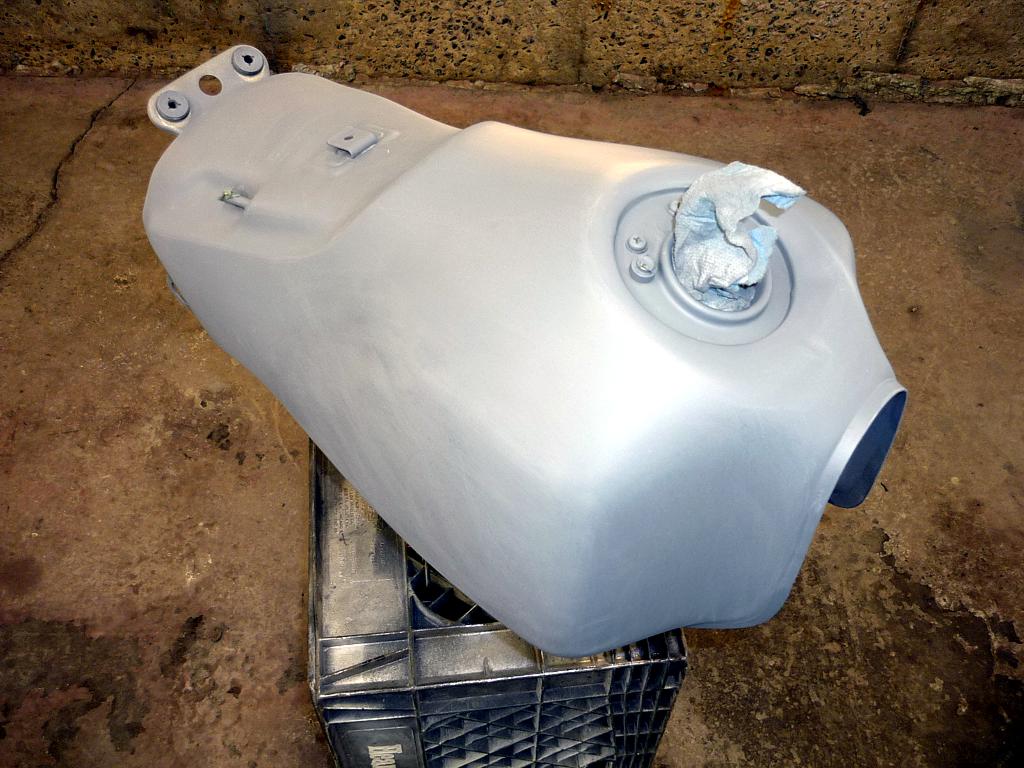
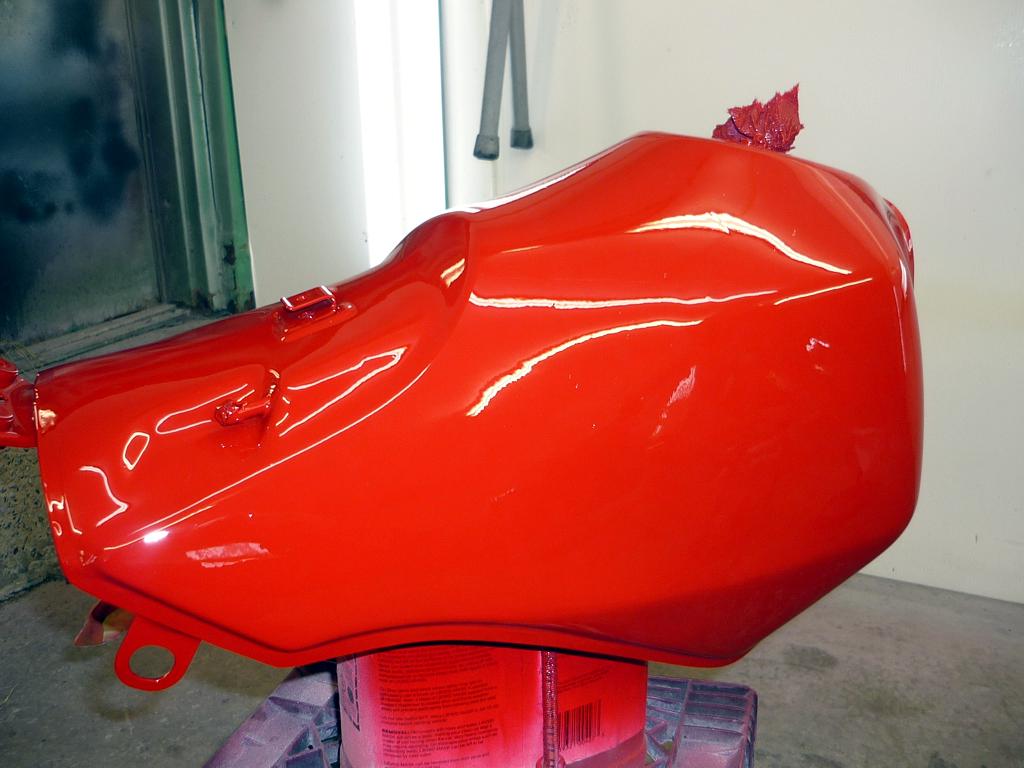
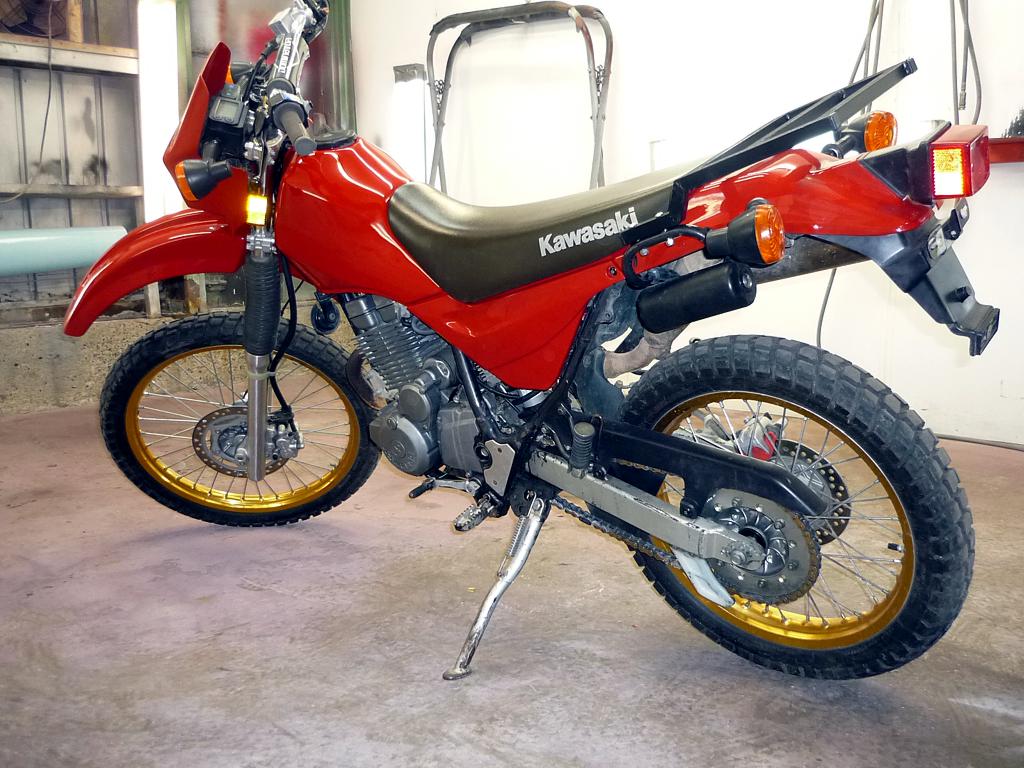
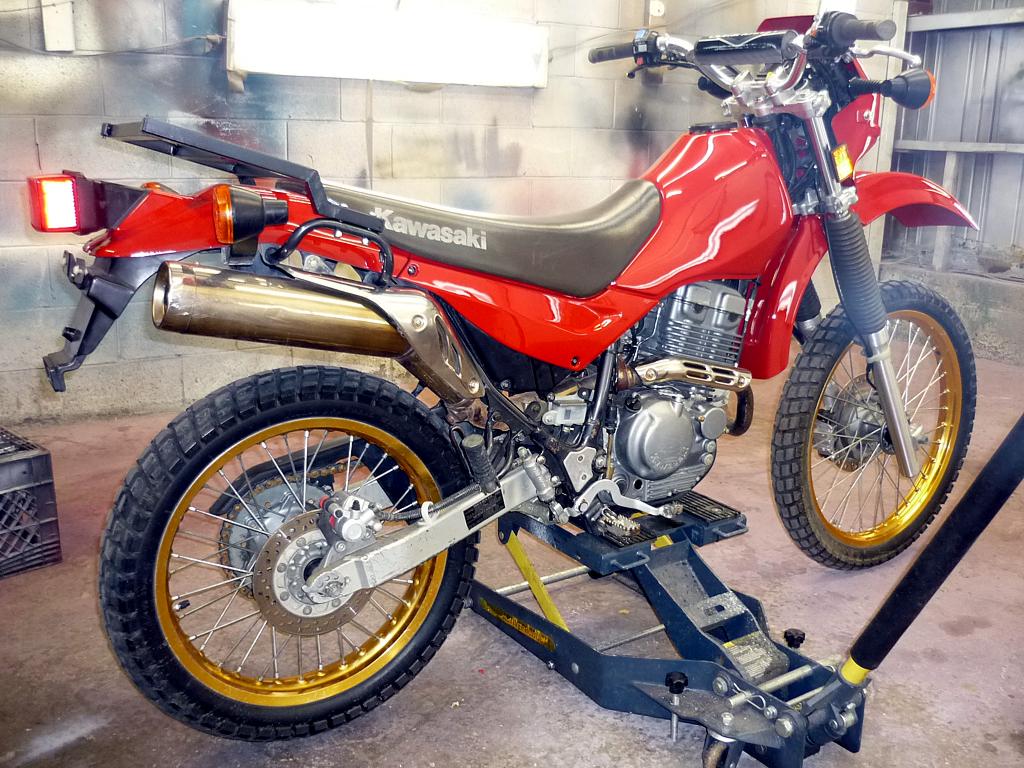
Final result.

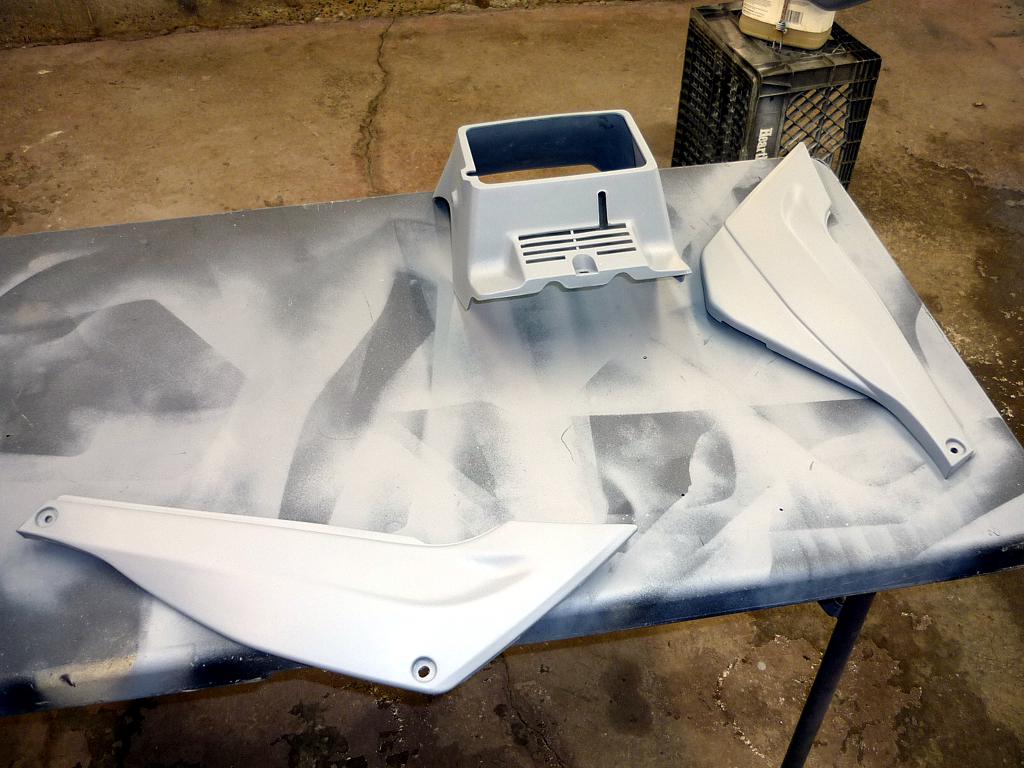
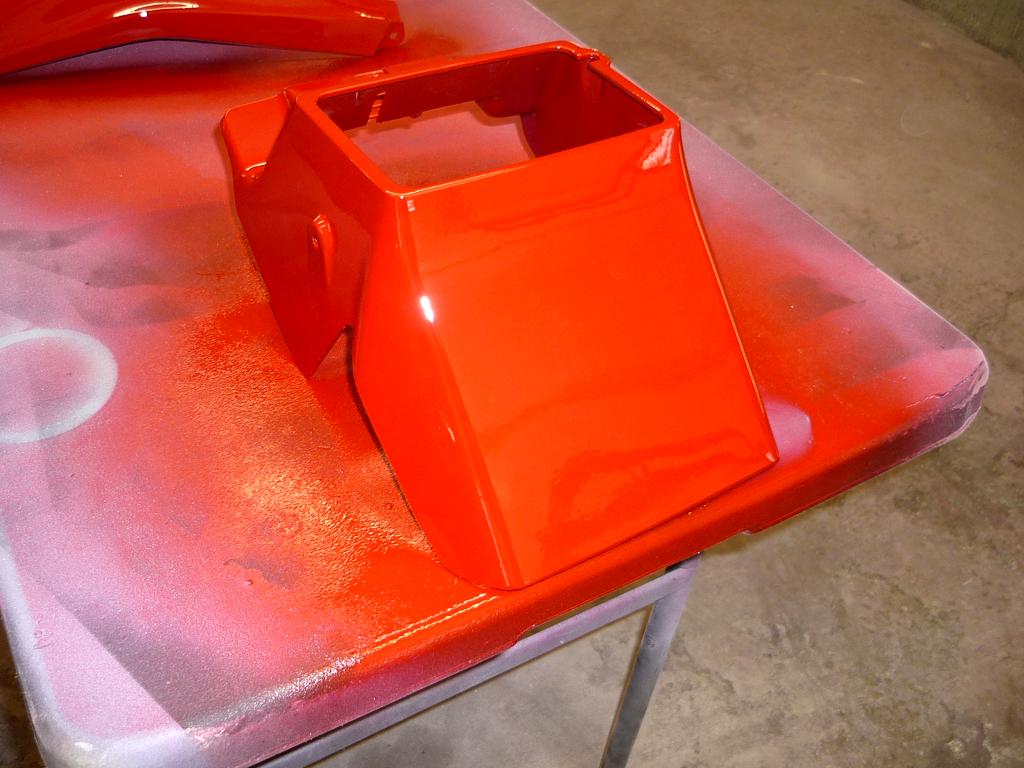
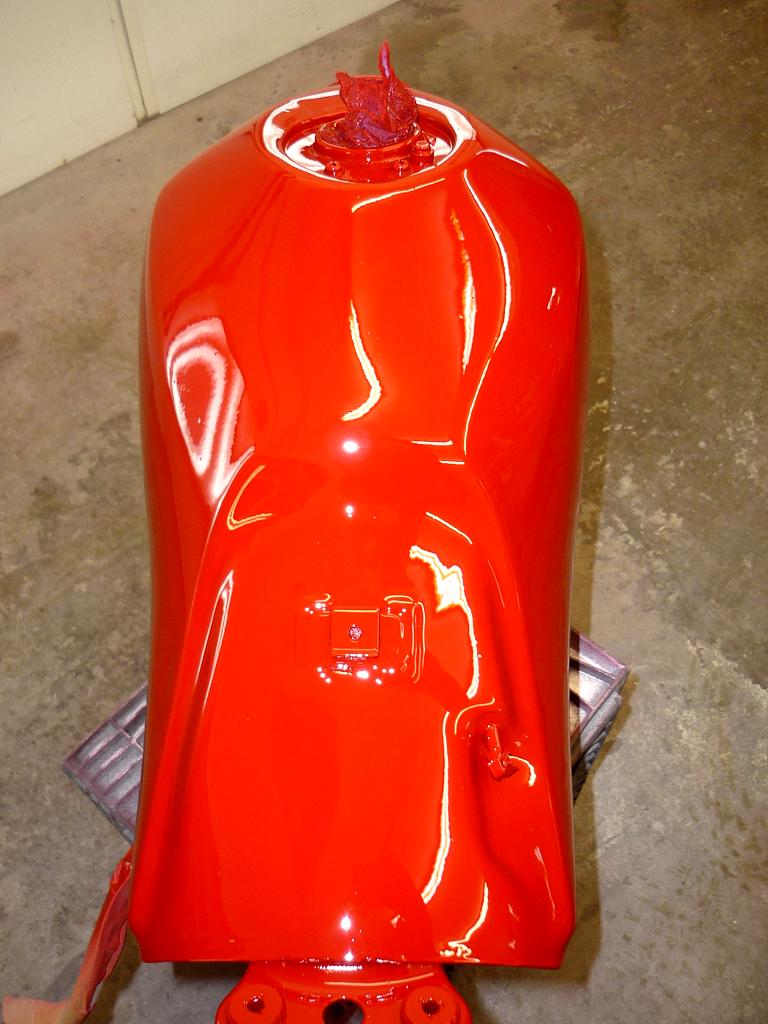
First base coat out of 3
 

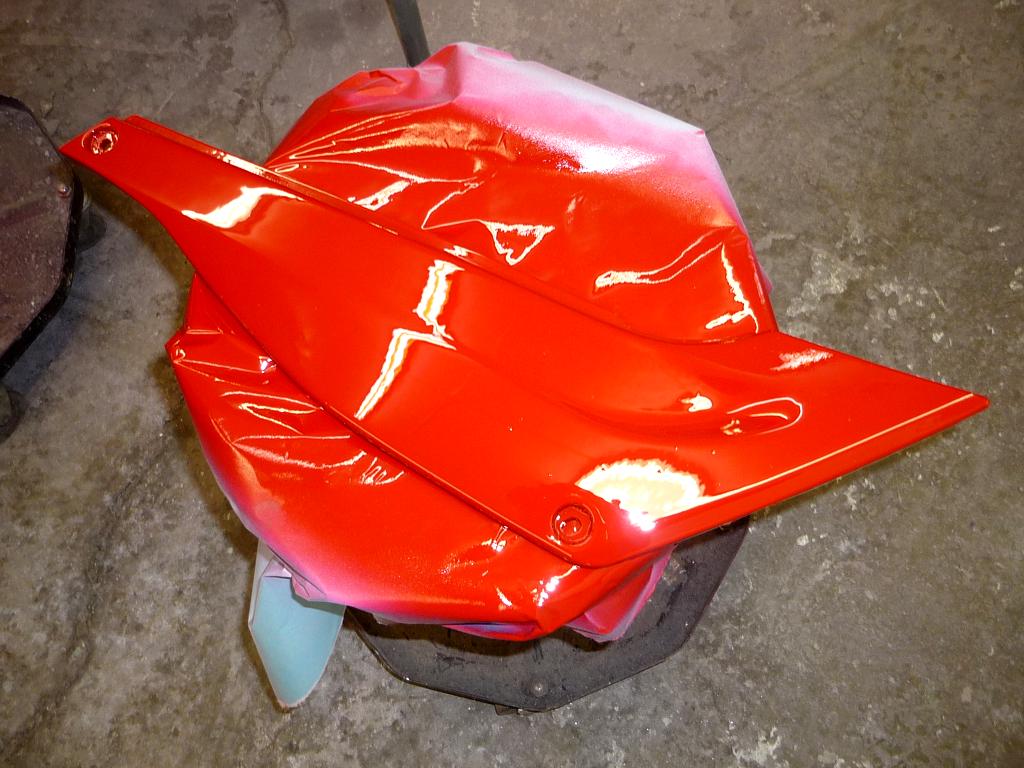
Final clear coat (out of 2)

I choose a Valspar clearcoat, long to dry but stay's very flexible.


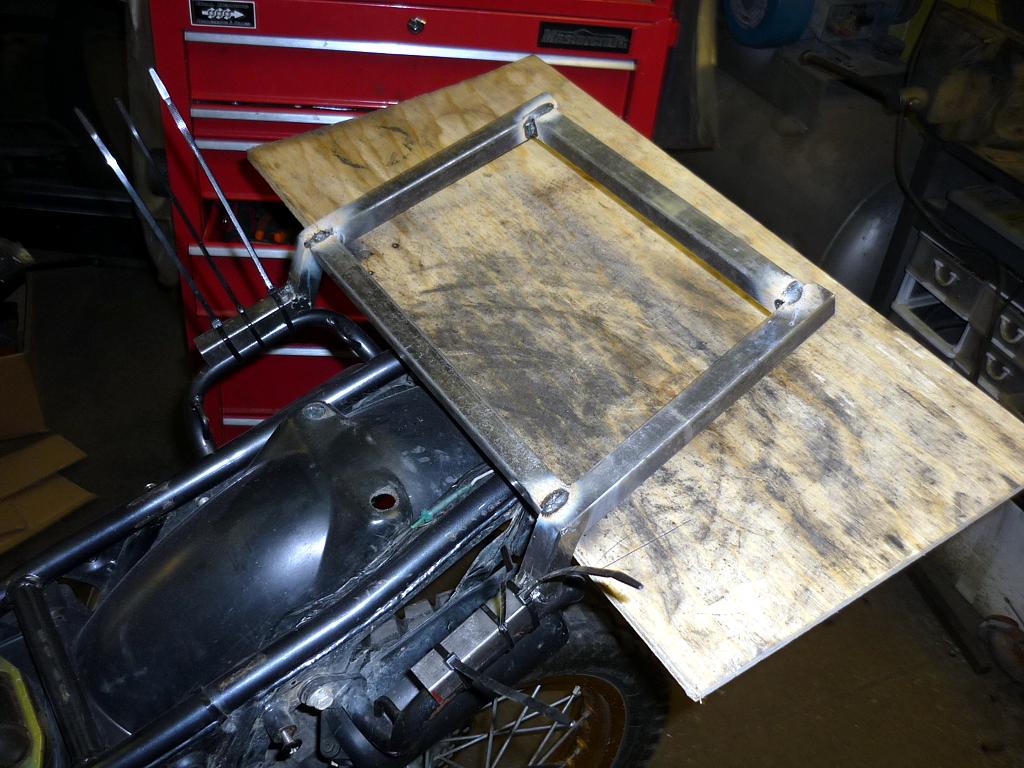
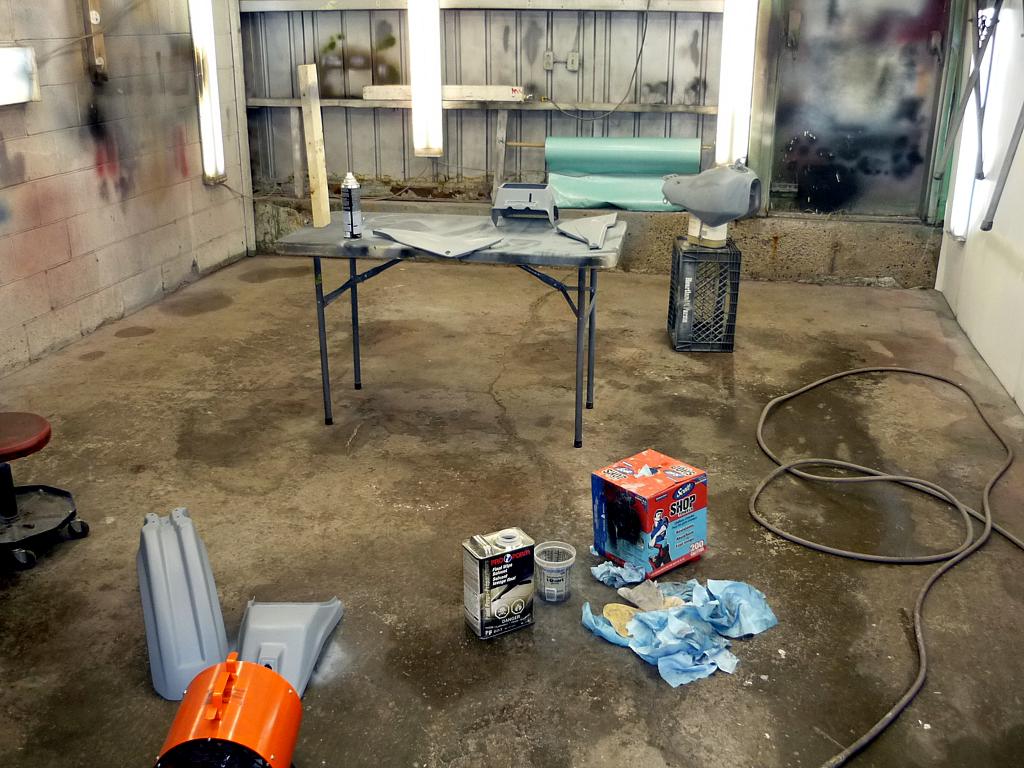
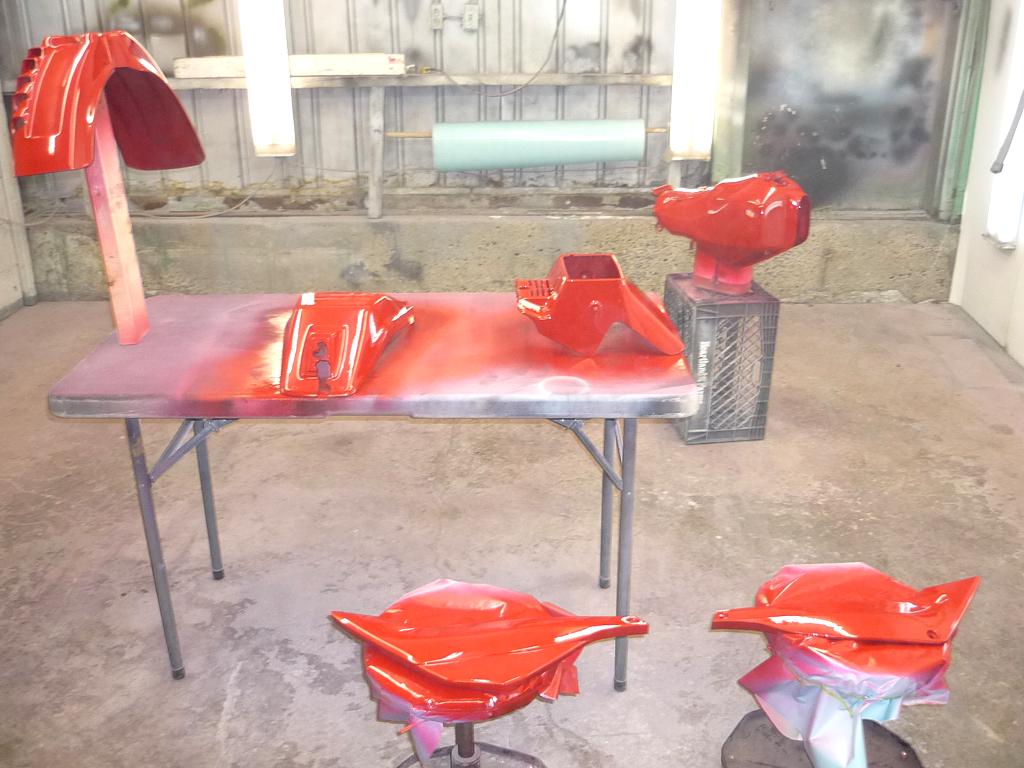
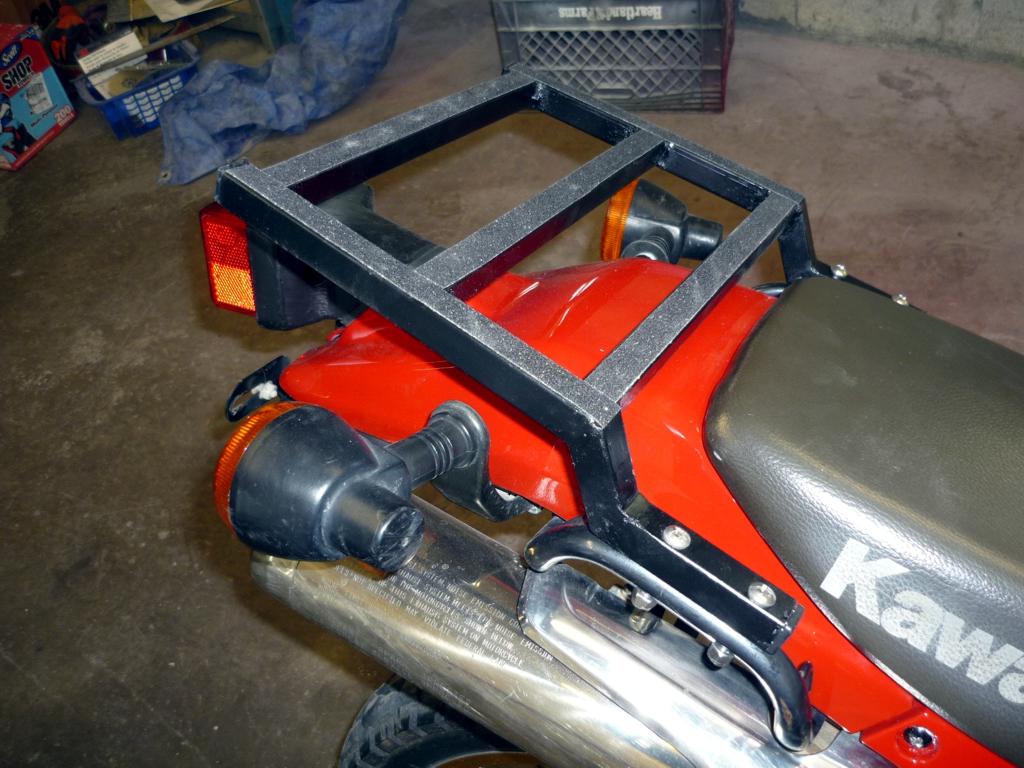
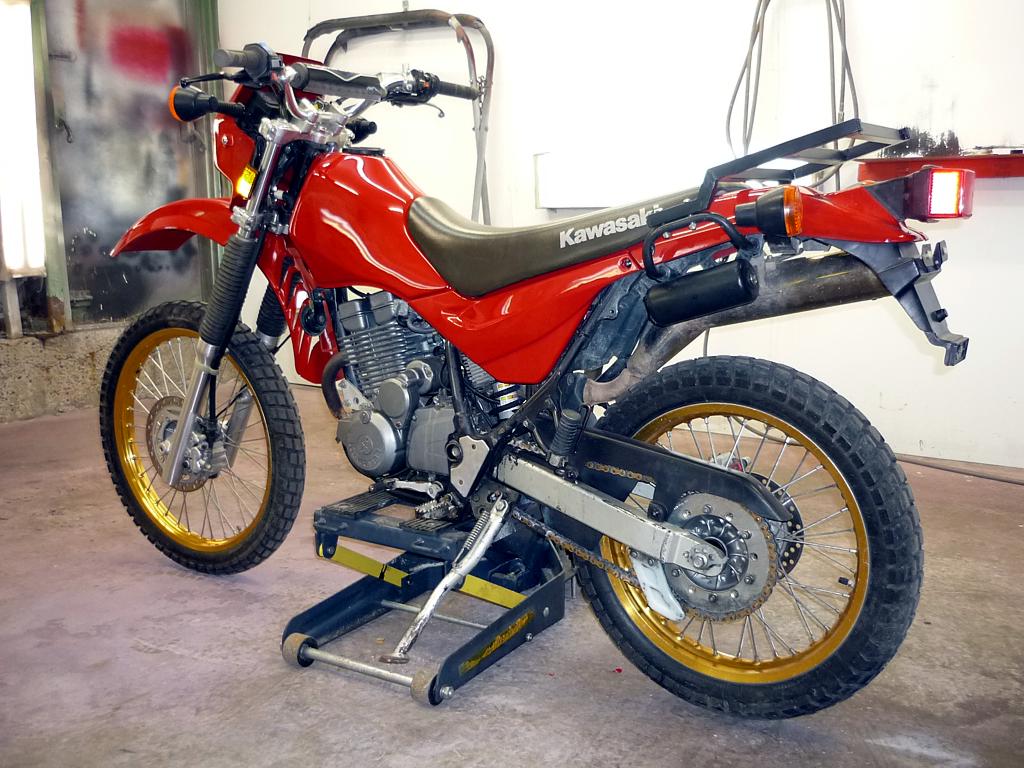
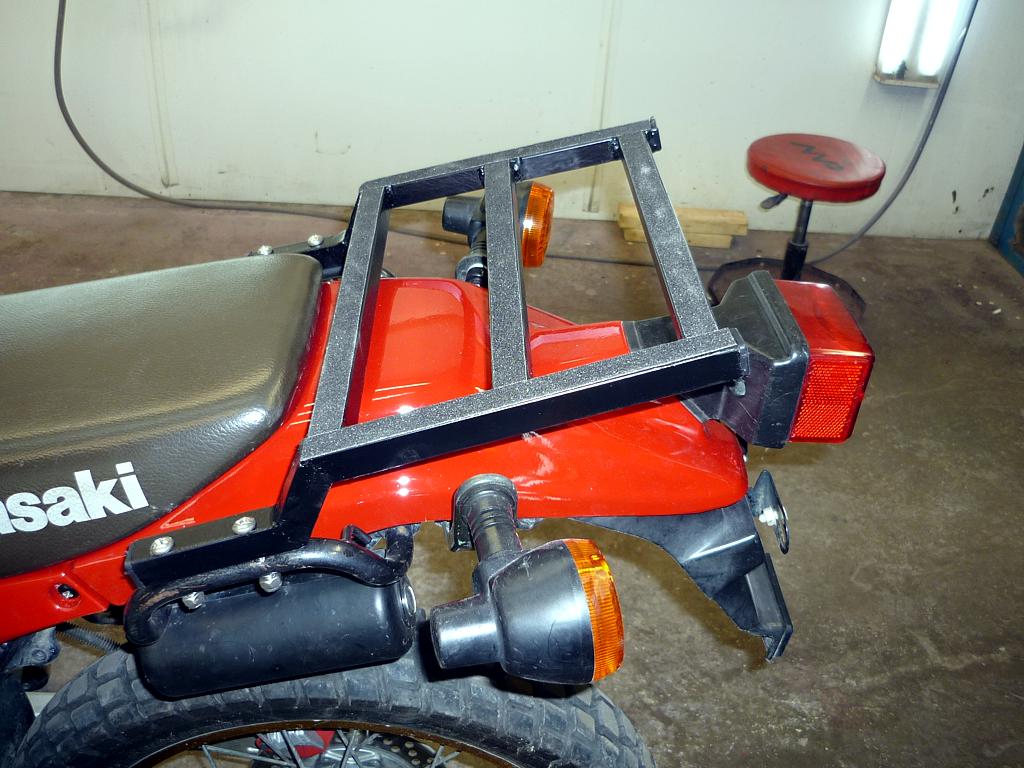
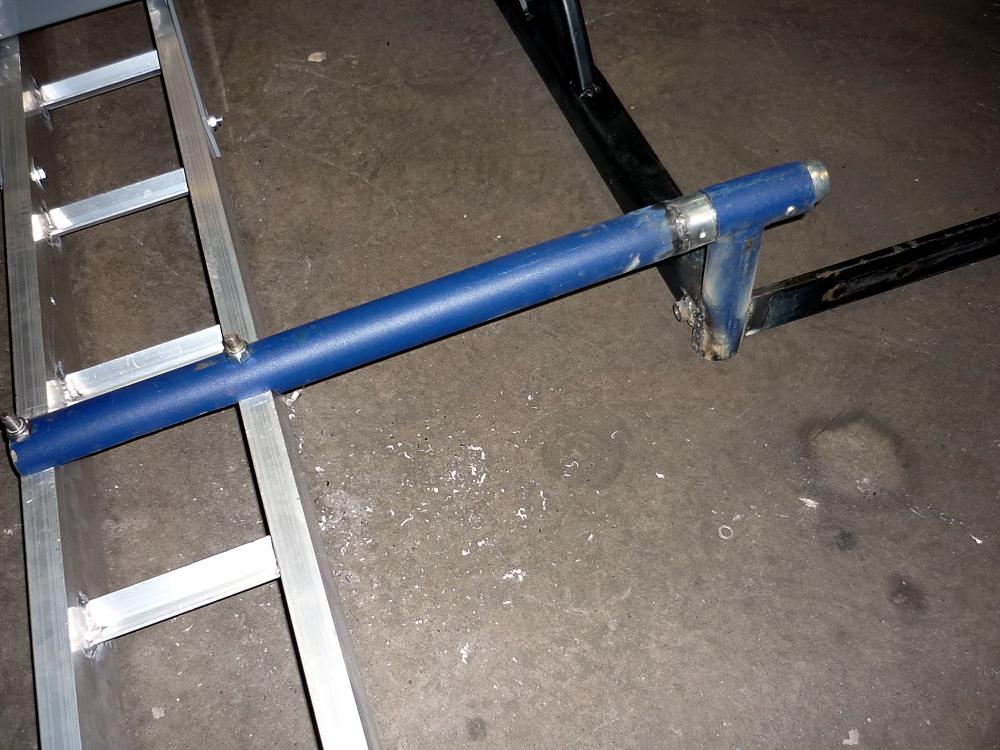
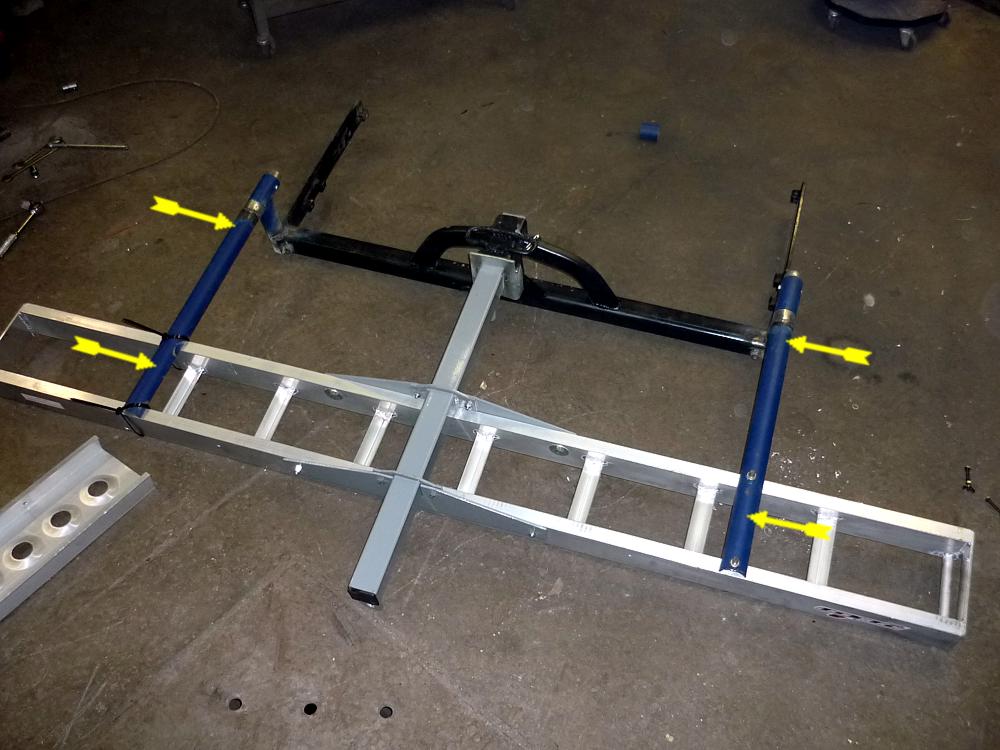
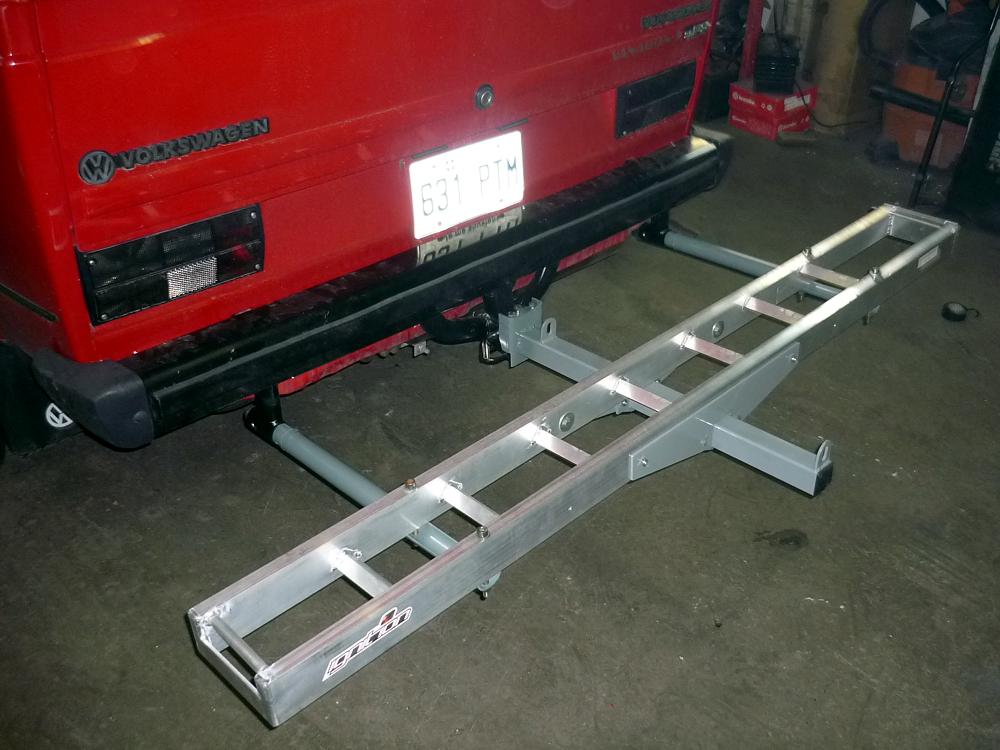
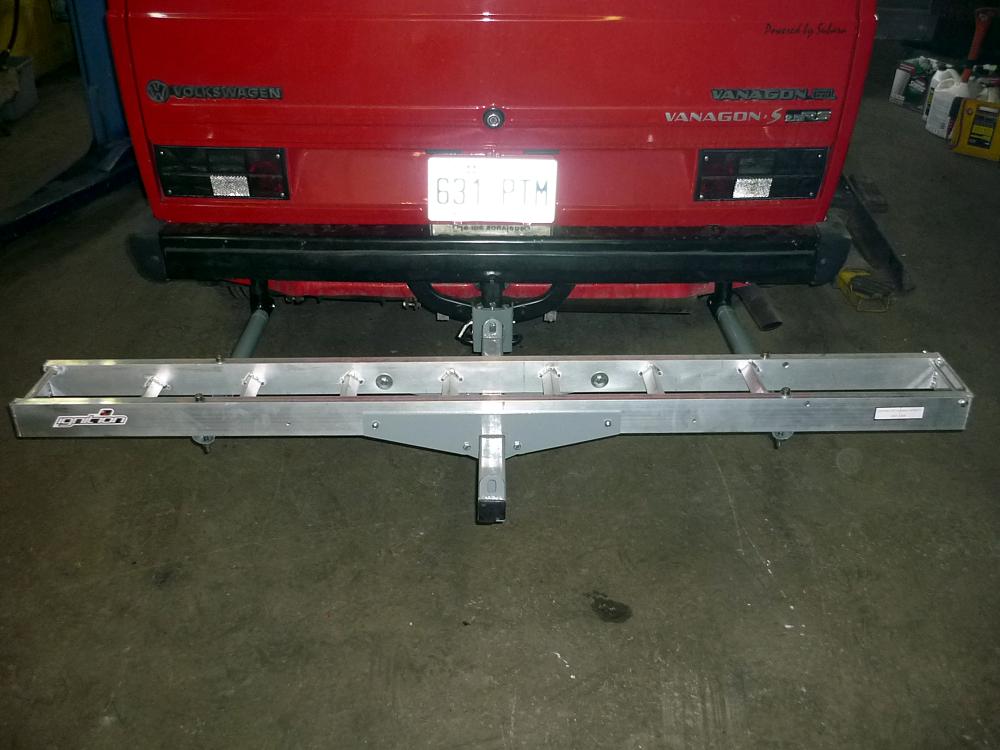
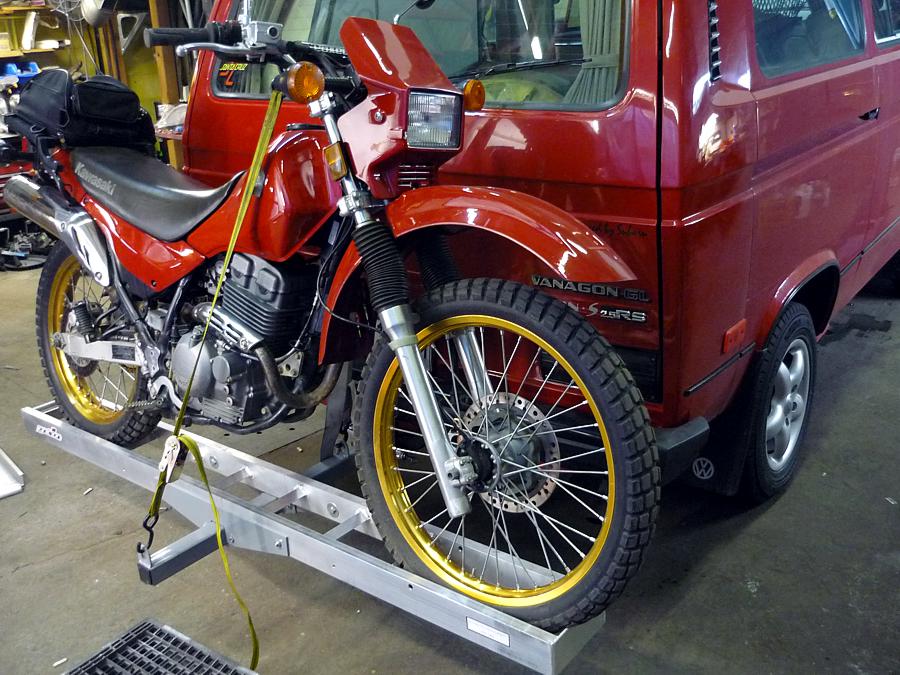
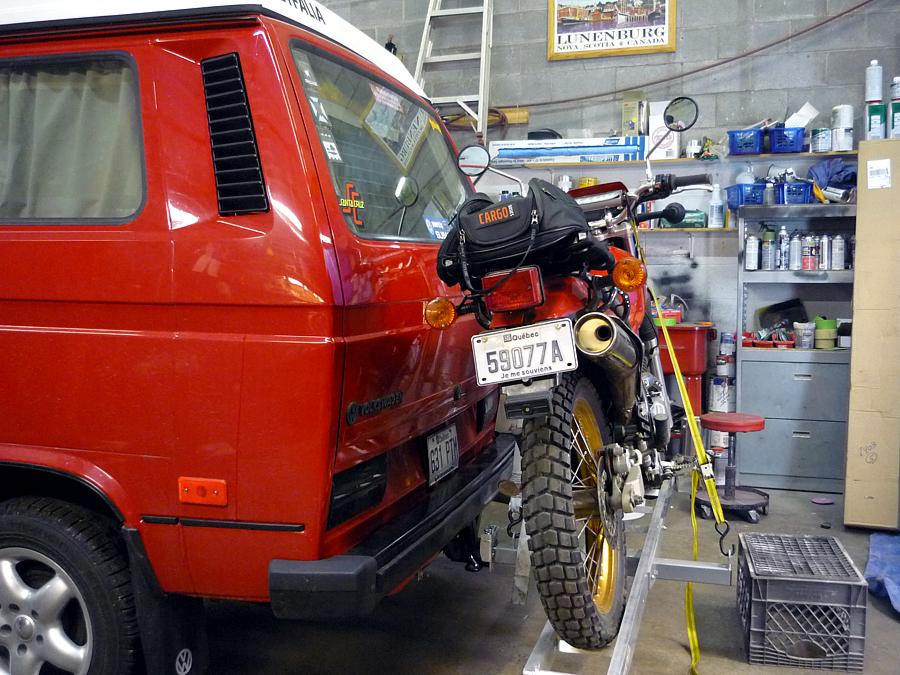
I made me a small rack...

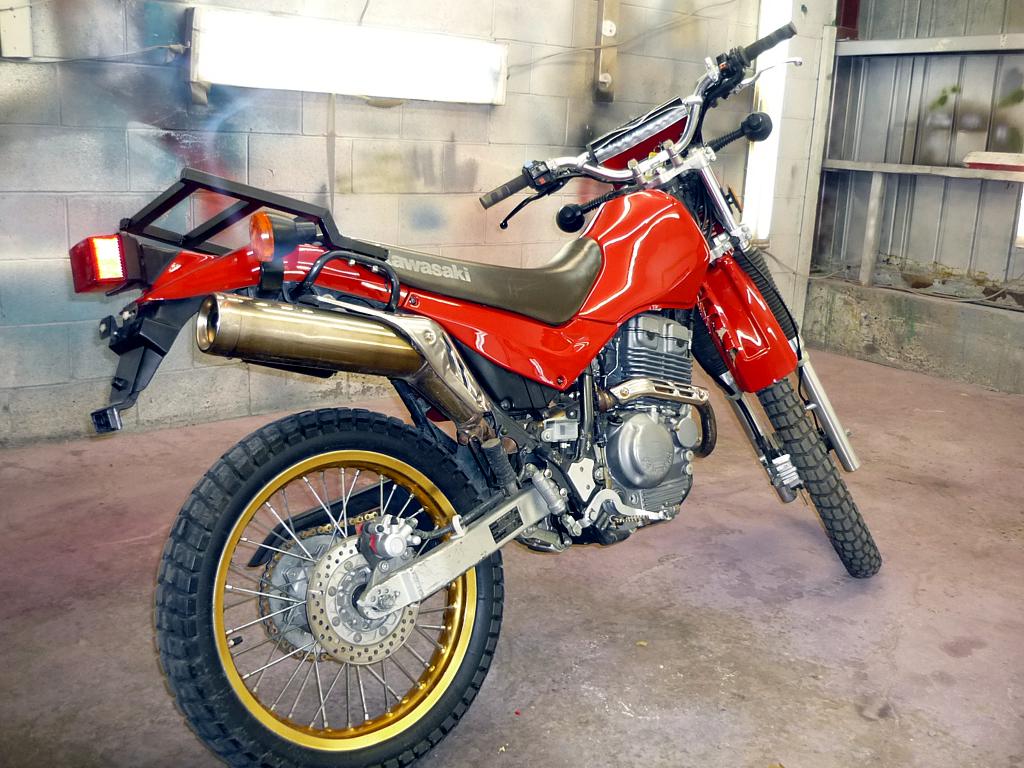
Voila (the effect you see in the paint if from high compression JPG)


Let the fun begin...
         
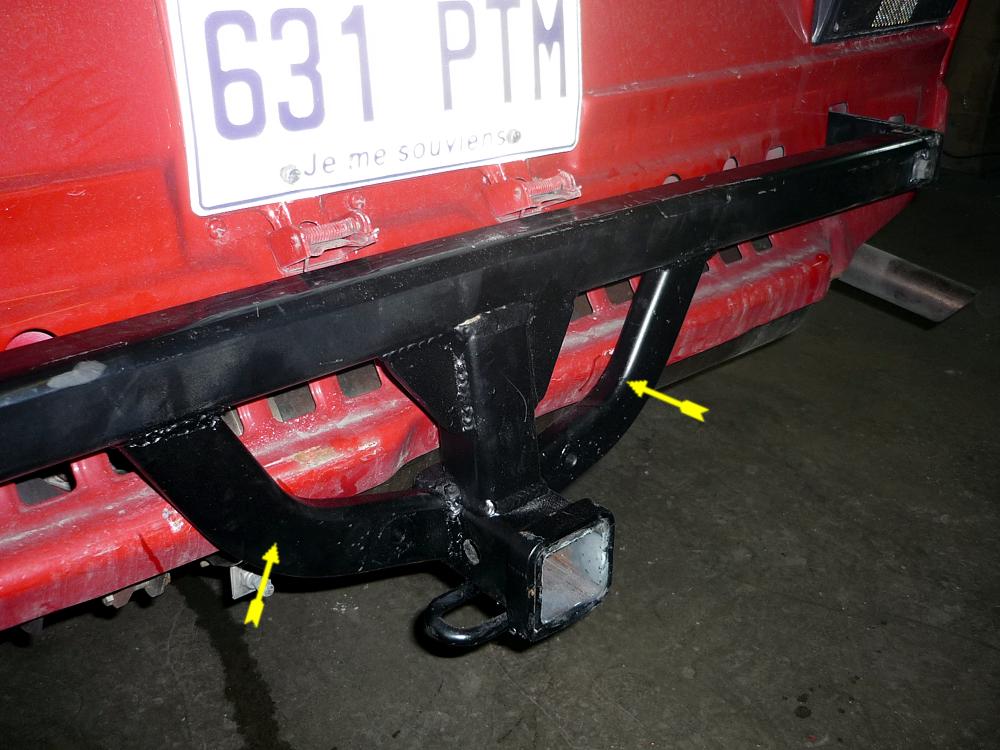
The carrier for my van


More stuff on  on the engine...