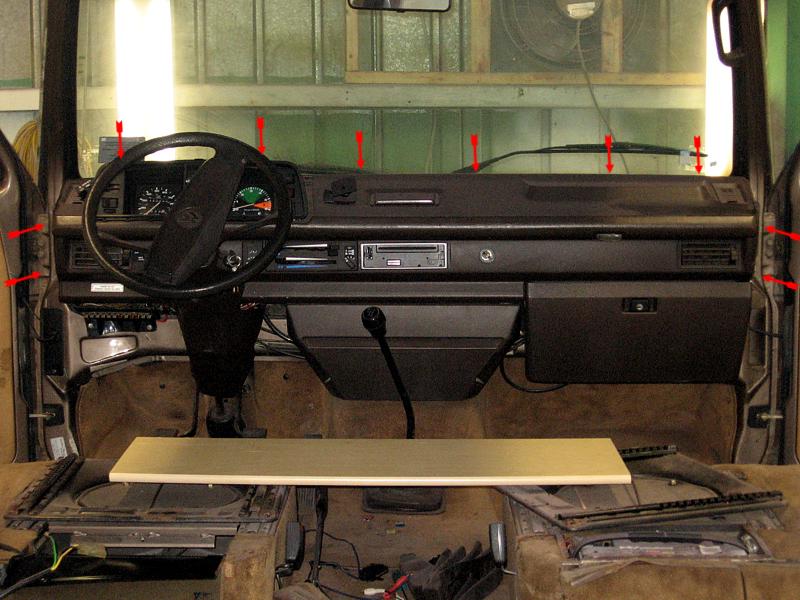
Here, you seen all main screws to be remove.
You can remove those screws later if you want, but me, i removed them now, 2 each side + all SMALL one over the dash, close to windows
Don't remove the bigger one, they are for the wipper ass.
Remove the 2 lower screw
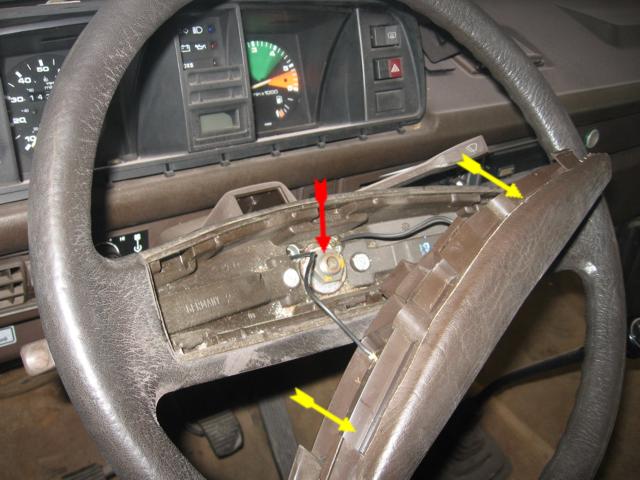
Snap off the center part, unscrew the main 24mm (i think!) main nuts, no need for a puller on a Vanagon.

OK, remove the cover parts, upper and lower.
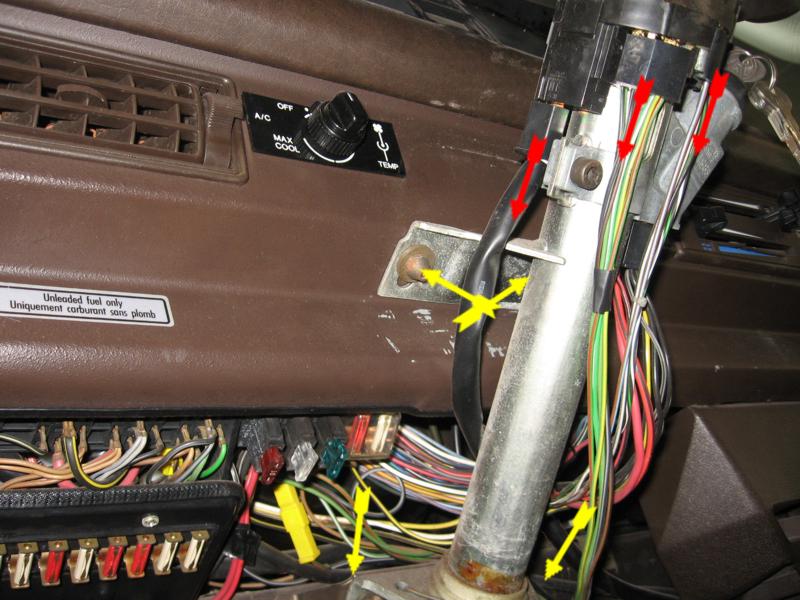
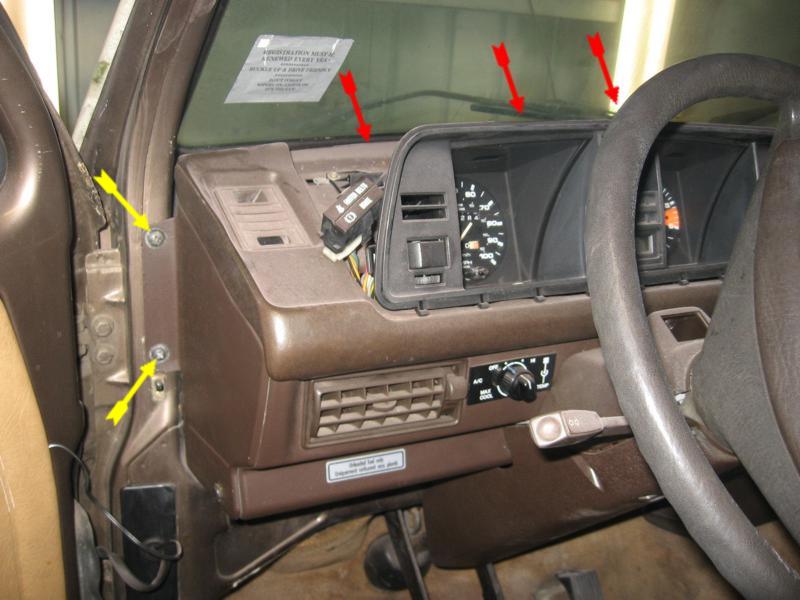
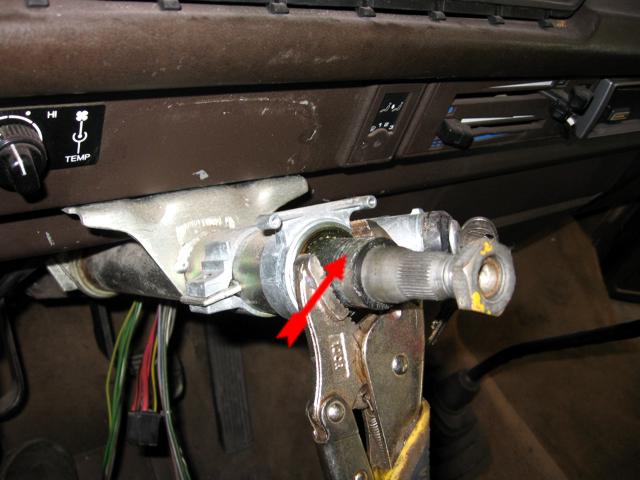
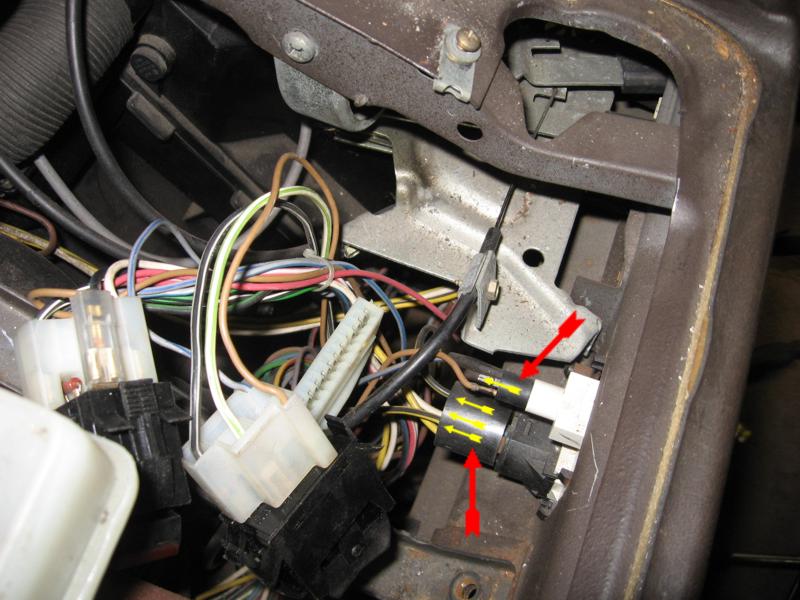
Pull all plug from steering column, all have a different shape so have no worry. The yellow arrows show the 4 screw that hold the column to the dash, the upper one are safety screw, just use a Vise-Grip to remove those.
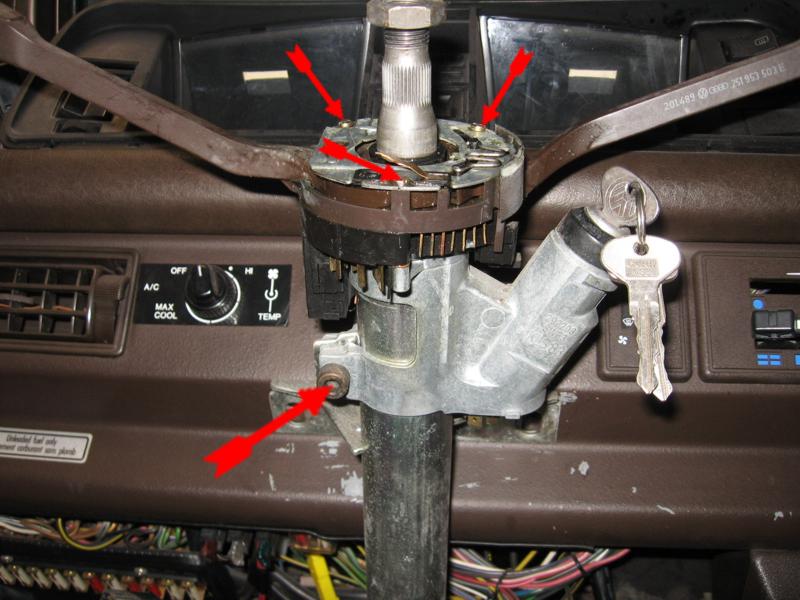
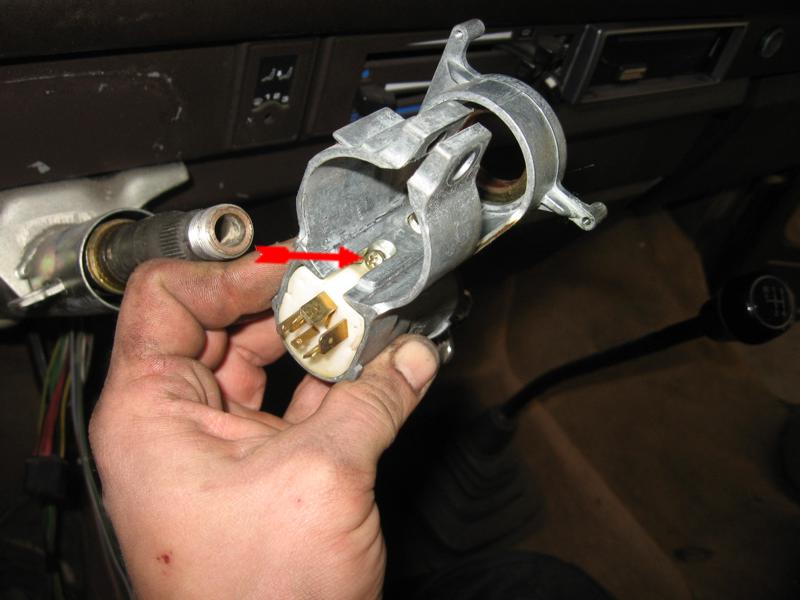
OK, the following steps are to replace the ignition switch (it's NOT a must, but for a 5$ trouble part, change this one!!!!
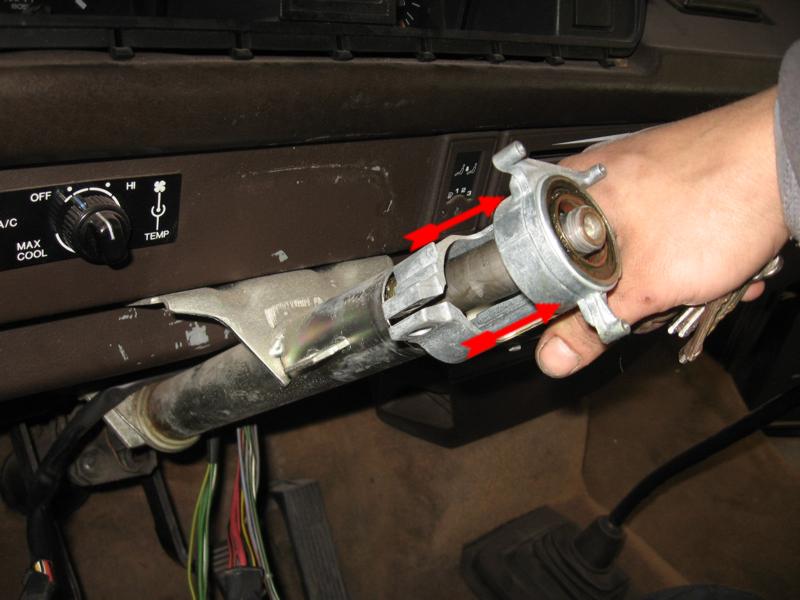
Unscrew the 3 small flasher/wipper unit screws and the main ignition case unit 1 screw.
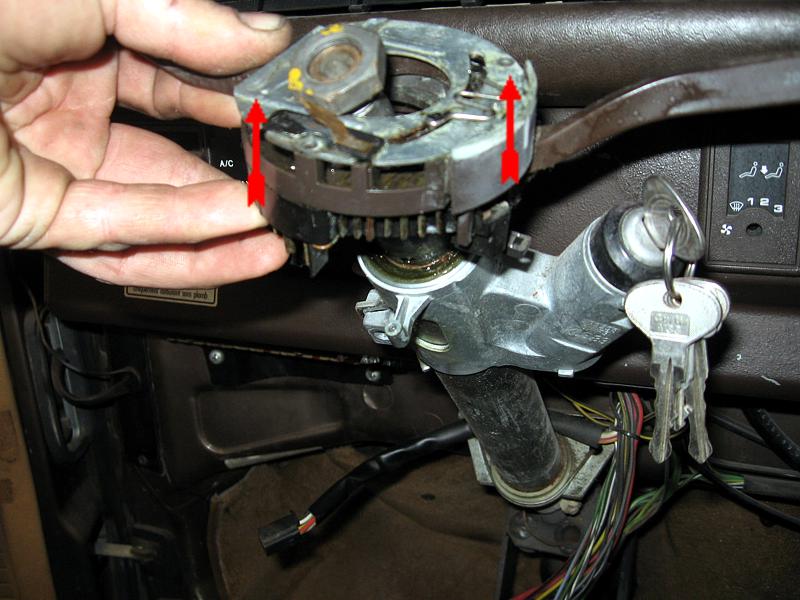
Remove
Ok, you need to remove that spacer, it may be stuck there, use vise-grip again, twist a few time and pull this one out
There you go...
Back to the dash section, remove that part, no screws, pull hard.

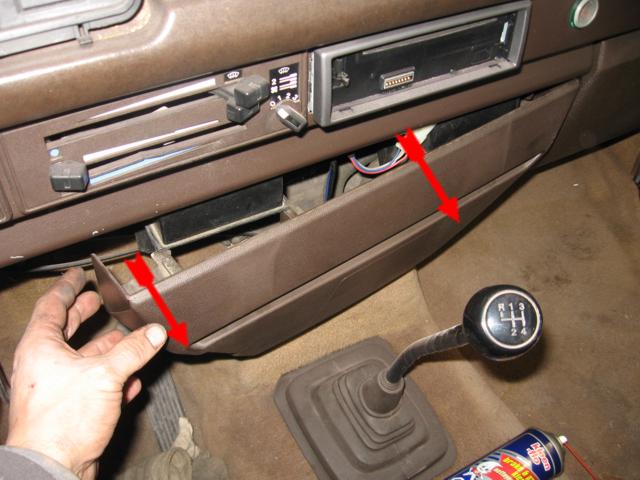
Remove all 4 screws (yellow arrow), the red arrows show stuff that will have to be remove from console.
Pull all switch out, each side, all 4!
Press the tab of the speedo cable and pull this one out of console.
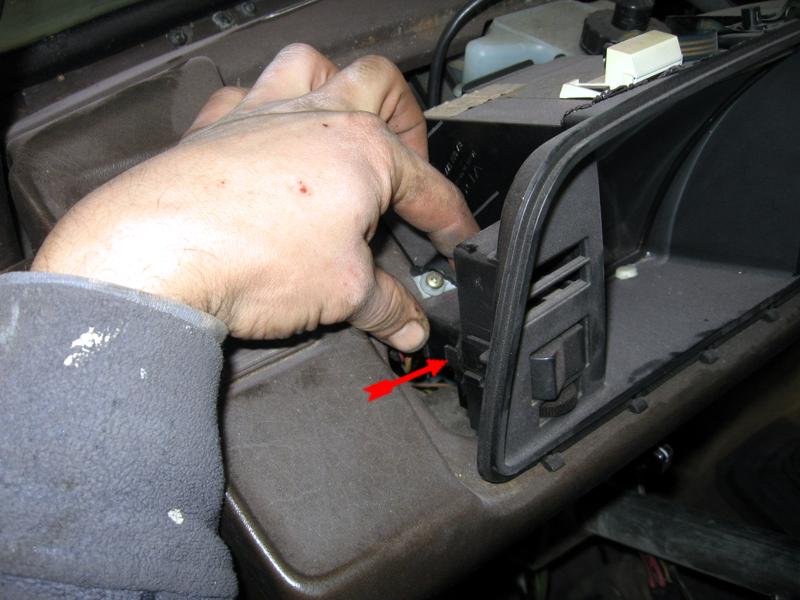
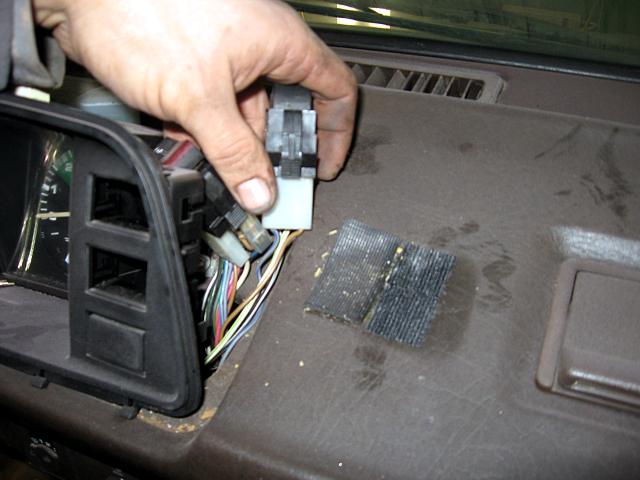
SLOWLY remove console, on the right side, remove main connector, the white one, pull on it.
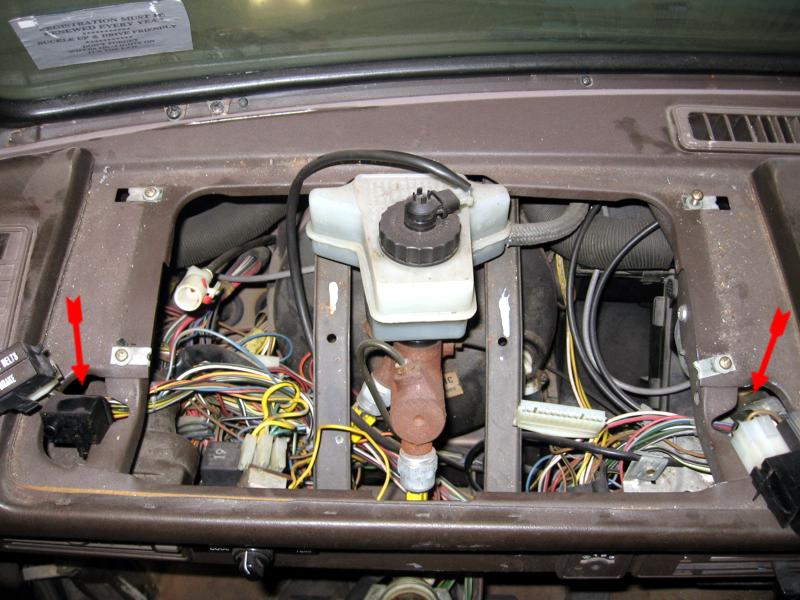
You will need to put all 4 toggle switch in those small hole each side of dash..


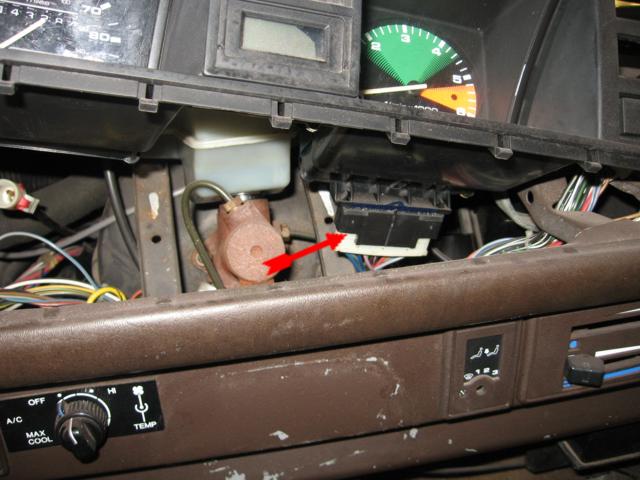
AC (it's an 85, similar on 86+), unscrew! pull IN
Unplug connector from heater motor (2) switch
Remove if you want!
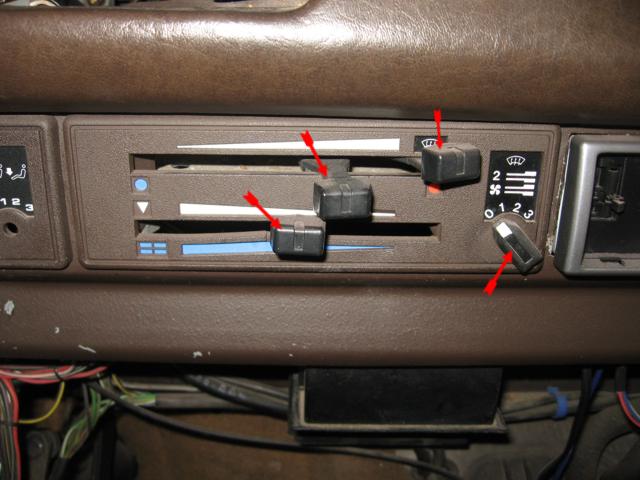
Remove all 4 (3 on pictures?) knob from dash, pull hard on it, but be careful not to damage face plate!!!!
Remove face plate (if not glued by a PO!!!)

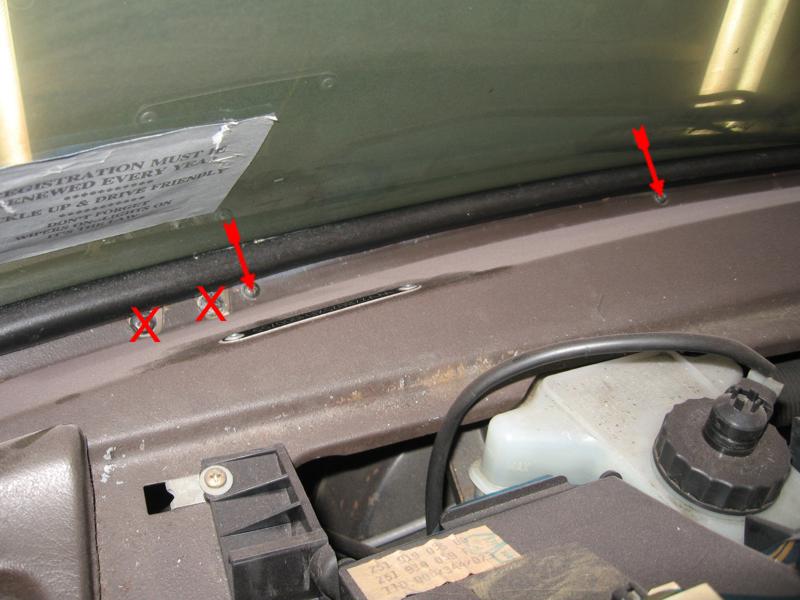
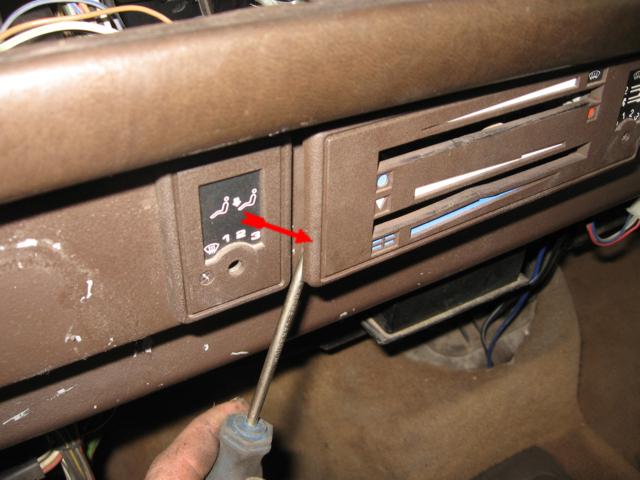
Ok, remove those 2 screws, you will understand why later.
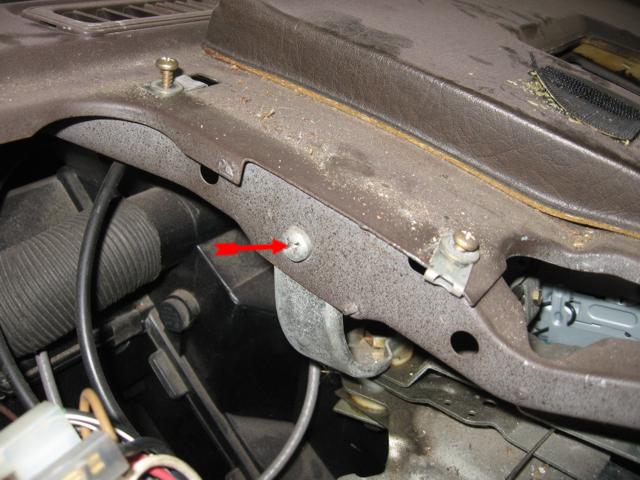
And this one... do you know why now???
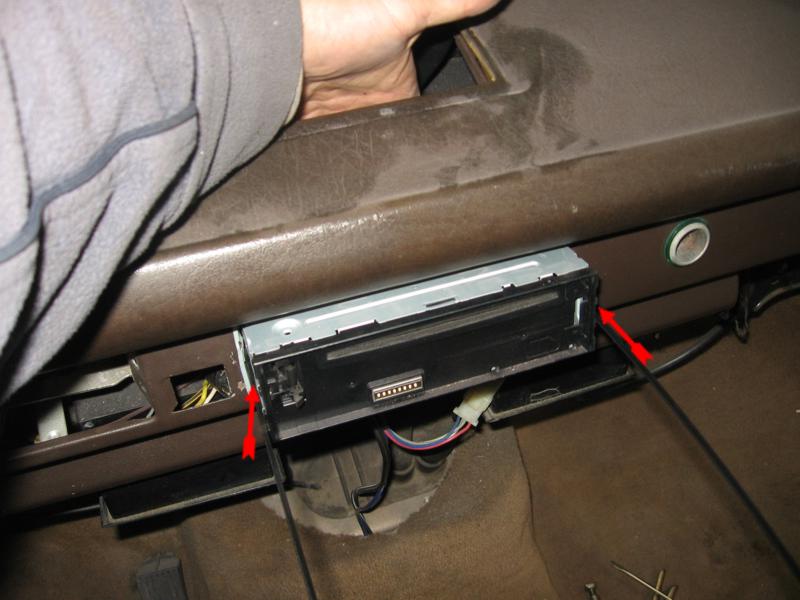
Radio, if i know what kind you have??? this is a typical after market one... insert a flat bar on each side, pull out!

Unplug everything (start putting masking tape on each wire and mark them if you don't want to mess things up)
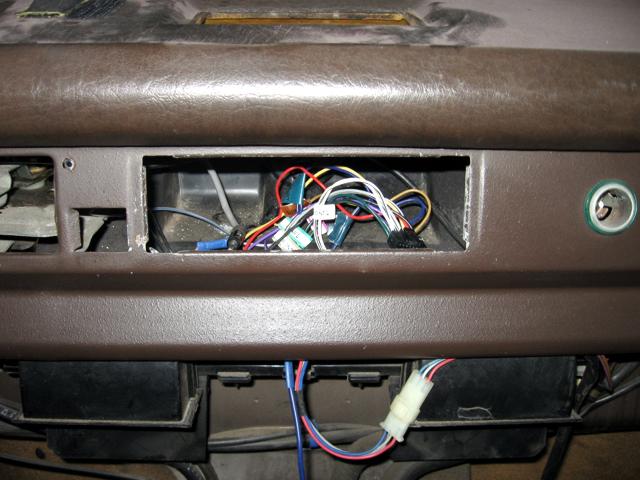
We are close....
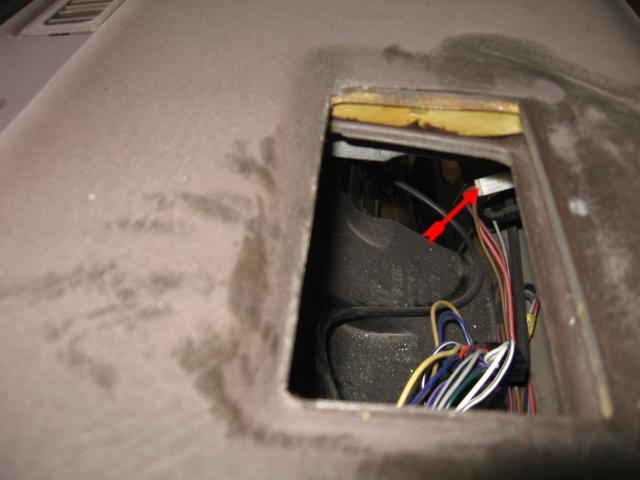
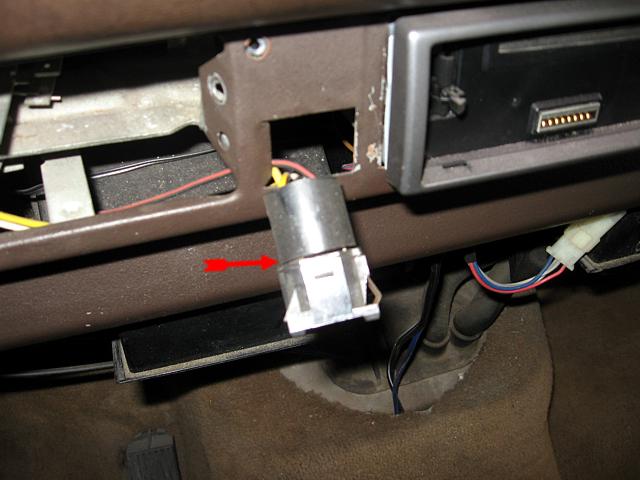
Unplug lighter socket
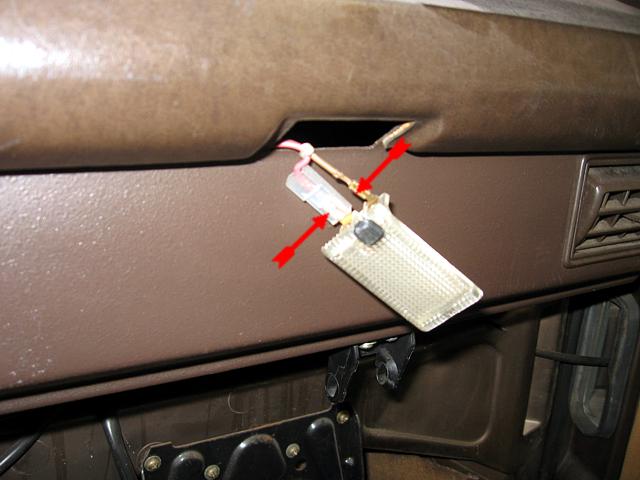
Pull the map light out, unplug.
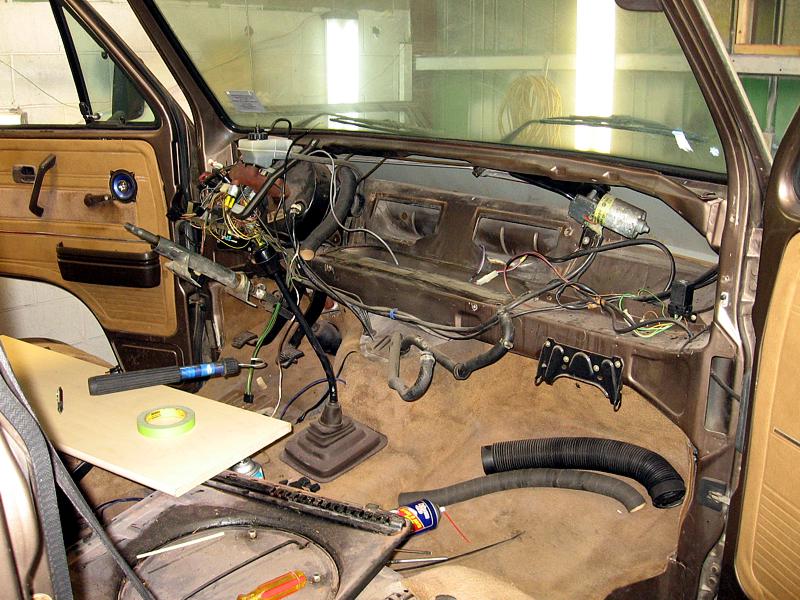
Here we are, remove dash (if screw were remove before!)
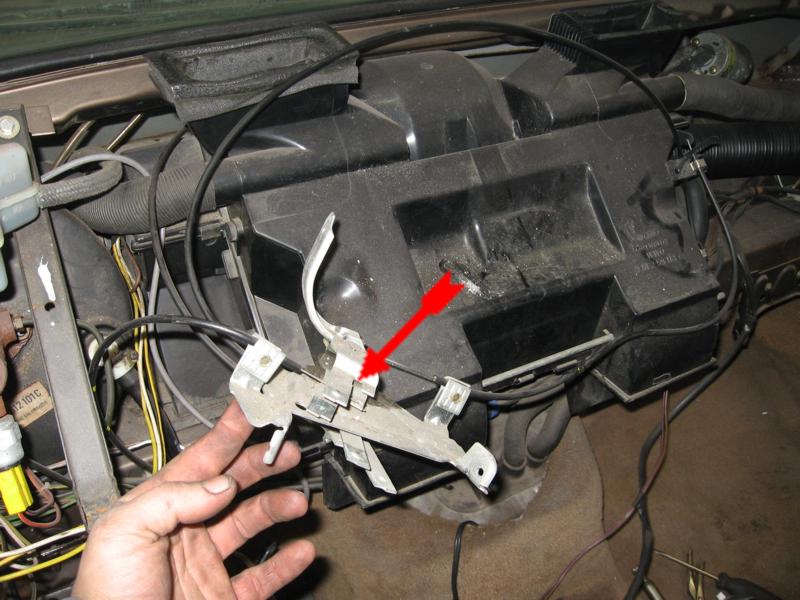
Here you see why i told you to remove those 3 screws, the control heating unit is still attach to all cables, no need to remove cable one by one.
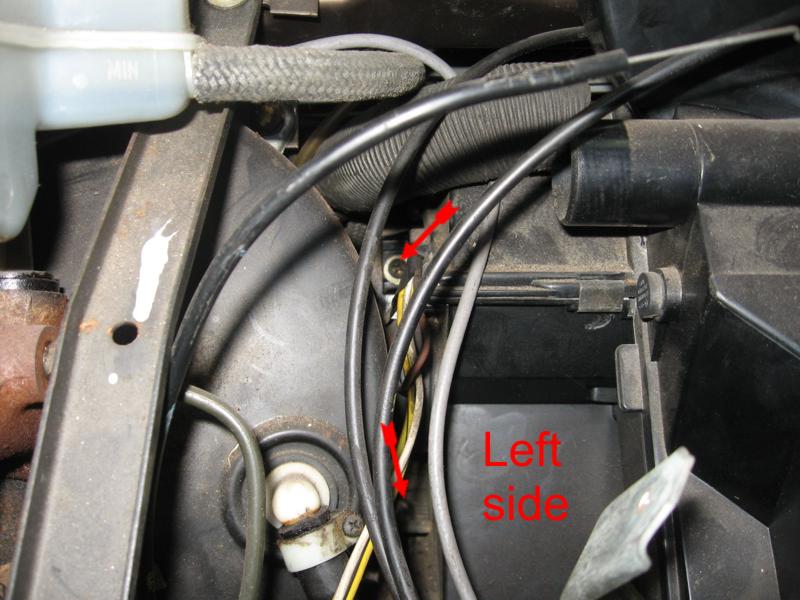
Ready to remove the main unit from firewall... well, here are the left screws, there is 6 total, 2 each side and 2 in the center lower part... they are often rusted to the bone! good luck!
In my case, i'm putting a new heater core/rad (YOU SHOULD!!!), so i have no coolant in the system, easy for me, if you want to do so and you still have coolant, clamp each hoses!
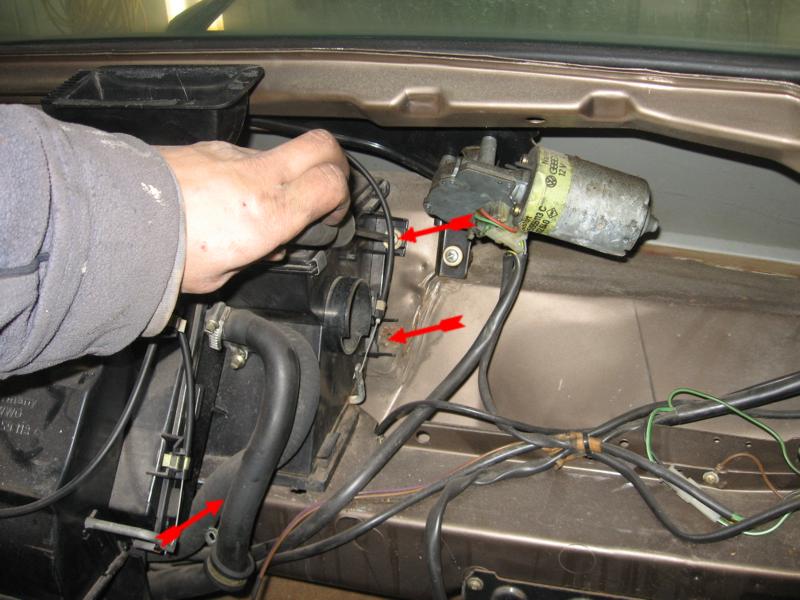
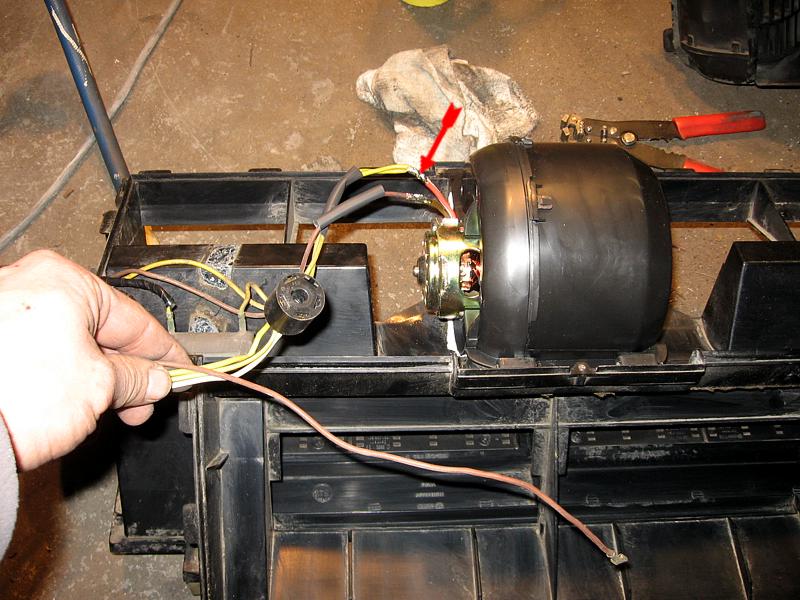
The unit can be remove just enough to replace the motor, no need to unplug coolant hoses, in my case, it's comming out!

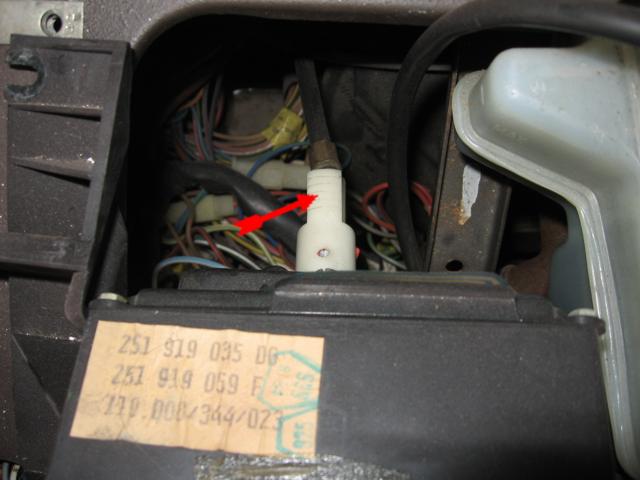
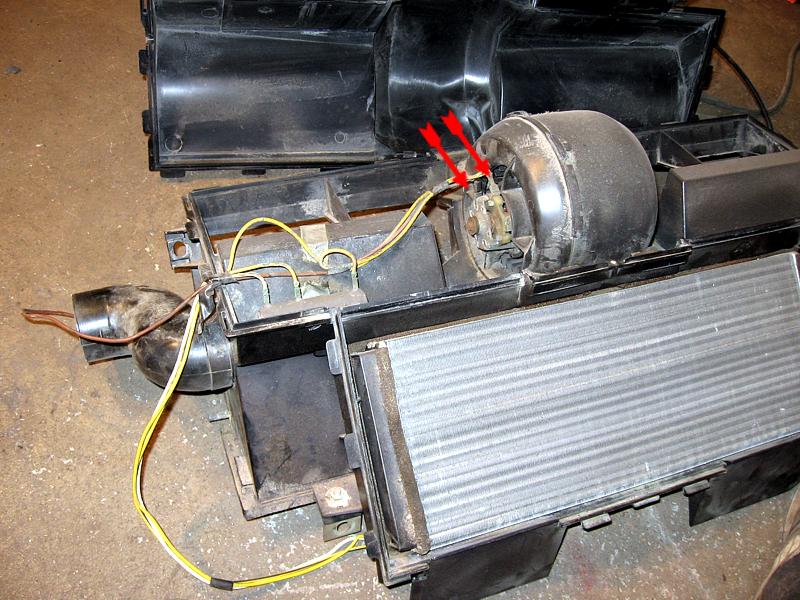
If so, you need to unplug the brown wire (-) and cut (the wire) or remove the metal connector of the red wire (+)
Voila!
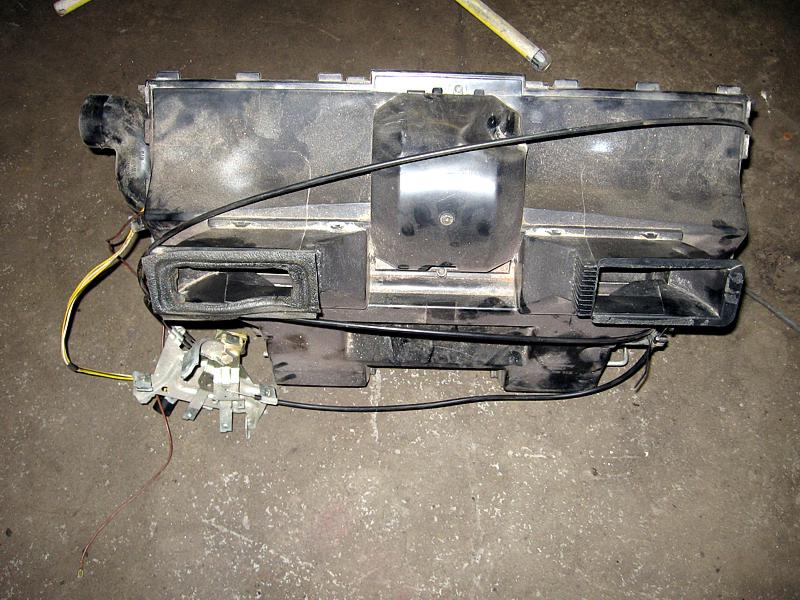
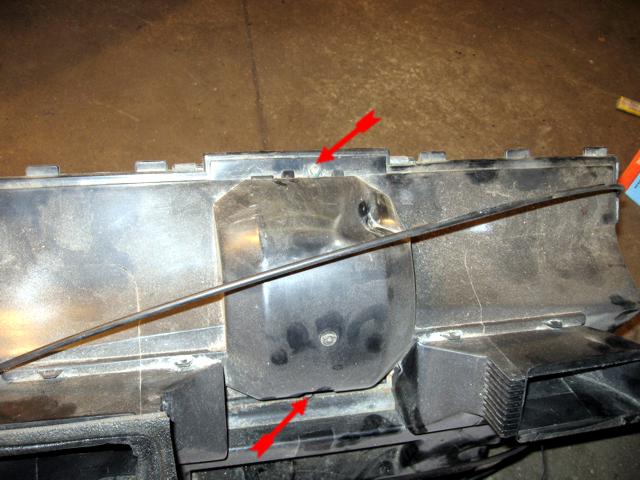
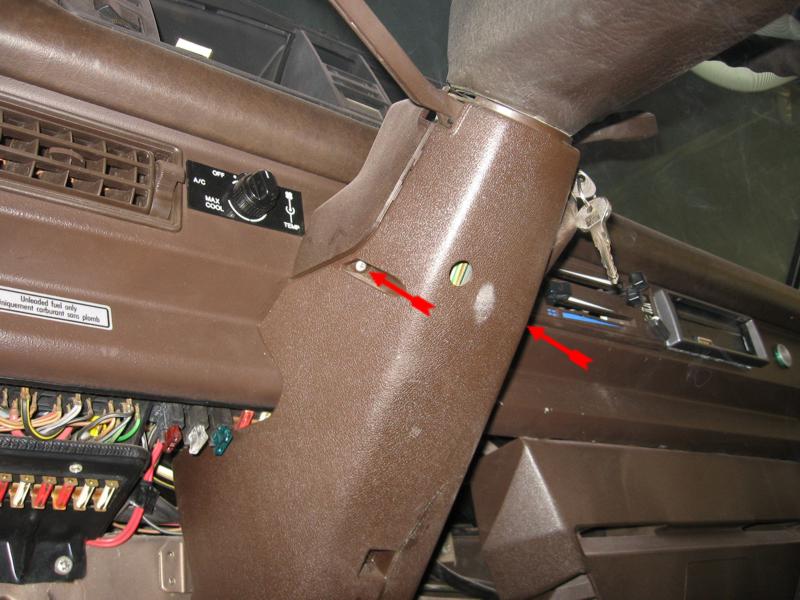
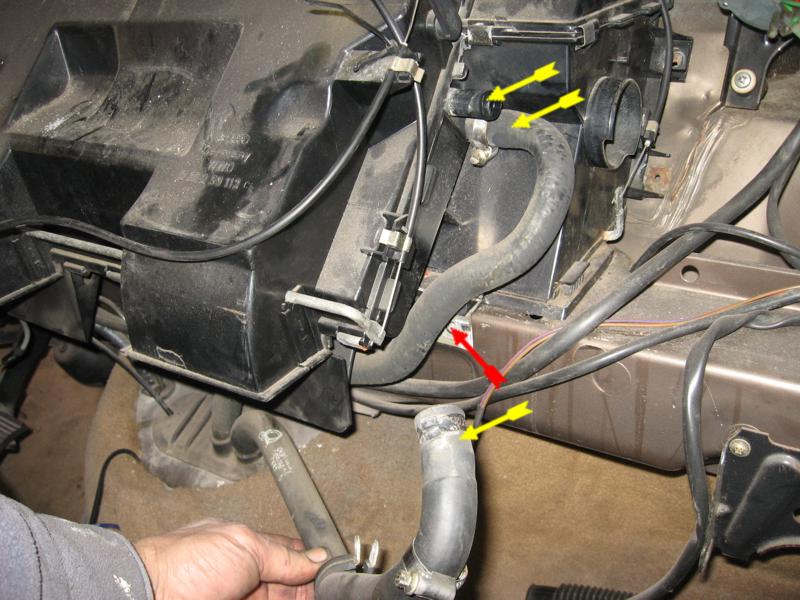
Remove those 2 screws
Remove all clamps around the unit, if you are lucky, you won't have that glue that hold those 2 parts of the unit together! (A PAIN IN THE....)
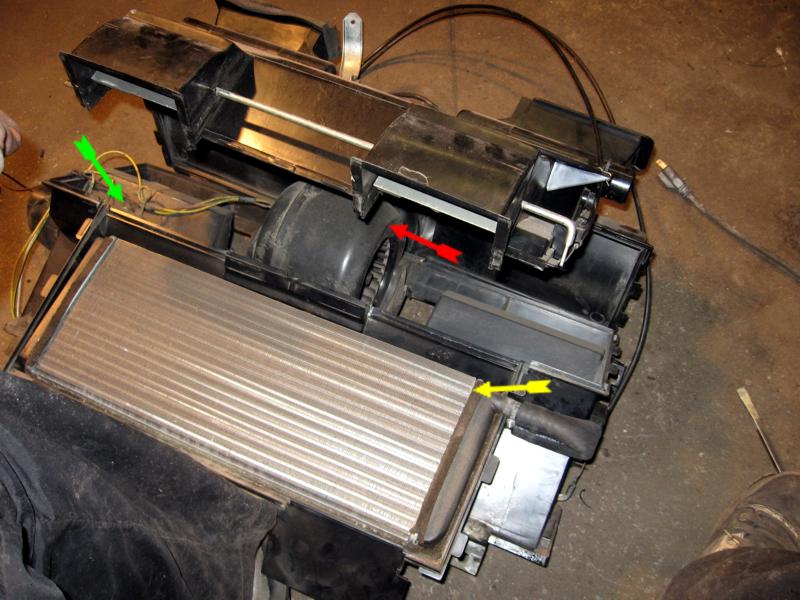
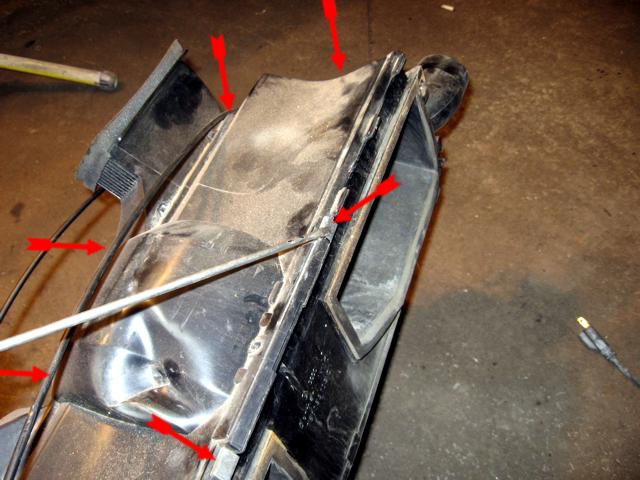
We are there... the yellow arrow is the core (just pull it), the red one is the blower motor, the green one is the resistor unit (3 speeds)
Unplug wire
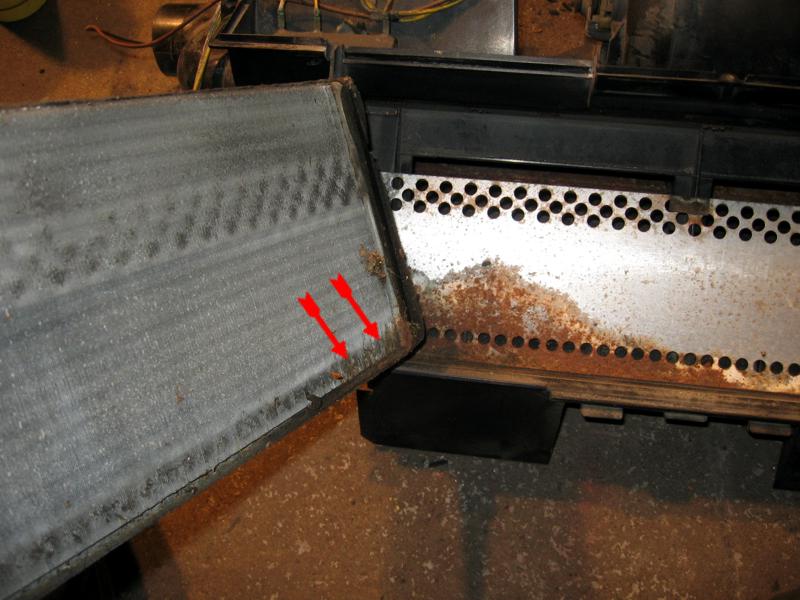
Check rad condition
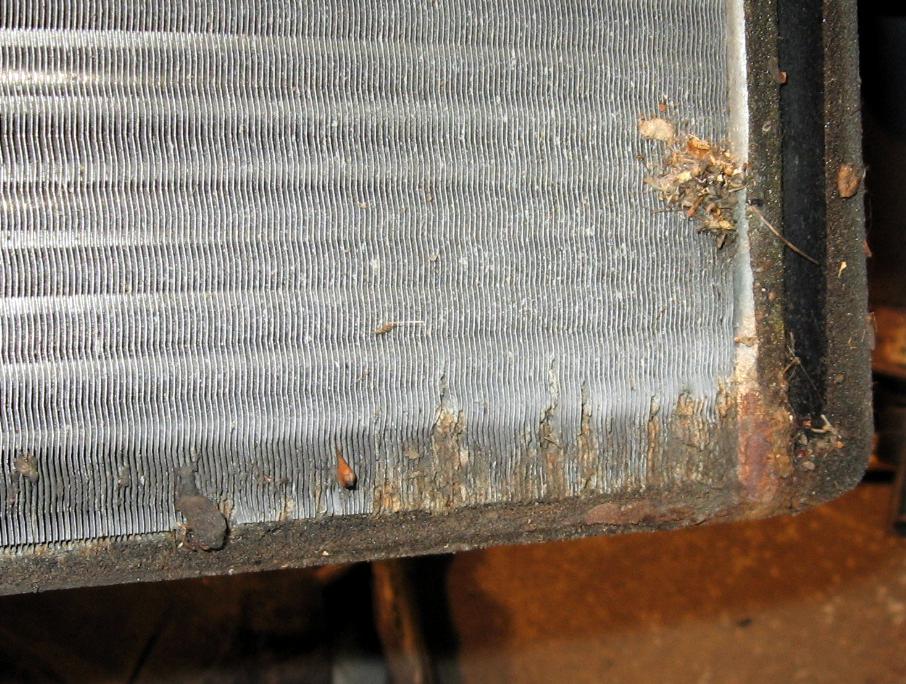
Garbage

Pull out
New motor
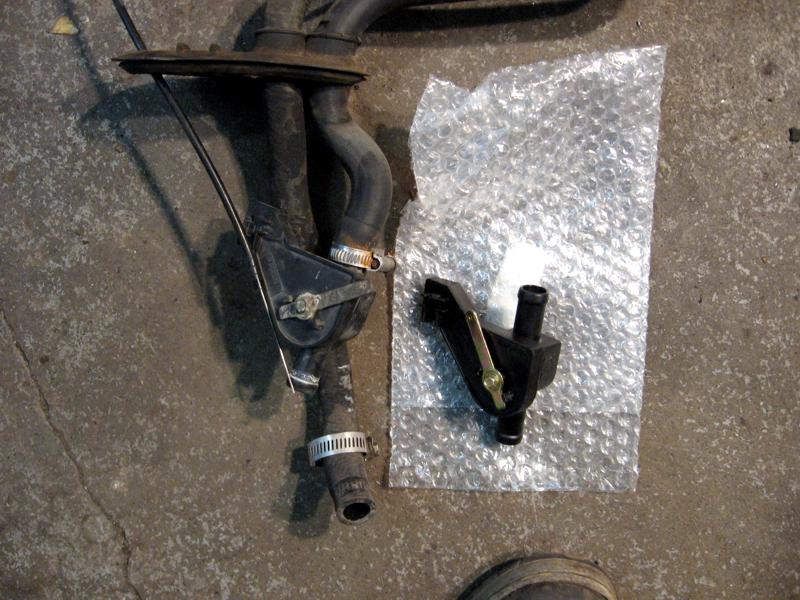
New front heater valve wile i'm there
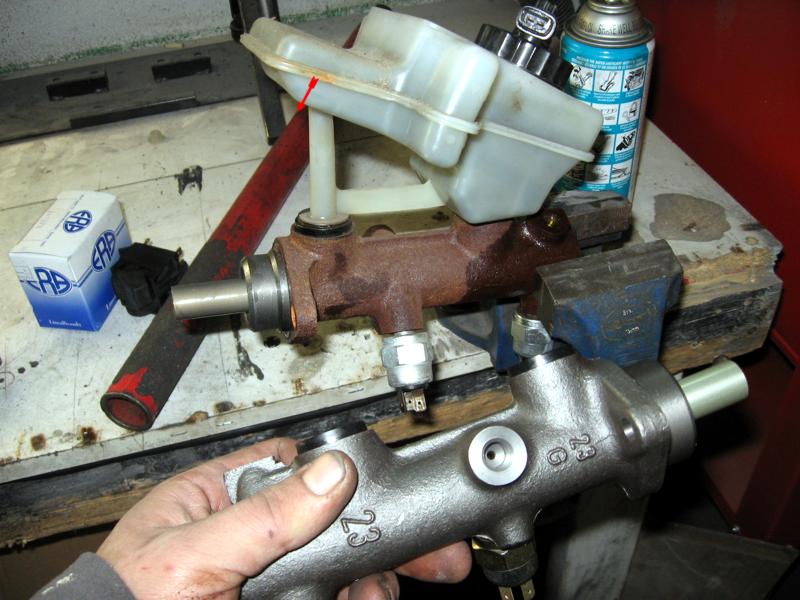
New brake master cylinder
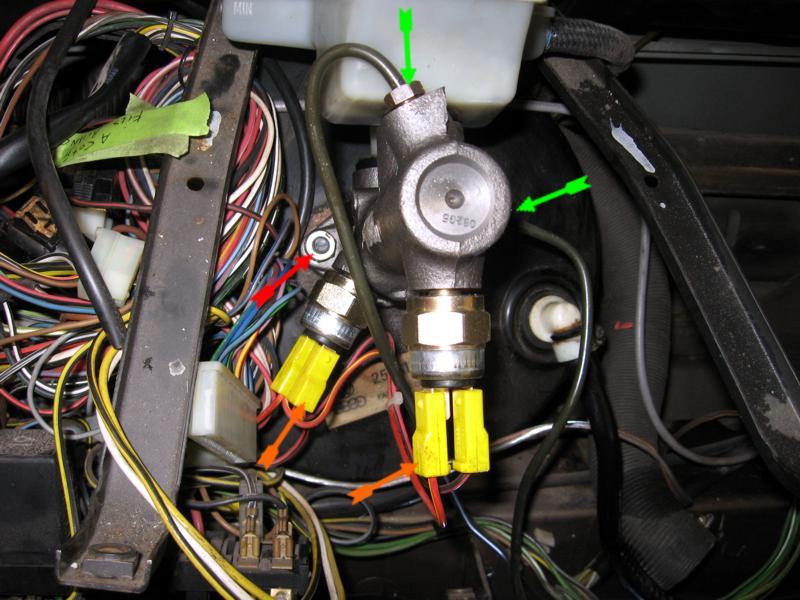
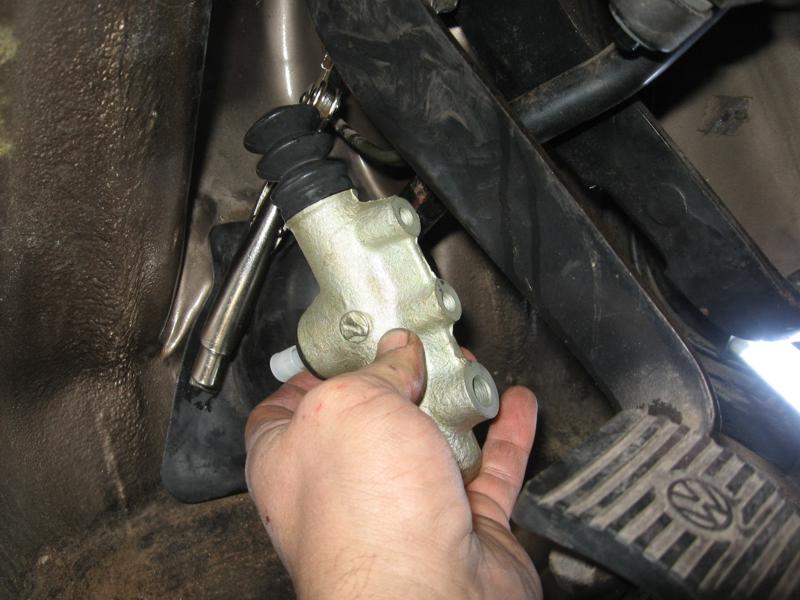
New clutch master cylinder

So easy to replace, so long to bleed!

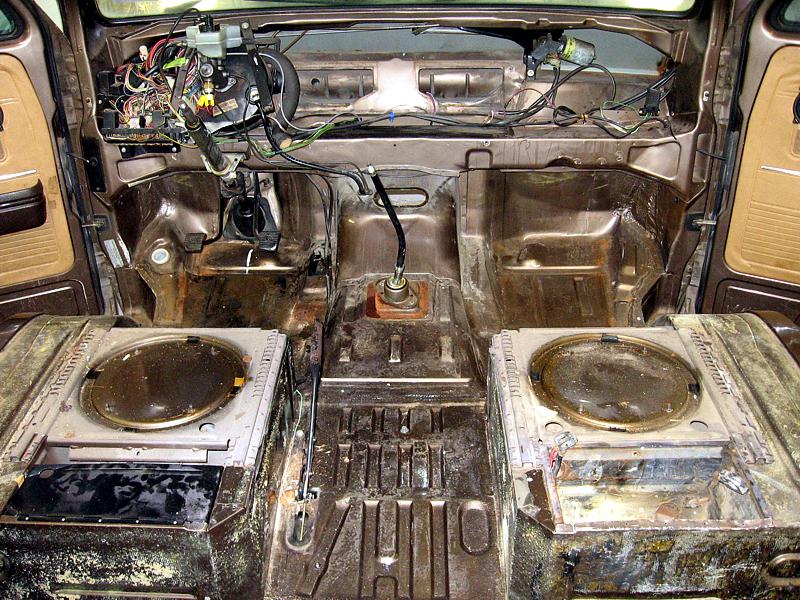
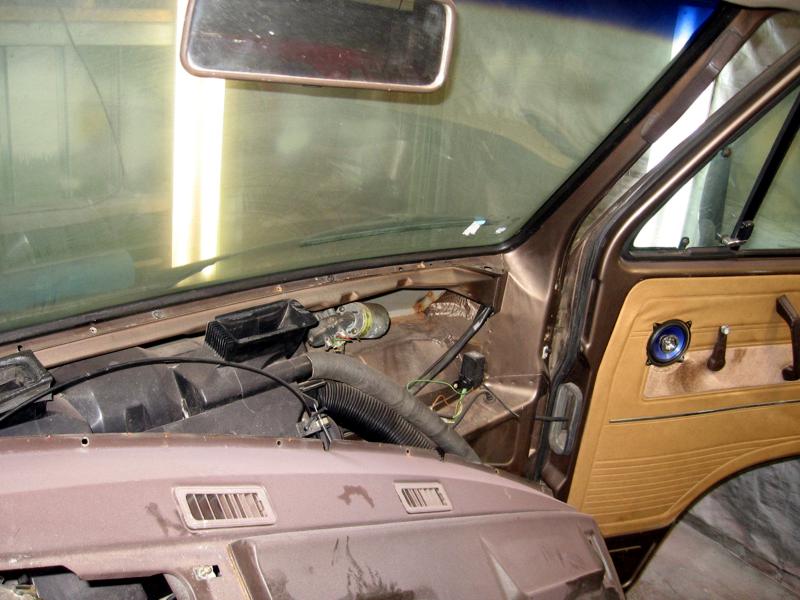
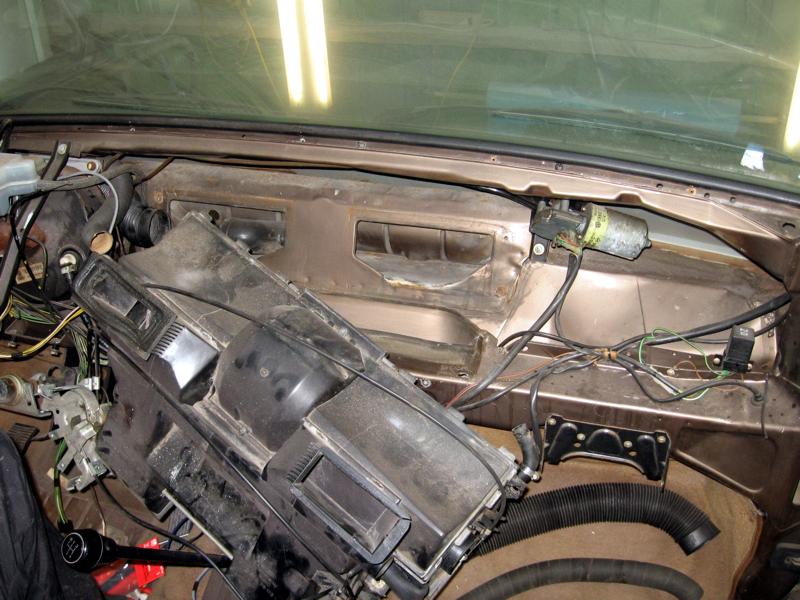
Empty van...
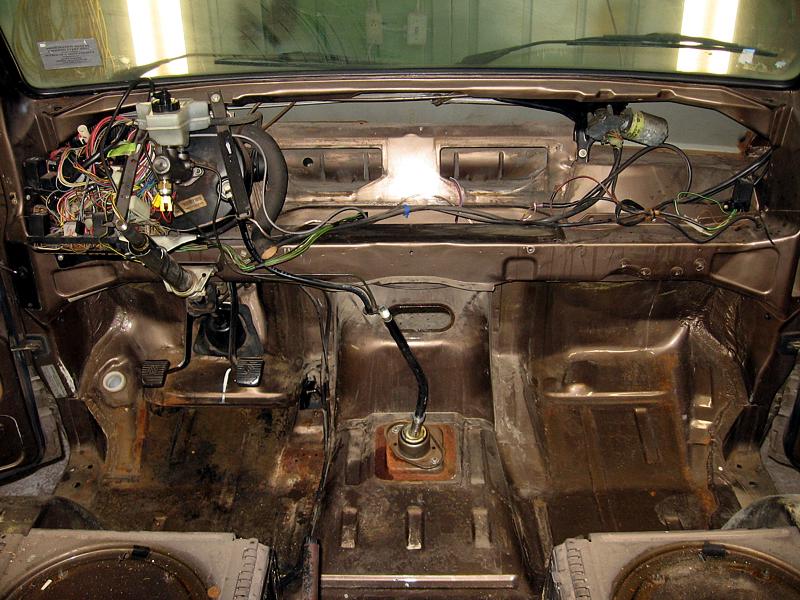
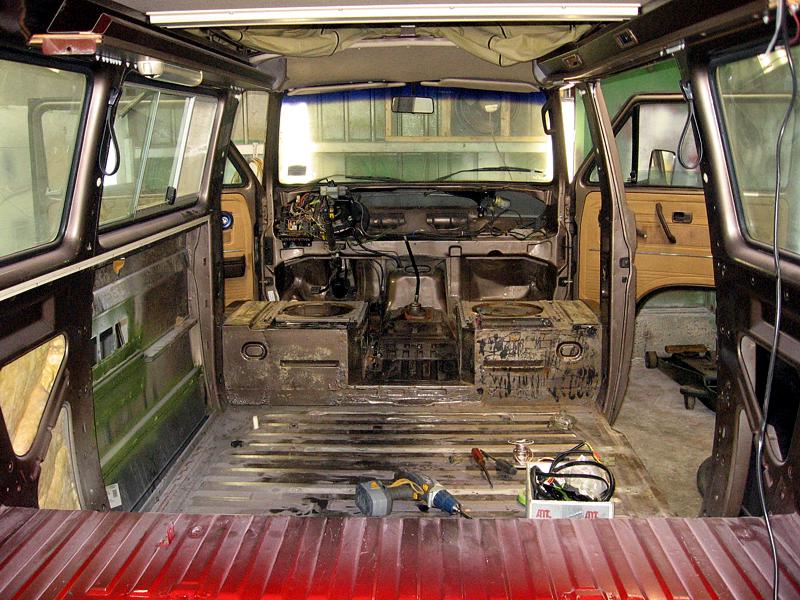
More empty
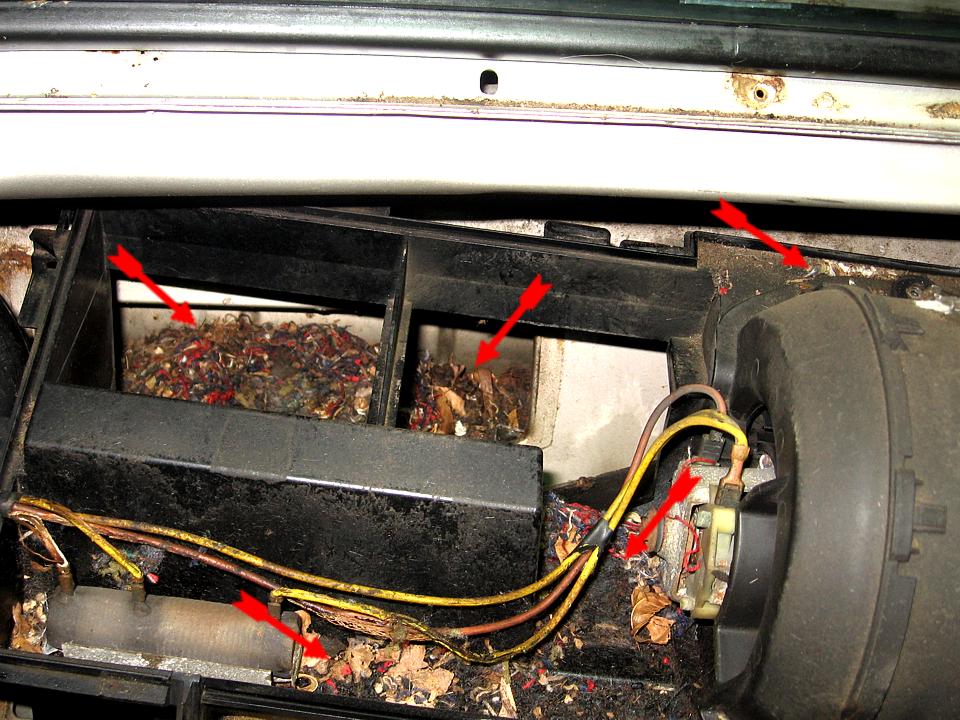
A funny one to end this section, mouses invasion...