Bodywork on my 73

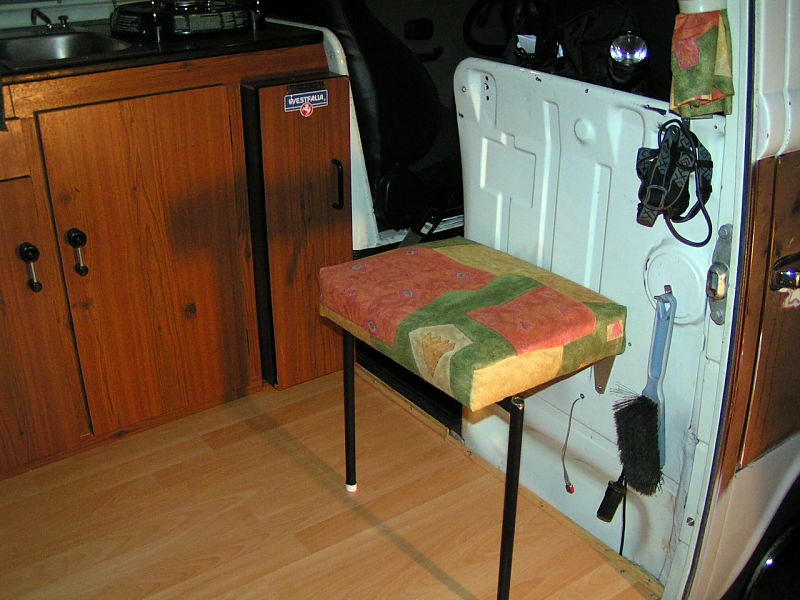
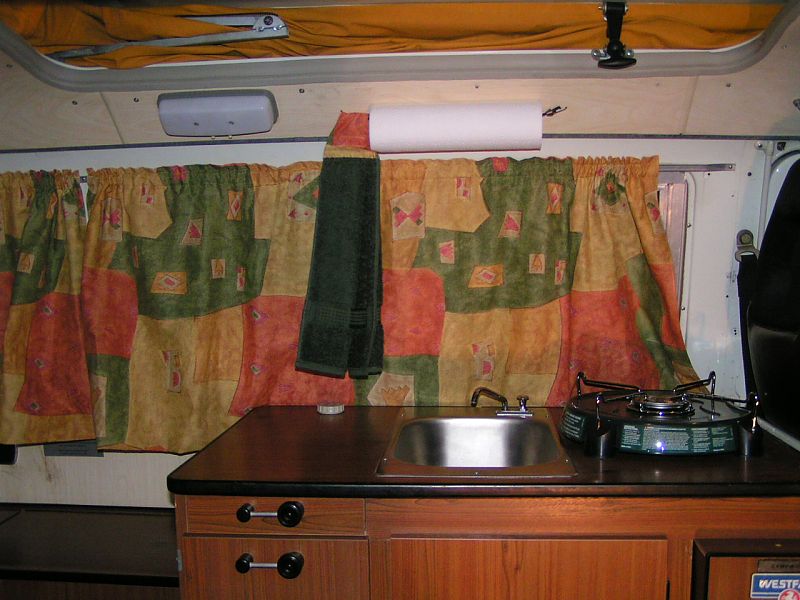
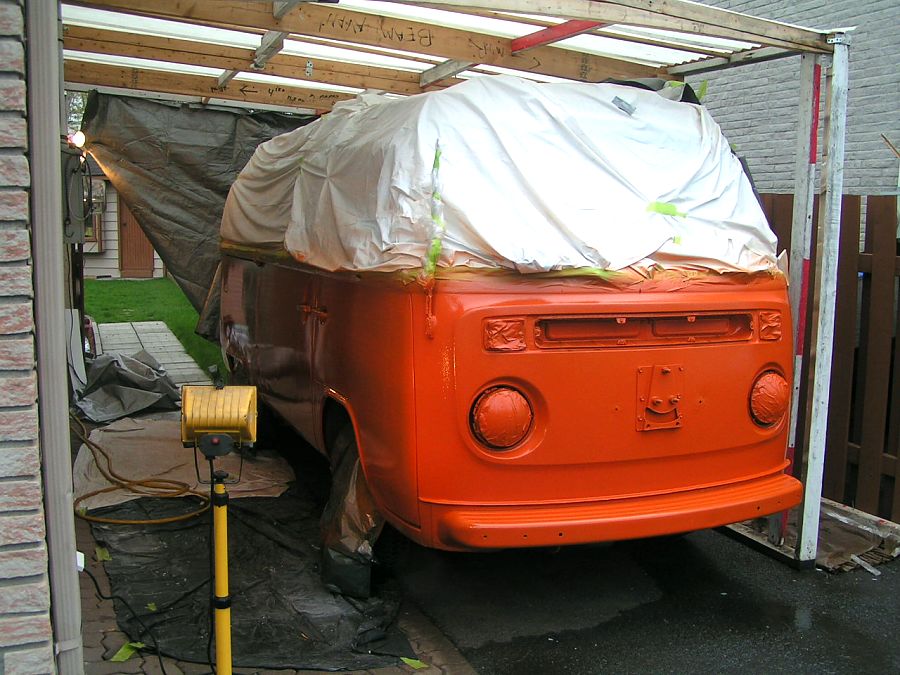
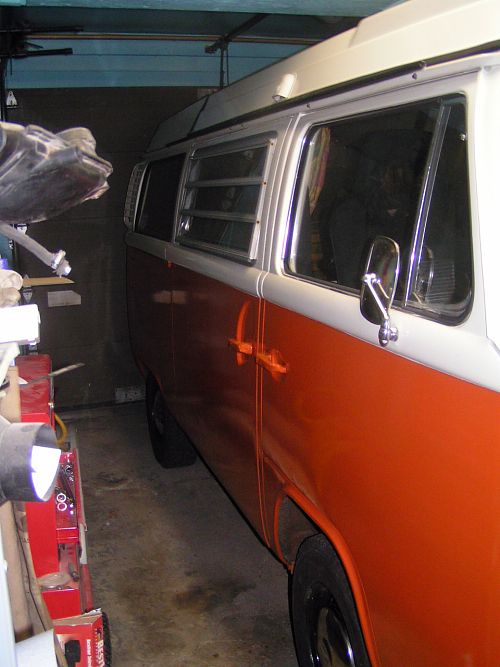
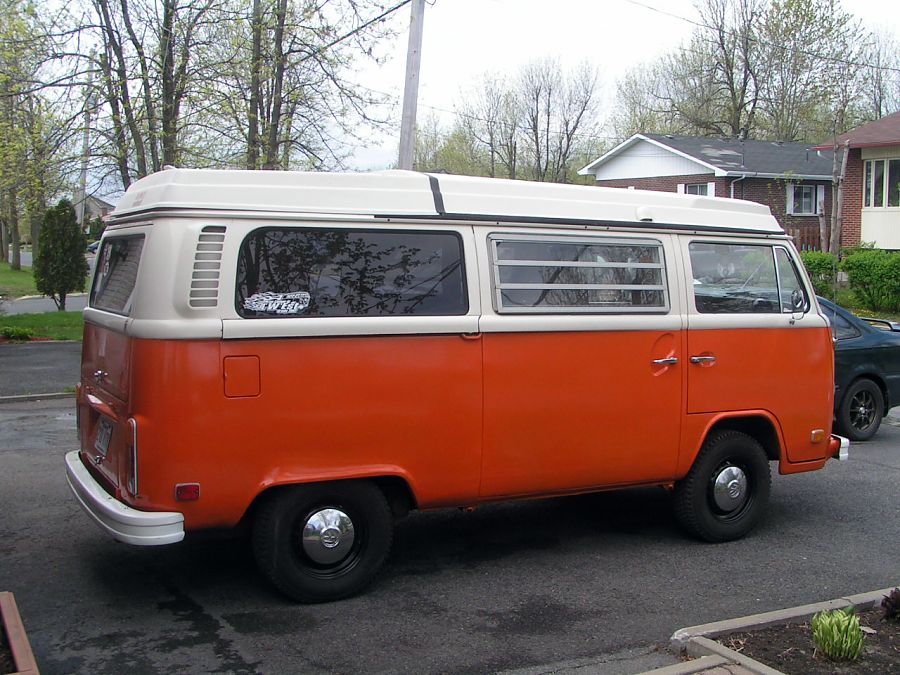
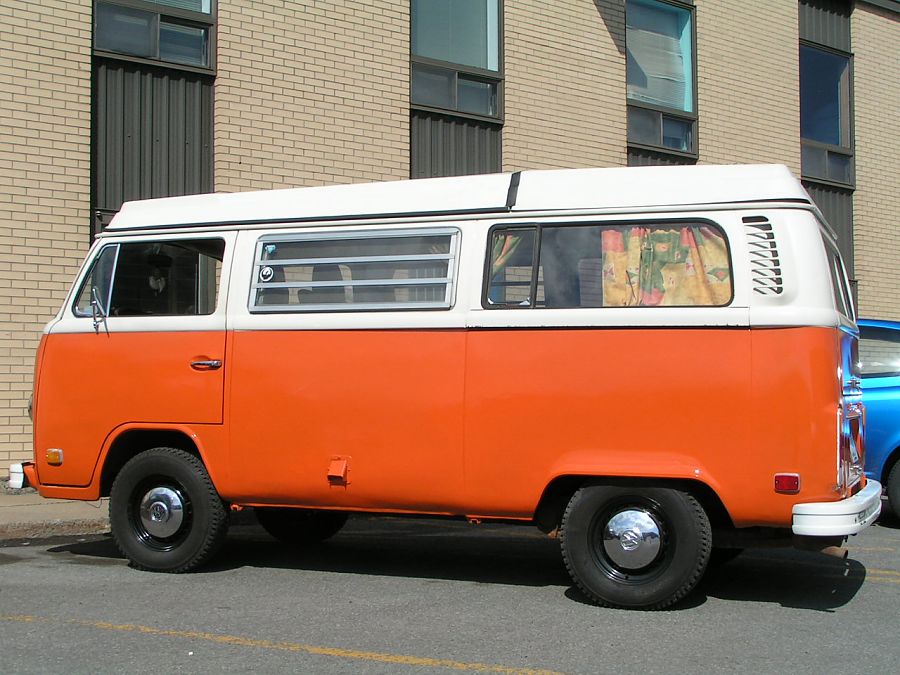
I have decided to keep my bus, I did too much mechanical work lately, including some personal modification and plenty of small stuff,  I perfectly know that I would have to redo those again if I buy a buy another bus. So I have decided to repair the small body rust and ding and paint this one Brilliant orange and white, am basically just painting the lower brown color as the white is quite nice, am no bodywork expert but I did some small job in the past, I will learn some more wile doing it, I will also try my first paint job, so I invite you guys to follow me in my new experience.  I hava also replaced my hated original 73 interior for a nice 78 one, i added a Coleman stove, made a custom cabinet out of the spare tire area and plenty of small modification.
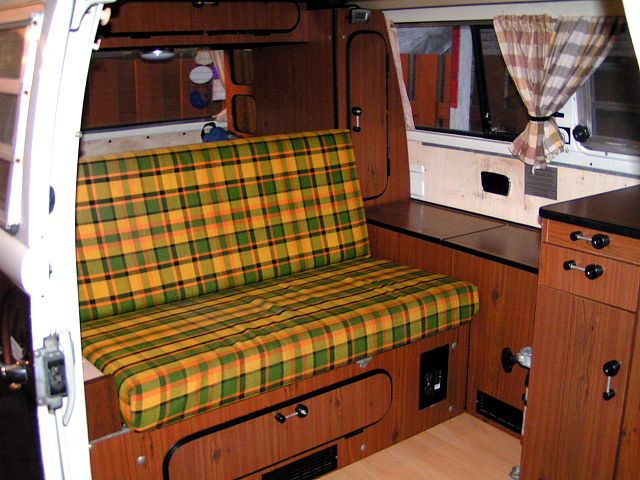
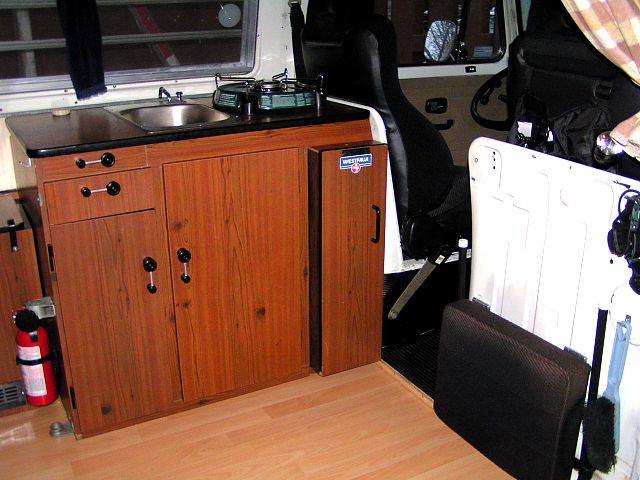
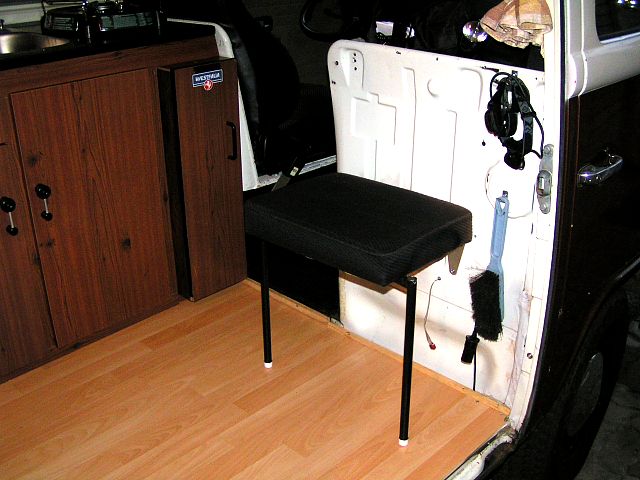
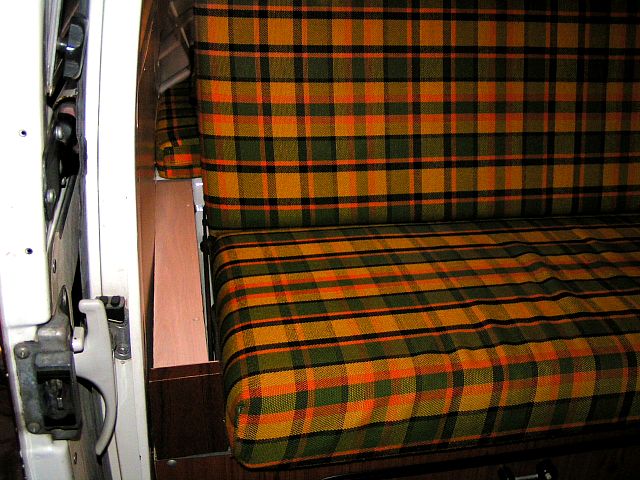
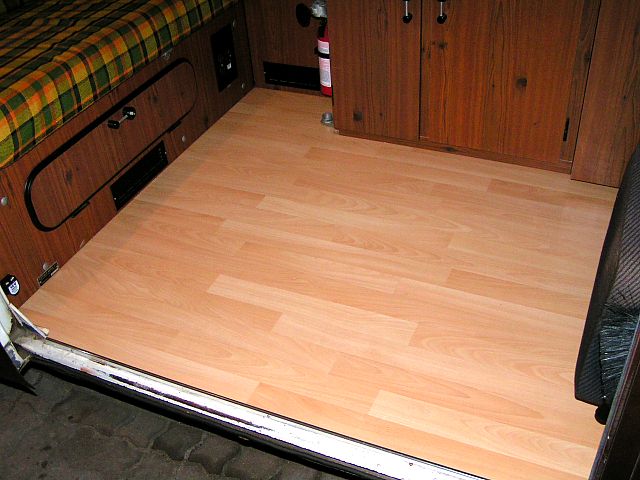

Interior...
Very stock, but a lot of work, i had to re-route the electricity, make bracket.... Added folded seat, Coleman stove, new water pump, new plumbing.  The tire compartment as know shelfs inside. I was ready to cut the metal when i had the idea to make a small jump seat so we could eat face to face, kind of nice.  Ifound out that the smallest bed of all bus generation was the 76-79 one, so i did a small modification to add some cushion where the arm rest goes..i little gain of 4in. Well, the bad news is that i had to remove my previous wood floor because i had too many hole in it, here is the new one, kind of nice and cosy... I think i did a good job at fitting a 78 upper cabinet with a 73 roof... (to be continued... a 78 roof is for next year with a highly modified 2.0L engine that i am working on right now)
 
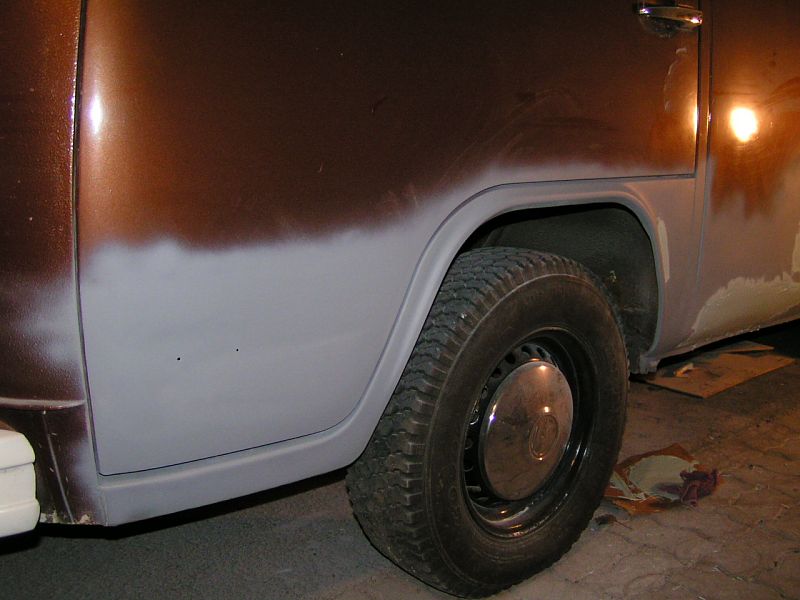
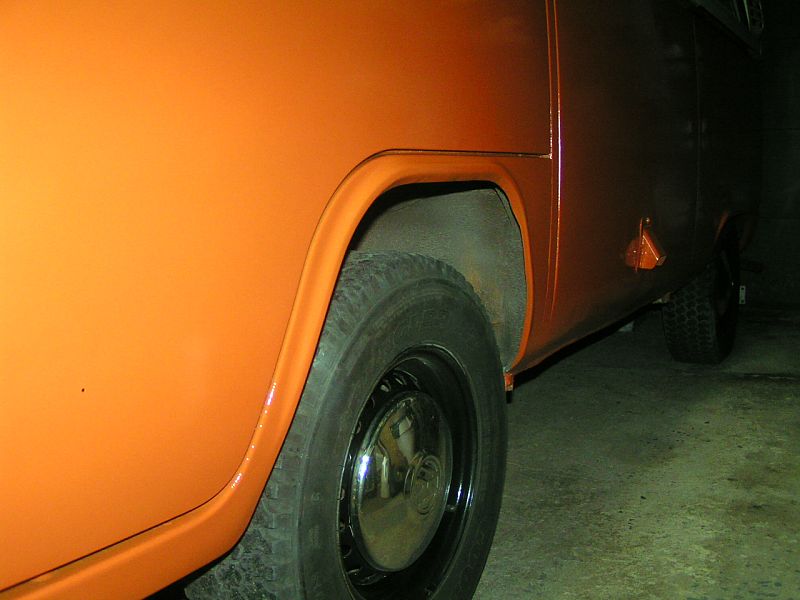
Bodywork part 1 (Sliding door)
Rust! on the front lower section, door drop last year due to a bad lower hinge, grinded to metal, fiberglass inside and out. View of the most damage section. Not pretty, i was not ready for what i saw, the hole rocker section had to be remove to do a good job, am no bondo guys. This is the only real rust that this bus as, the rest is just some little scratch, not bad for a northern bus... Ok, everything is remove, the font section was solid and i kept this one as a guide for my new home made replacement thin. The rust you see inside is just some surface rust, it's now on bare metal, the good news is that the lower lips of the rocker is in good shape and the rail too. The good hinge (cleaned), it's in good condition but i would like a spare one????? Another broken part, the right wheel is missing, for now i made a guide out of this one, i would need a new wheel or a complete assembly???
Not a bad job, i made that out of a metal sheet, 25$ for a 60 x 40in sheet, i recpected the original shape, it took me 2 hours of bending and twisting... Vew from the side, the part look like an interogation mark, at the top i have 6 screws and 10 rivets at the bottom. Another problem, there is a hole in the rail where the wheel is when the door is close!!!! ok, welding time and fiberglass time... The rough joint, this one is now better. You can see the grounded rivets. The damage door on it'was to a new life You need to sand deep until you touch the metal, it also need to be very smooth between the old paint and metal, i slight coat of putty may be needed. first coat of primer on the repaired section...still rough
Finish door, am happy Stupid gavel guard, this was very dificult to remove... Main tools. Am getting there, slowly... The rear corners were damage, very dificult to do a perfect corner / round shape. I also had a small misshap last year backing up, i hit the 110v outlet, so it was time to fix this one... Finish job, pannel by pannel, it's a love story... from 360, to600, to 1200 grain sand paper...touch the joint between the old paint and primer....it need to feel very smooth, 
2:30am, time to go to bed... i didn't have rust on the lower section, i had to do that because of the old gravel guard... whowww, am pretty good, am learning a lot too... well, the worse job is finish, all around, the lower section is finish.... My new seat, mom jsut finish covering it... New curtains, very nice... ok, now it's time the paint with the real primer...
3 layers of primer, sand between each one... Make = Dupond 50/50 1/2 gallon of primer with my newly spray gun.... Ha ha ha ha, orgasm...... this is my third and final coats, 1 thin one, 1 a bit more thick and the third one need to be at the limit of "dripping" Grrrrrrrrrrrrrrrrrrr, $?*$?"&?(*)?&"$...well, that is only one spot, i will fix that later, this is the risk you take to get a very shinny paint job... he he he, am freaking done, 4 hours total, 20 minutes between first coat and second one, 1 hour between second and final coat, it need to be sticky... for the final coat I kept the gravel guard in the front...
The "moral" helping team..... Drying time, heat full blast in my garage.   Am verry happy with my original VW Bright orange color (L20B) This is the real color. Drums........ It's almost perfect, am very happy with my first ever paint job, total cost with paint and stuff, 450CAD + 125 spray gun.
Some notes....
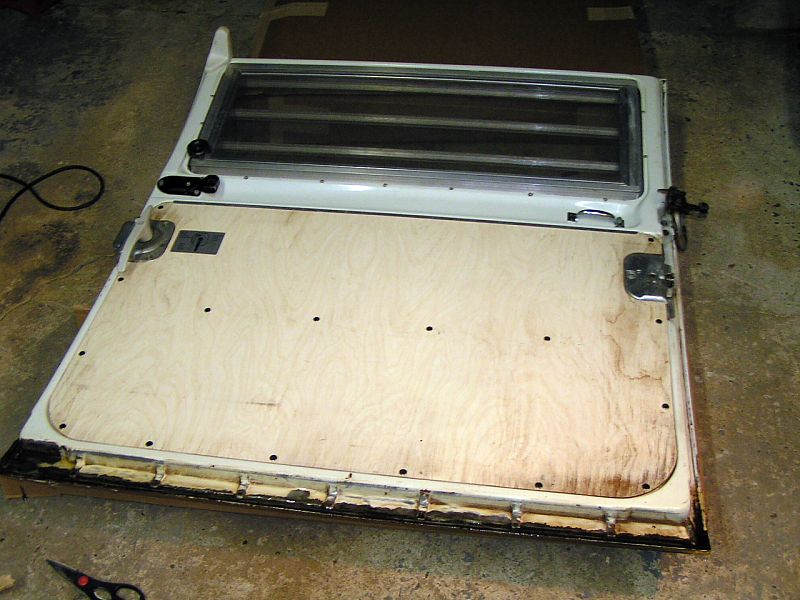
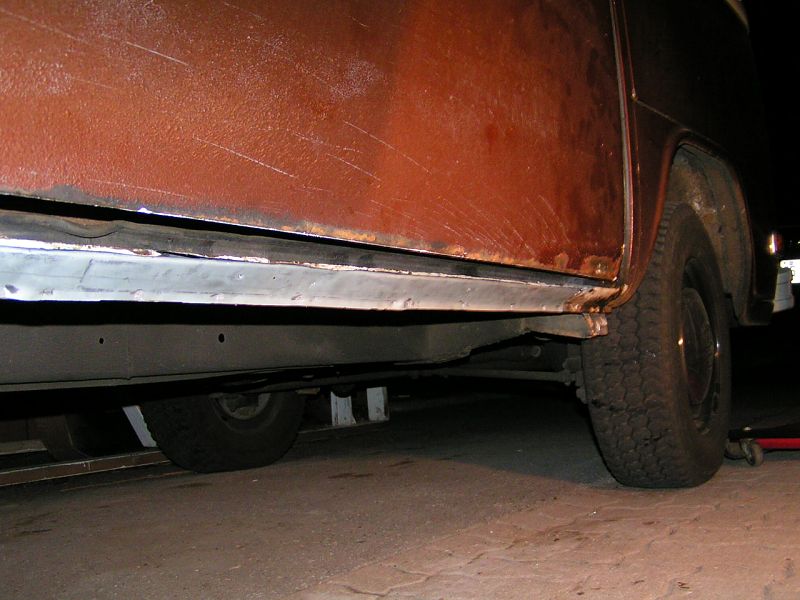
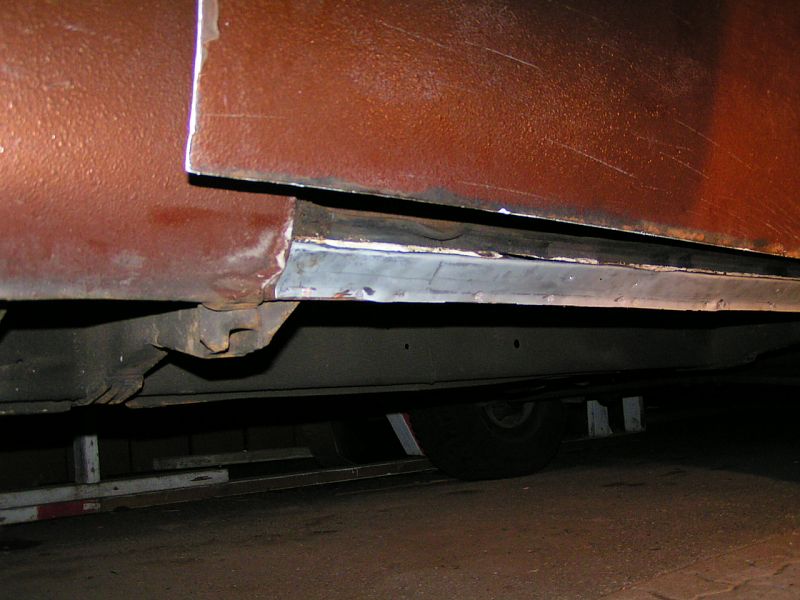
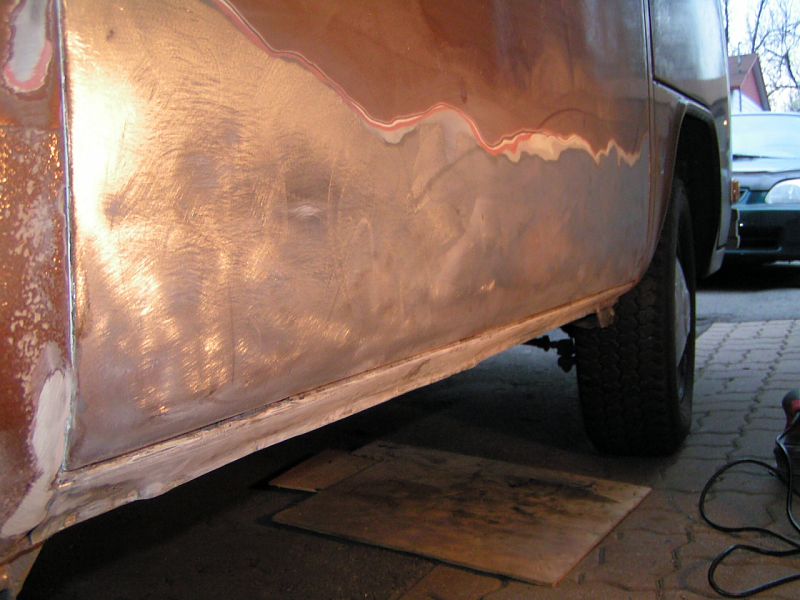
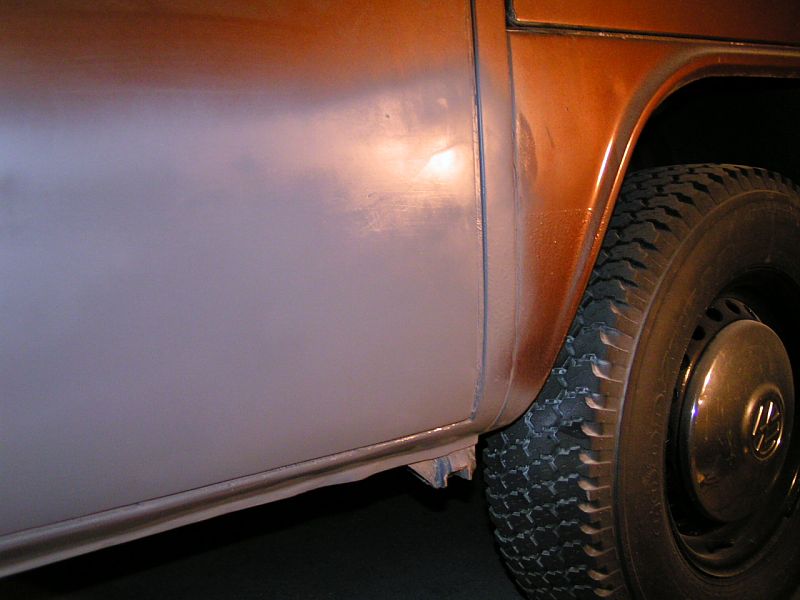
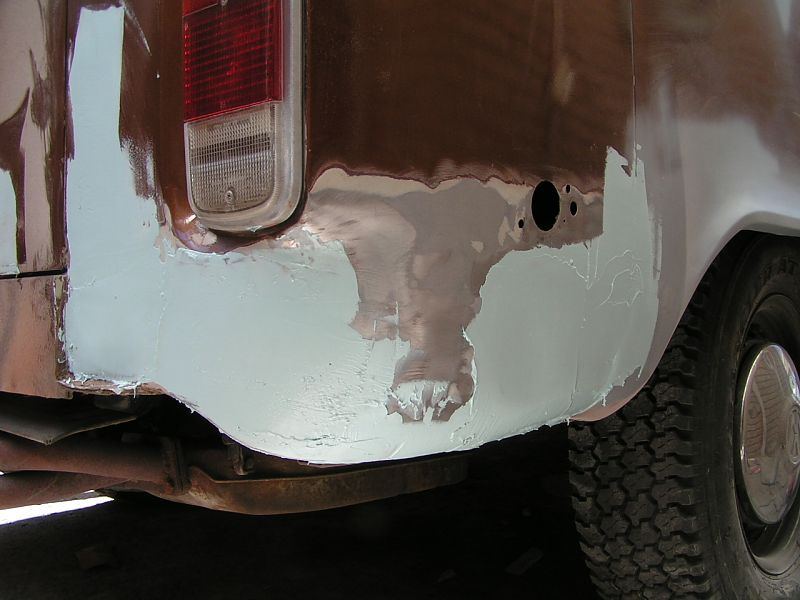
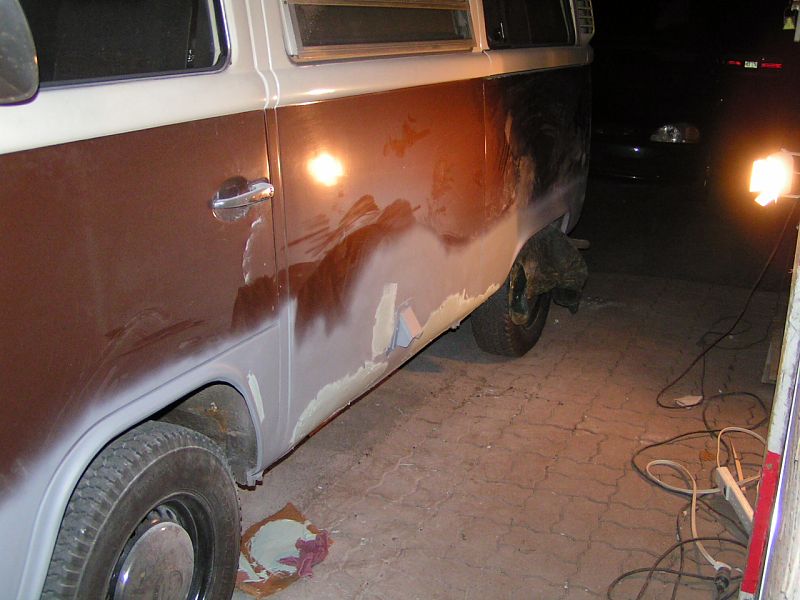
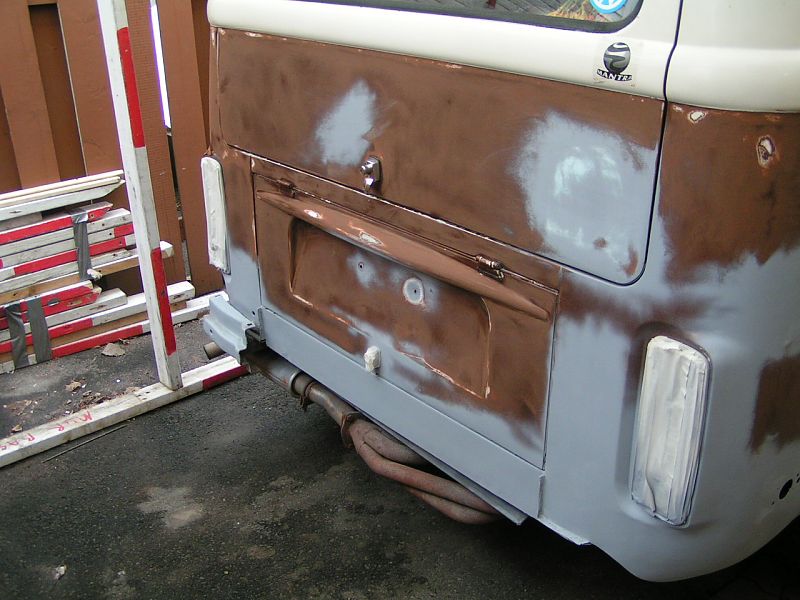
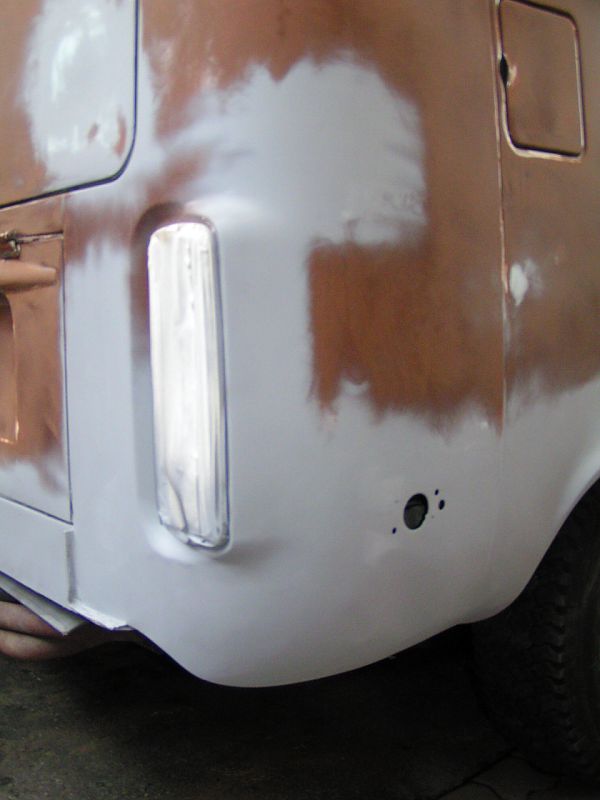
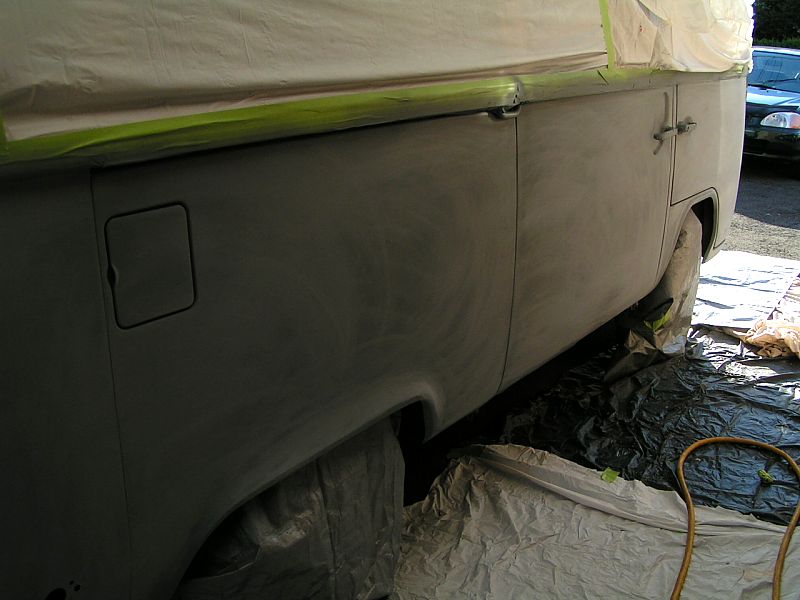
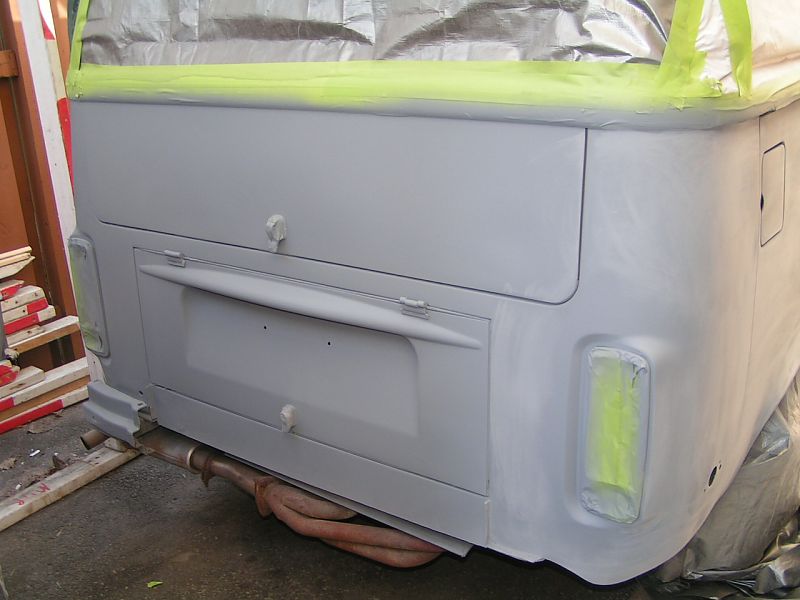
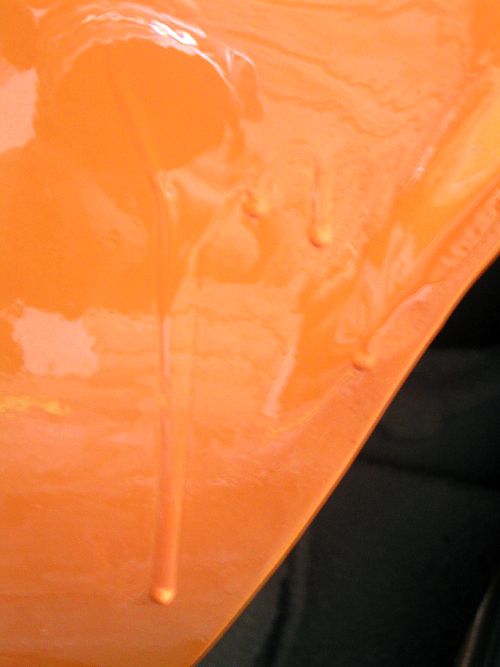
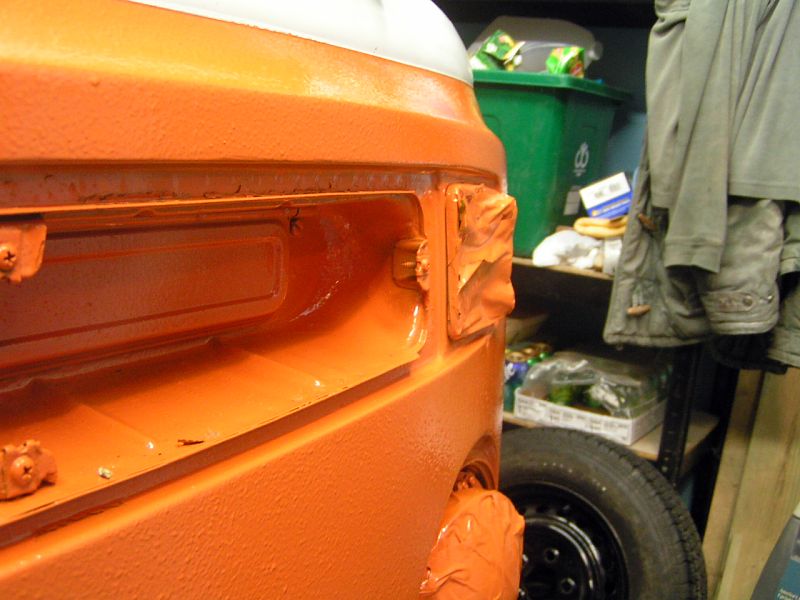
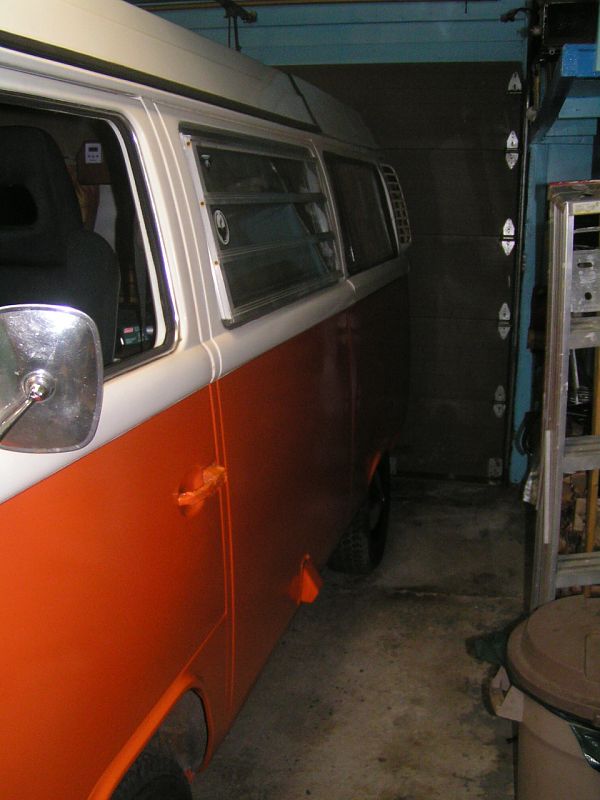
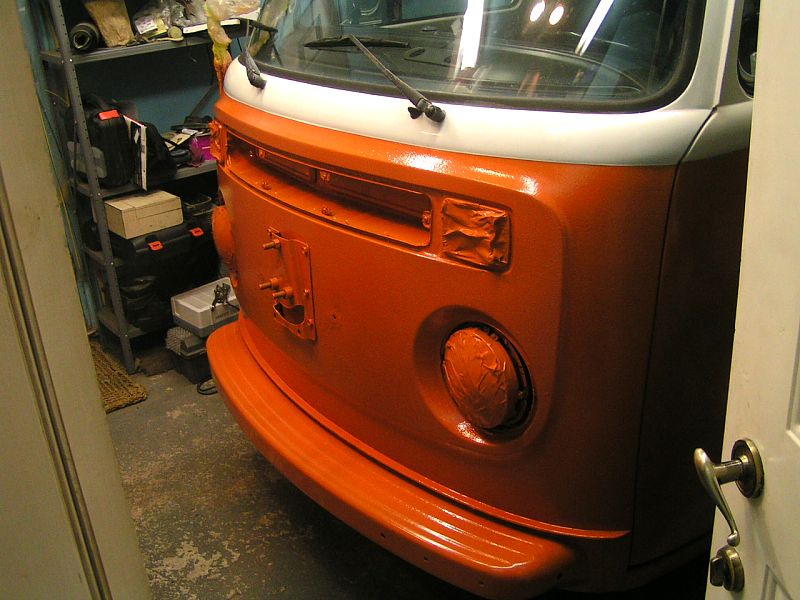
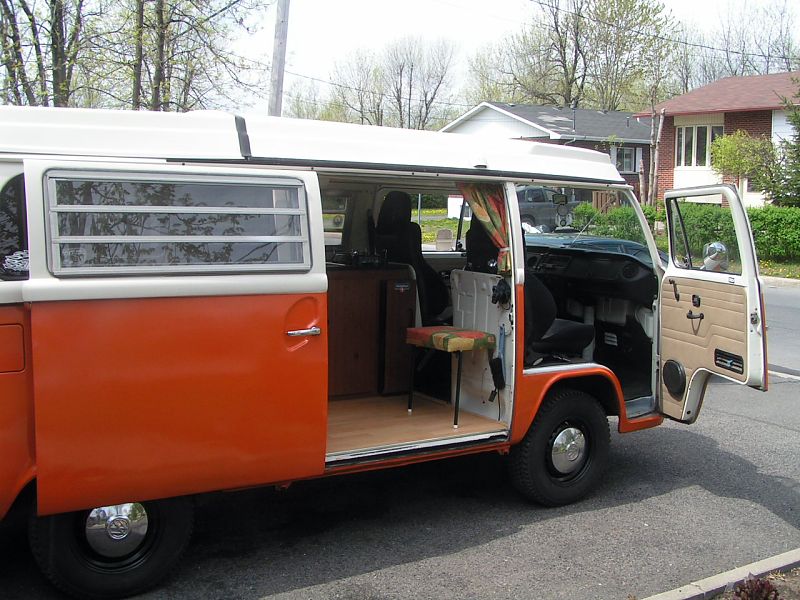
This is a 35-hour job, from sanding to finished product. It was done outside with very moderate wind, the paint and primer were "Dupont" product medium quality, 3 coats of primer and 3 coats of paint, no sanding between the paint coat...never. I have learned the following:
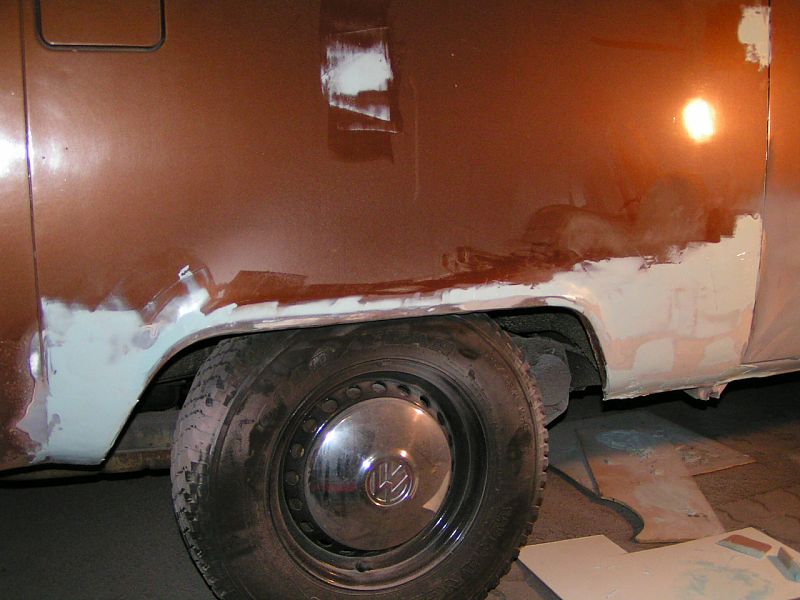
- You never sand enough, - The little "defect" you see with the primer.... you will see it 5 times over with the paint, so if you see some small defect, sand some more until you don't see anything.
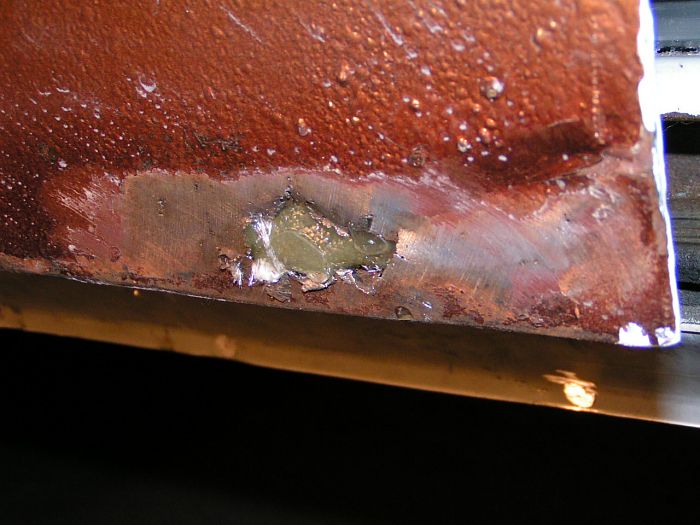
- If needed, apply some finishing putty. The putty I used, "Evercoat," was very expensive, $58 for 3.3 pounds. This putty is completely dry and ready to sand in 20 minutes and it never crack. Don't buy some cheap product (paint and putty), the result will look like the money you have spent.
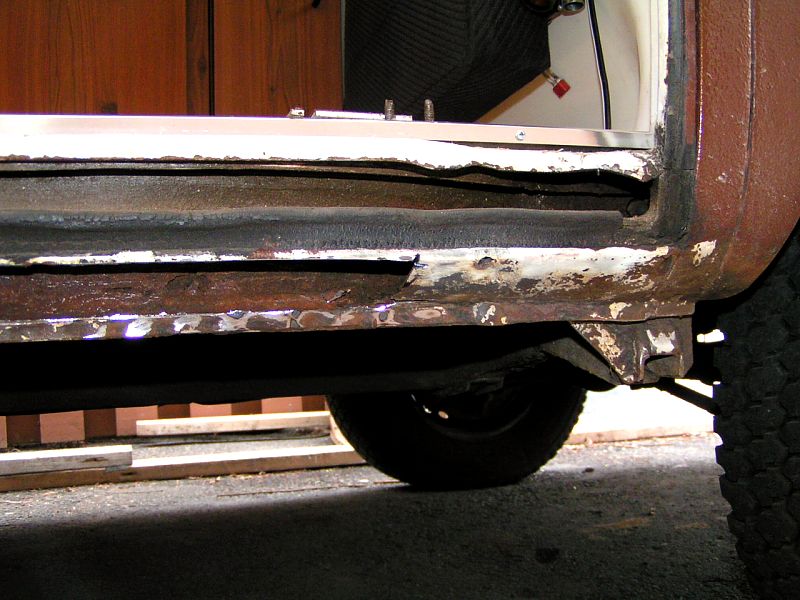
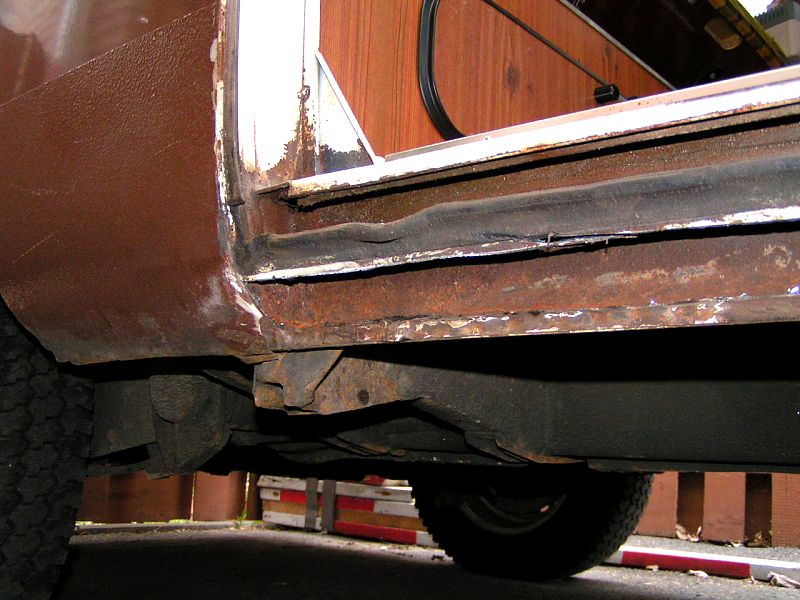
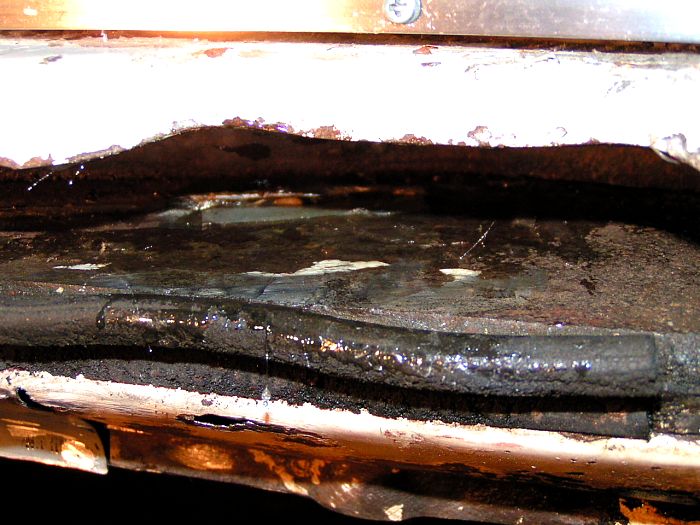
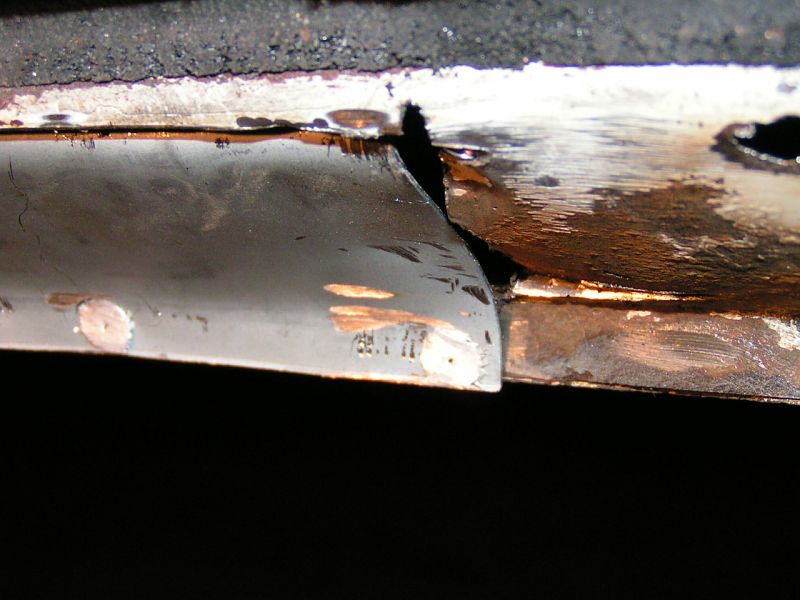
- Don't use too much putty if you have a lot of rust; remove all rust until you have bare metal, buy some sheet metal and put new metal instead.

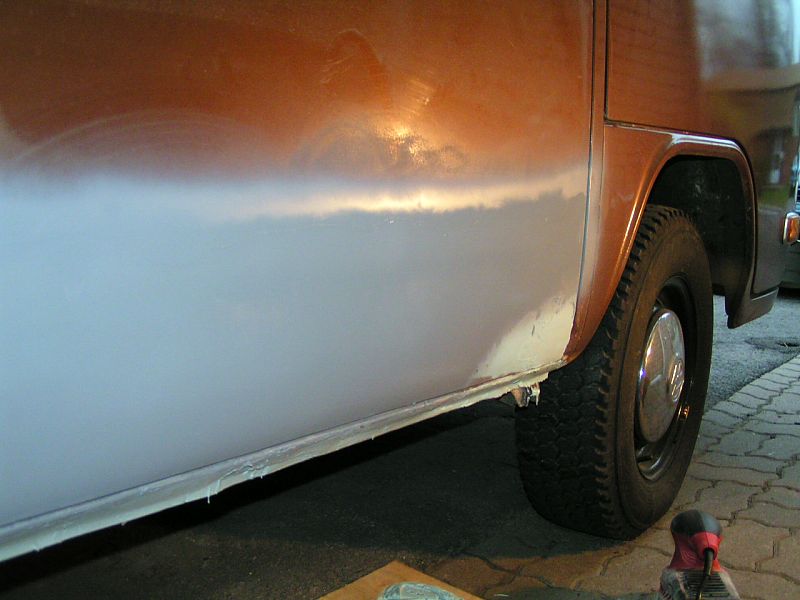
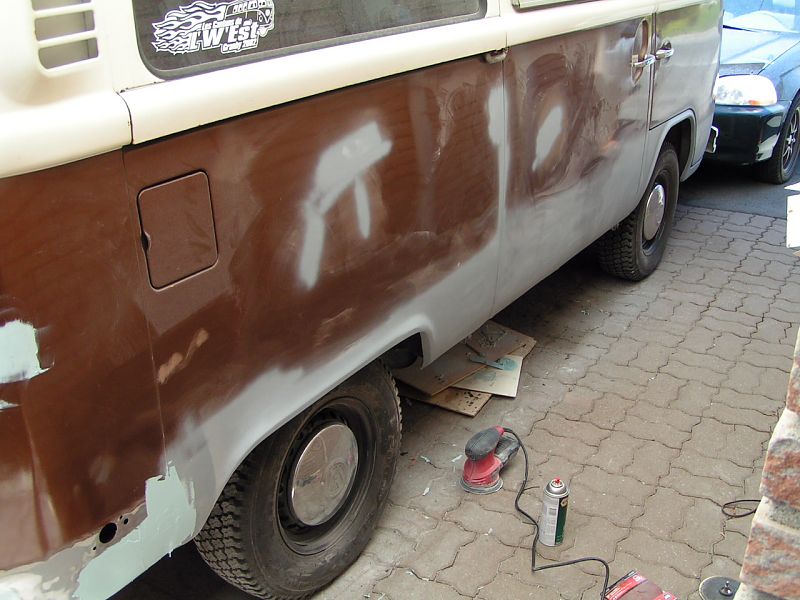
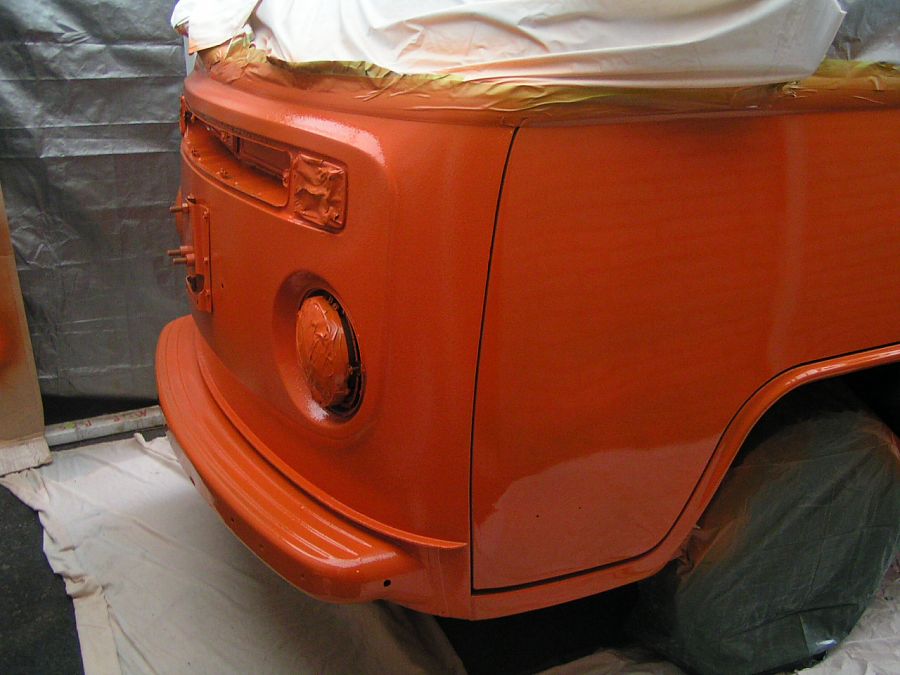
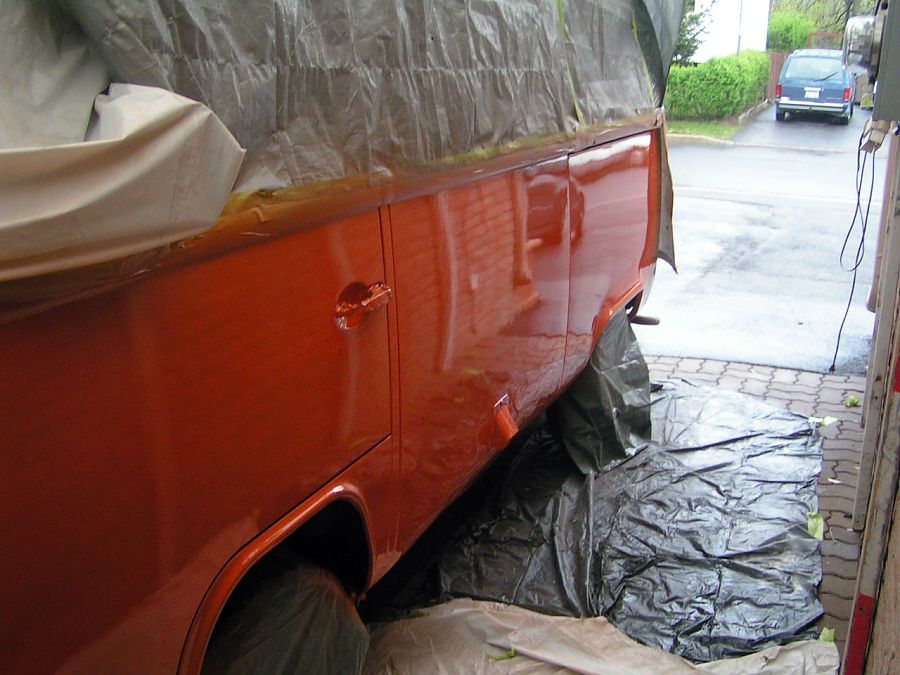
This may be my first car paint job (a few motorcycles) but I have been in the hobby business for 20 years, so I am familiar with products for sanding and finishing. Painting is an art. You need to follow the rules for both mixing and spraying. When spraying, be constant in speed and distance, whatch your spray closely with plenty of light until your speed and distance are perfect. This is how you get a very shiny job without "orange ripple." The worse that can happen is a bad job, wait 2 days, sand, and try again... that's the way you learn in life... 
(Thanks Joy)

More comments to follow....